Artifact Migration via PF Portal
This guide explains how to migrate artifacts (Flows, Forms or Integration Workflows) from a ProcessFactorial Project to another, via the Process Factorial portal UI. Migration is not constrained to a customer or a PF installation instance allowing transfer of configured Forms, Flows and Integration Workflows across PF Installations.
Migration involves the below two steps: 1. Exporting the required artifact from the source project. 2. Importing it into the required environment within the target project.
Export Artifacts
Permissions
To export an artifact the following permissions are needed for the user, which can be configured in the Users settings for the project.
- Publish Administration: At least
Read,PublishandExportpermissions. - Forms / Integration / Flow Configuration: At least
Create,Read,Updatepermissions.
Export a Form
- Navigate to the
Formssection in the PF portal. - Click on the Form you want to export, to open the Form configuration page.
- In the menu bar at the top, click on
Publish Historyto access the published versions of the Form
- Click on the radio button next to the version you want to export to select it, and click on the
Export Formbutton.
- The Form will be exported as a zip file.
Export a Flow
- Navigate to the
Flowssection in the PF portal. - Click on the Flow you want to export, to open the Flow configuration page.
- Click on
Version Historyto see the published versions of the flow
- Click on the radio button next to the version you want to export to select it, and click on the
Export Artifactbutton.
- In the slide-out panel click on the
Export Artifactbutton. - The Flow will be exported as a zip file.
Export an Integration Workflow
- Navigate to the
Integrationssection in the PF portal. - Click on the Integration Workflow you want to export, to open the Integration configuration page.
- Click on
Publish Historyto see the published versions of the Integration Workflow.
- Click on the radio button next to the version you want to export to select it, and click on the
Export Integration Workflowbutton.
- The Integration Workflow will be exported as a zip file.
Import Artifacts
Permissions
To import an artifact the following permissions are needed for the user, which can be configured in the Users section for the project and the environment within the project to which the artifact needs to be imported.
In the User settings at Project level:
- Forms / Integration / Flow Configuration: At least
Create,Read,Updatepermissions.
In the User settings at Environment level within the project:
- Deployment Administration: At least
Read,DeployandImportpermissions.
Importing an Artifact
The below steps are fairly common for Forms, Flows and Integrtation Workflows:
- Navigate to the environment within the project to which the artifact needs to be imported.
- Depending on artifact type, navigate to the respective section, i.e.,
Forms,FlowsorIntegrations. - Click on the
Import Artifactbutton.
- In the pop-up window, drag-and-drop the zip file of the exported artifact.
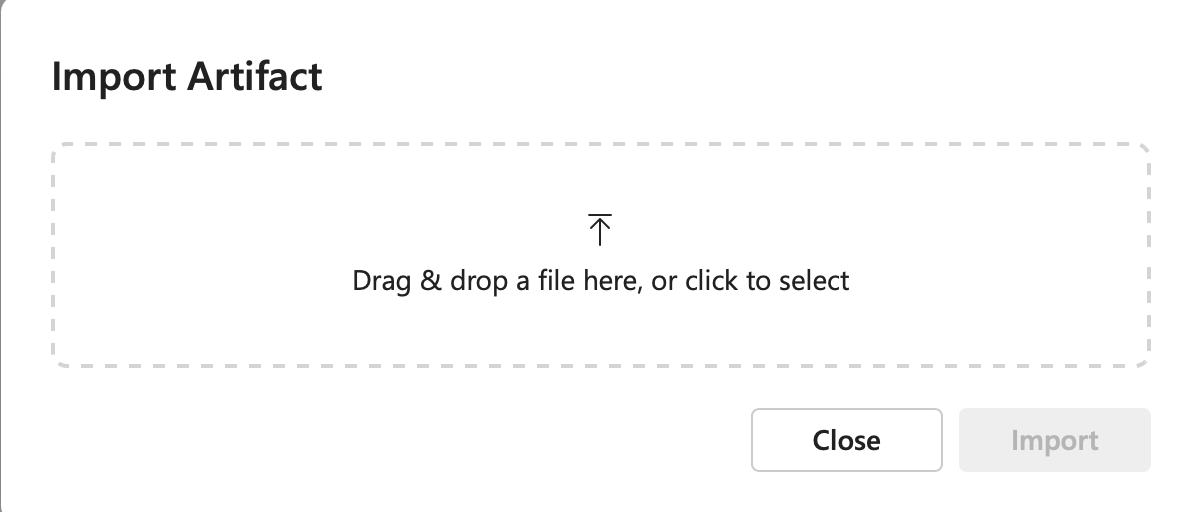
- Click on the
Importbutton. - Your artifact has been imported into the chosen environment.