Manage Conditional Rules
This page outlines how one can manage conditional rules for Factorial Forms. Conditional rules allow the user to govern the visibility of UI elements (pages, sections or fields) of a form based on the values of different fields or other predicates. Once a display rule has been defined, it can be assigned to a UI element while it's being newly created or from its respective properties page.
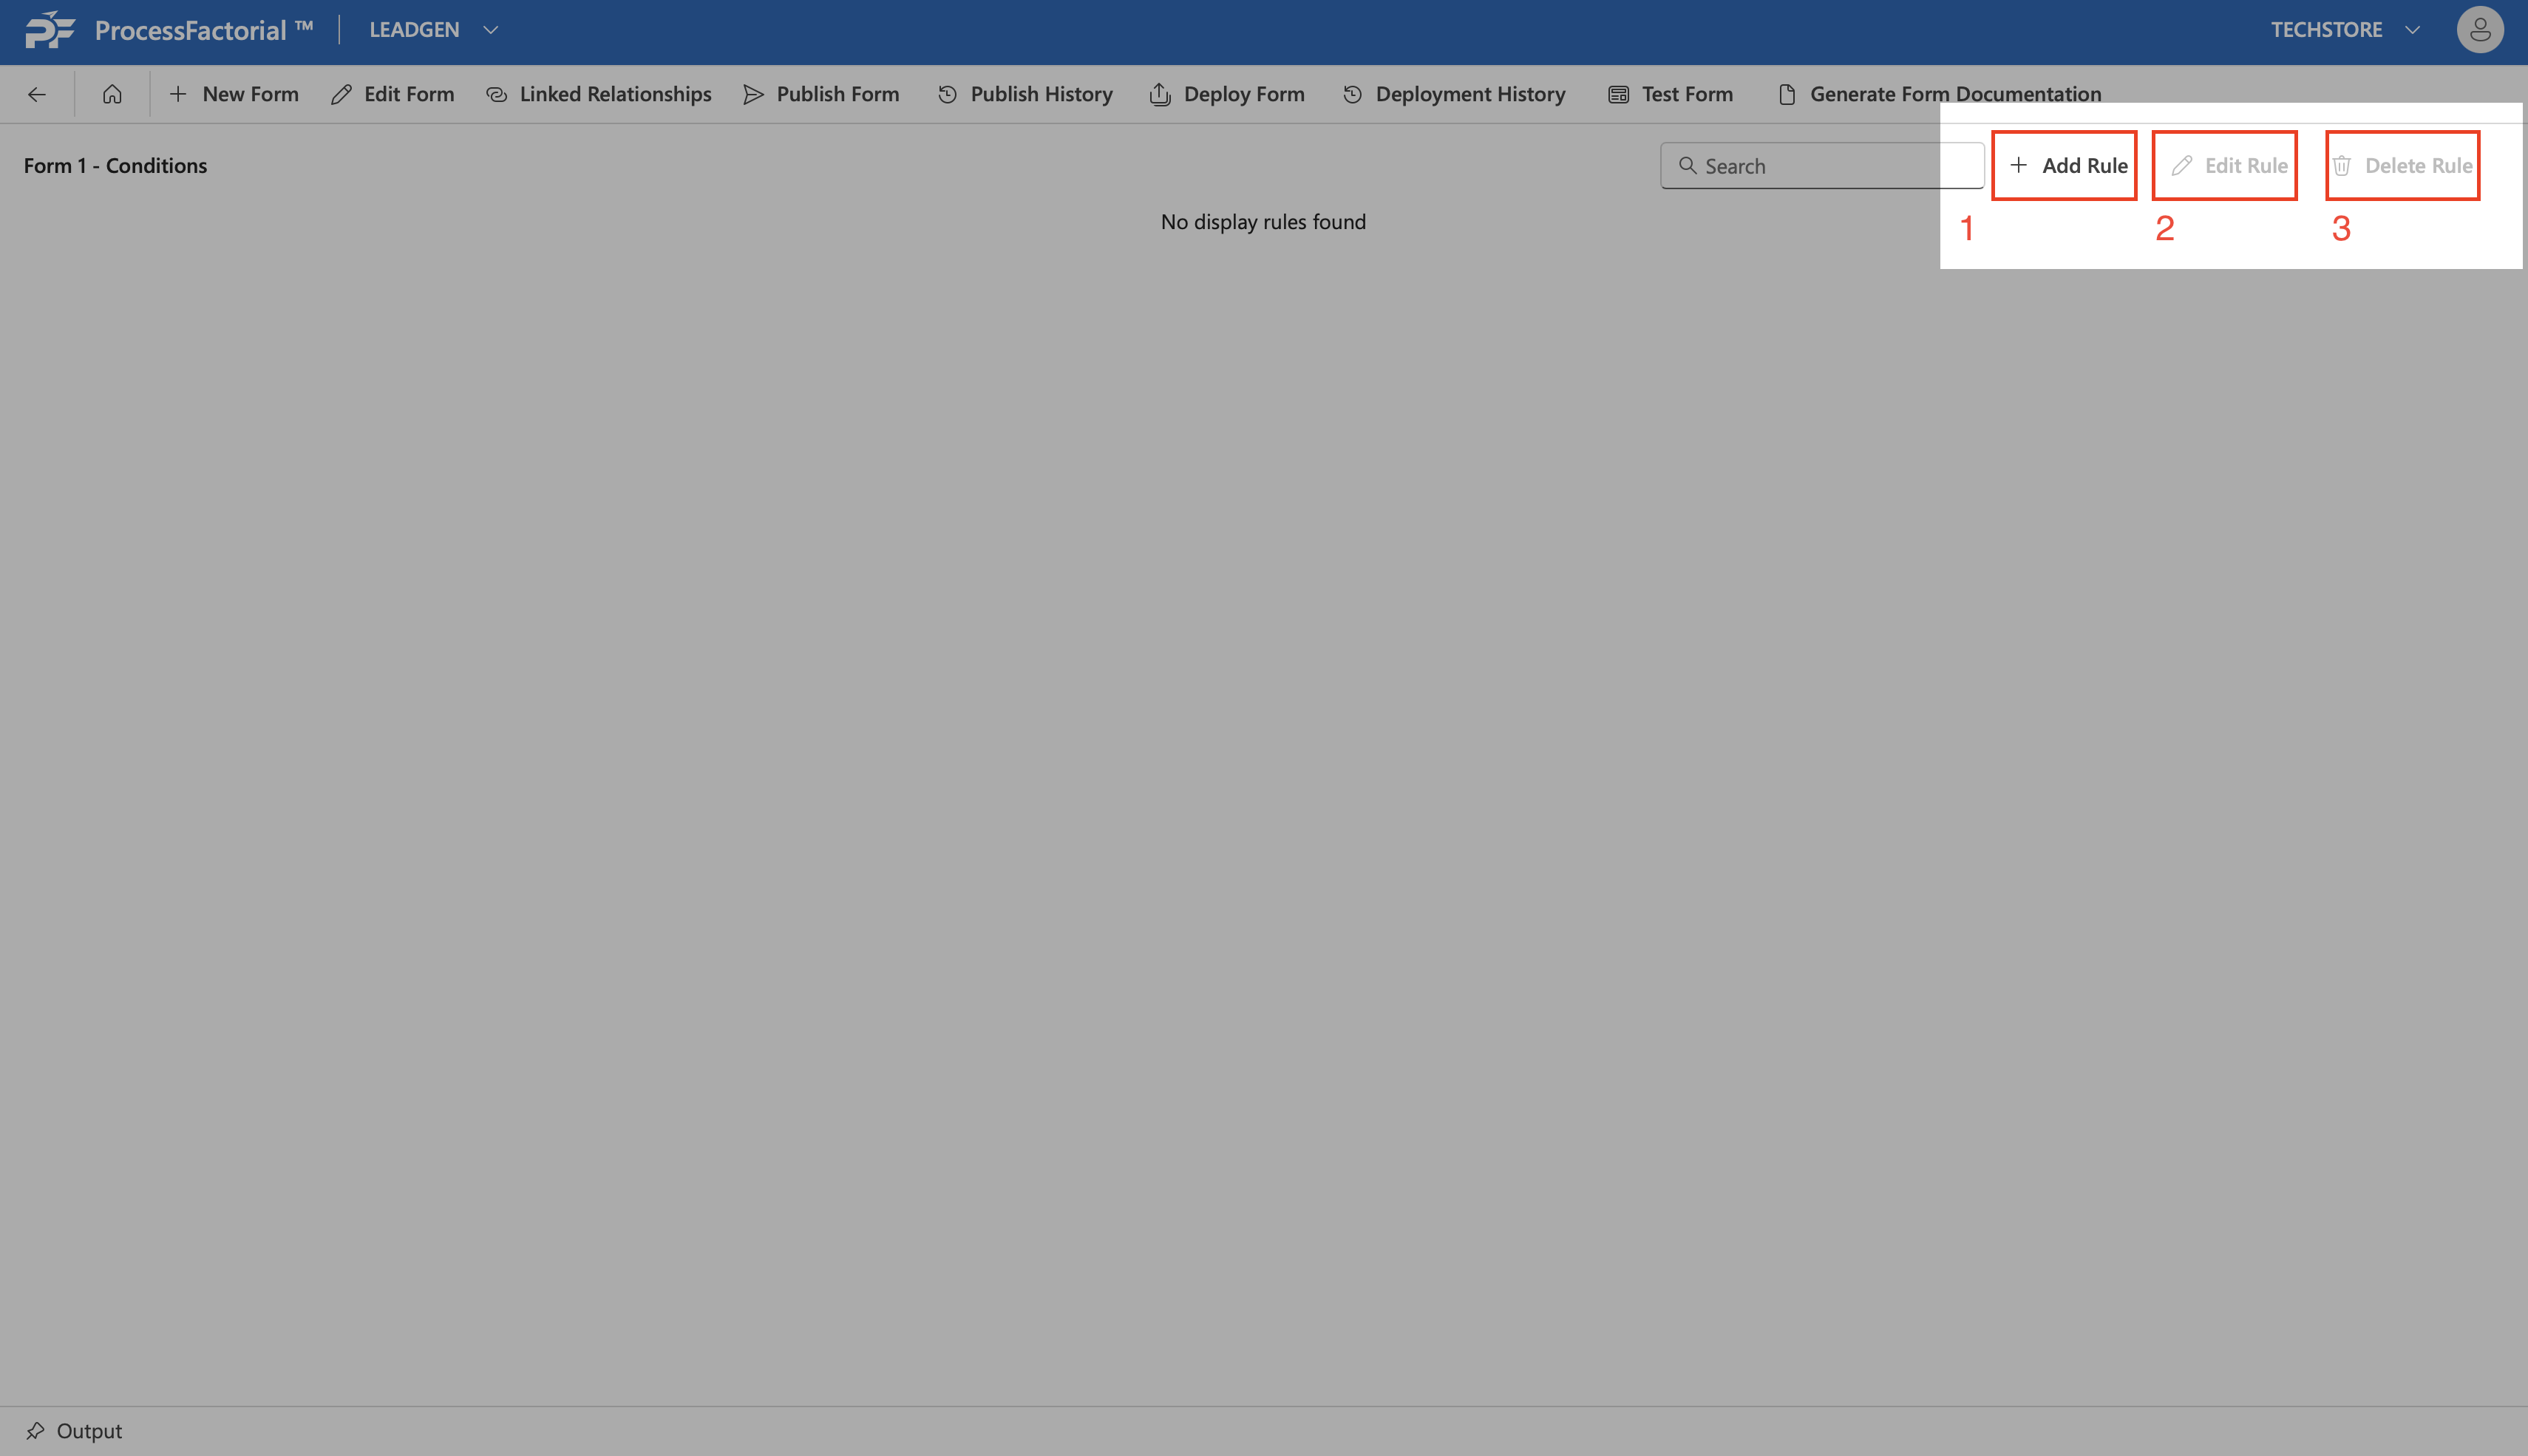
The Conditions page (displayed in the screenshot below) lists all of the UI rules that have been defined by the user and can be accessed from form management page.
Add a New Rule
A new display rule can be added as follows.
- Click on the
+ Add Rulebutton to start creating a new rule. -
In the drawer panel, provide a suitable rule name and click on the
+ Addbutton to choose from the following options
- Rule: Add a single rule that governs the form UI based on the value of a particular field
- Rule Group: Add a rule group that governs the UI visibility based on the predicate resultant from the values of multiple fields
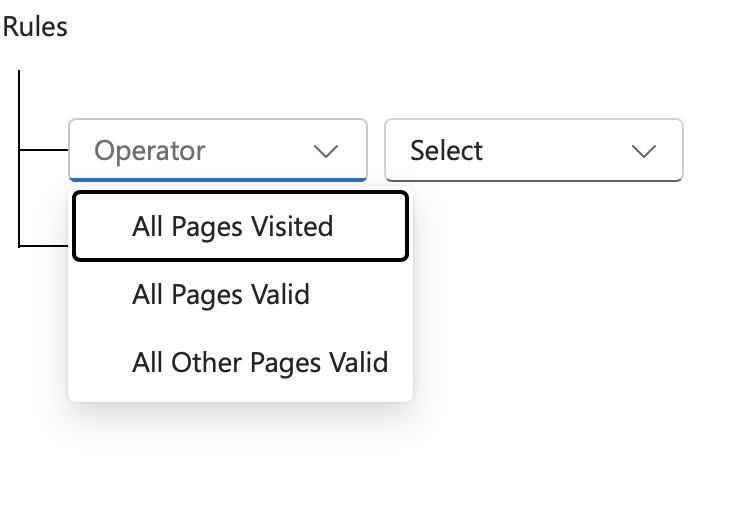
- Form Rule: Choose UI visibility based on three conditions, namely, whether all pages have been visited, all pages were valid or all pages except for the current page are valid.
 ^6f7f29
3. Once the right combination of predicates have been configured as the display rule, click on the
^6f7f29
3. Once the right combination of predicates have been configured as the display rule, click on the Savebutton to save the rule, else, clickCancelto discard everything and exit the panel without saving.
Edit an existing rule
Edit an existing rule as follows.
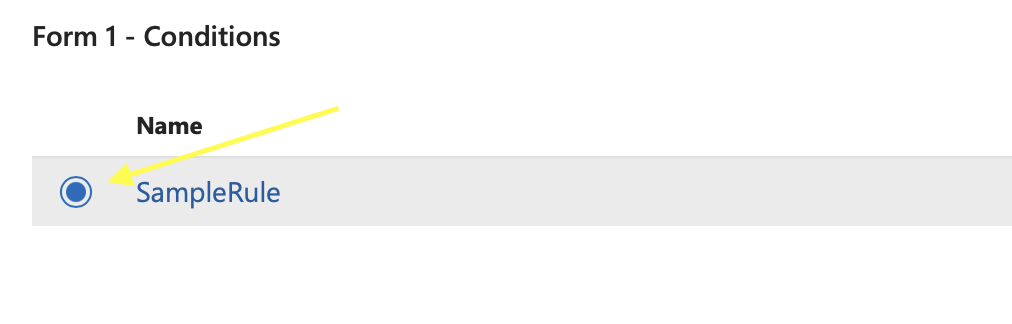
- Select the rule by clicking on the radio button next to it.
 2. Next, click on the
 Edit Rule button at the upper-right panel. In the drawer panel that opens, make appropriate changes to the rules as needed.
3. Click on the Save button to save the changes, else click Cancel to discard the changes.
Delete an existing rule
Follow the below steps to delete an existing rule.
- Select the rule to be deleted by clicking on the radio button next to it.
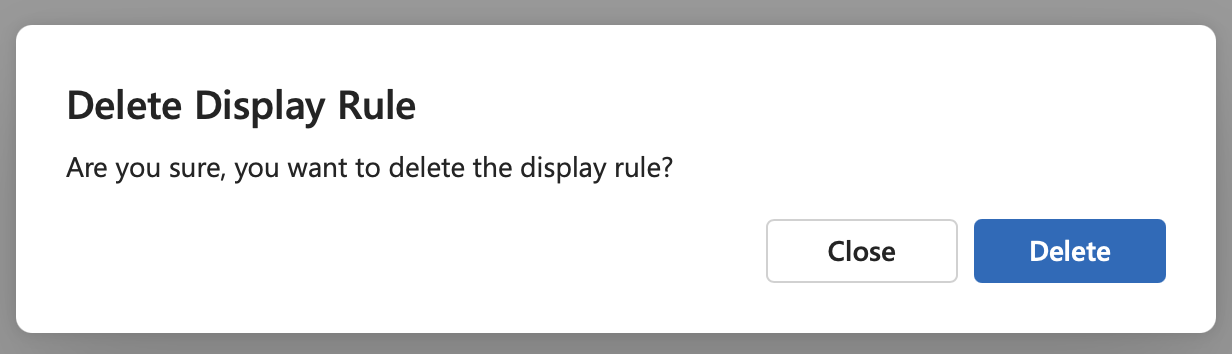
- Click on the
Deletebutton in the upper-right panel. - In the dialog box that opens up asking for confirmation, click on the
Deletebutton to confirm and proceed with deletion, else clickCloseto exit without deleting.