Manage Fields
Within a section, fields can be created, modified and deleted as outlined in this page.
Add a Field
This page outlines how to create a field within a page of your Factorial Form
- In the Form Configuration page, select the respective page and click on the
Add Fieldbutton (as indicated in the screenshot) adjacent to the respective section header, to start creating a field. ^26c3ed
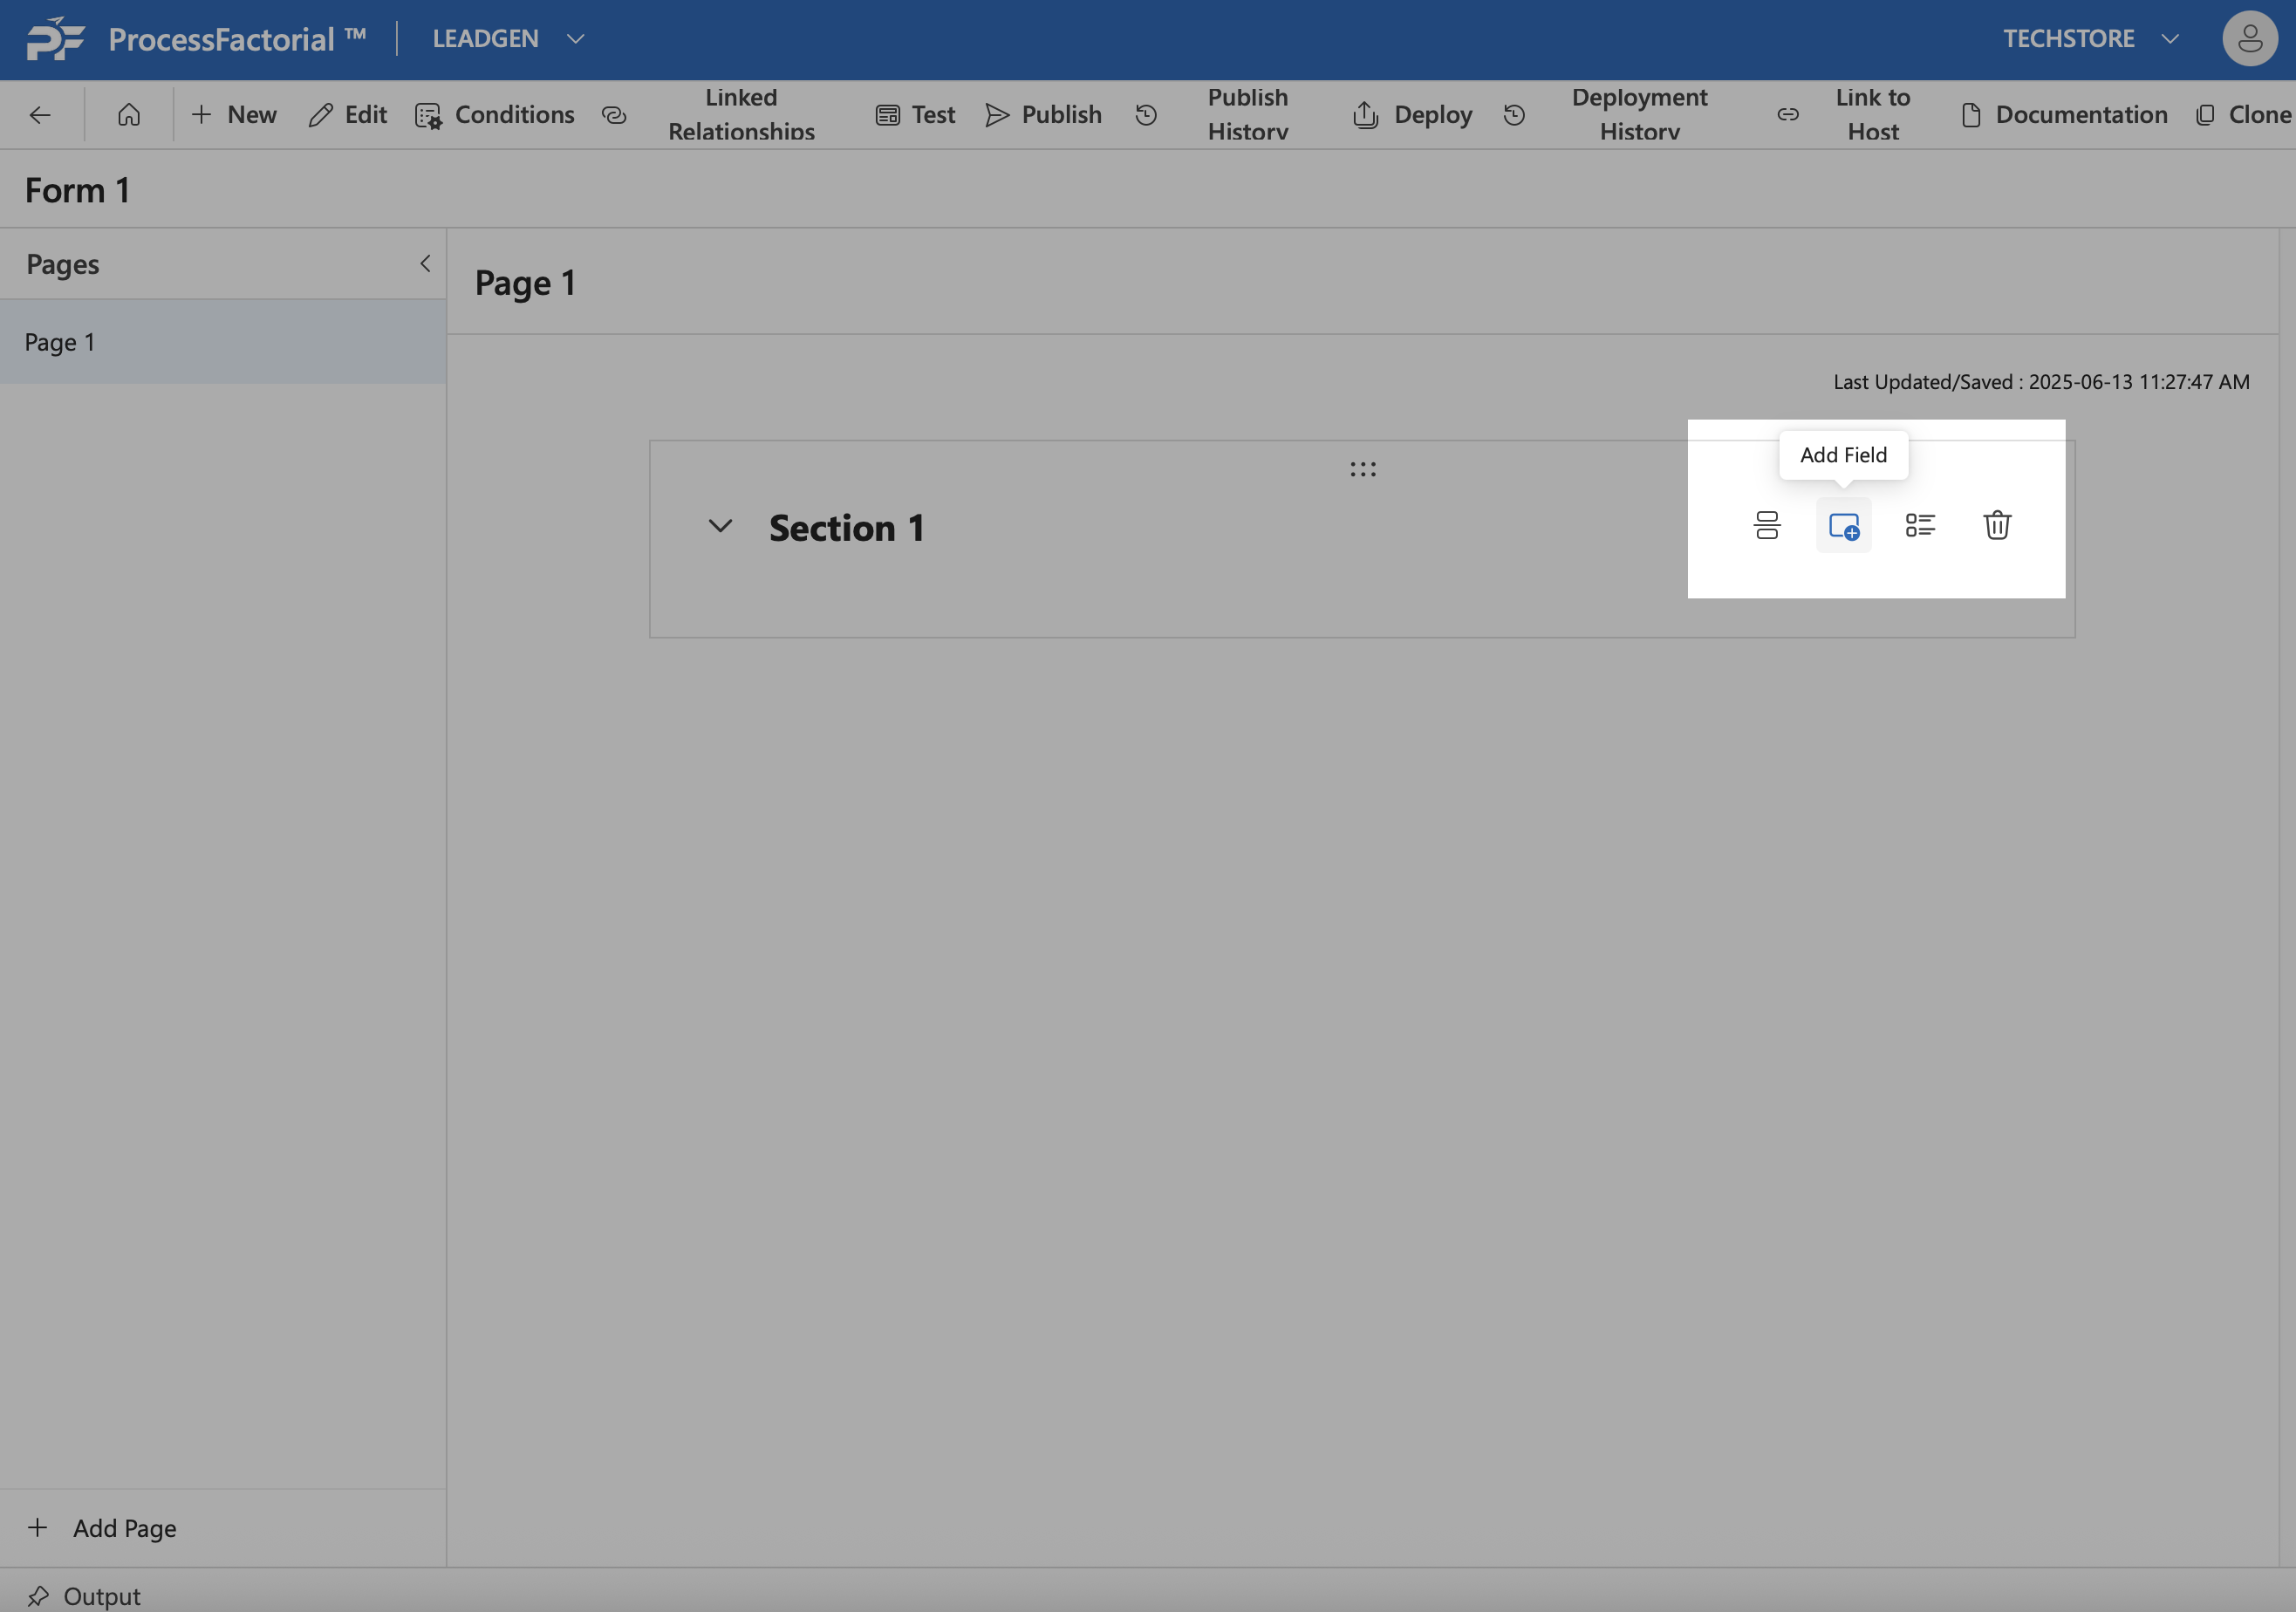
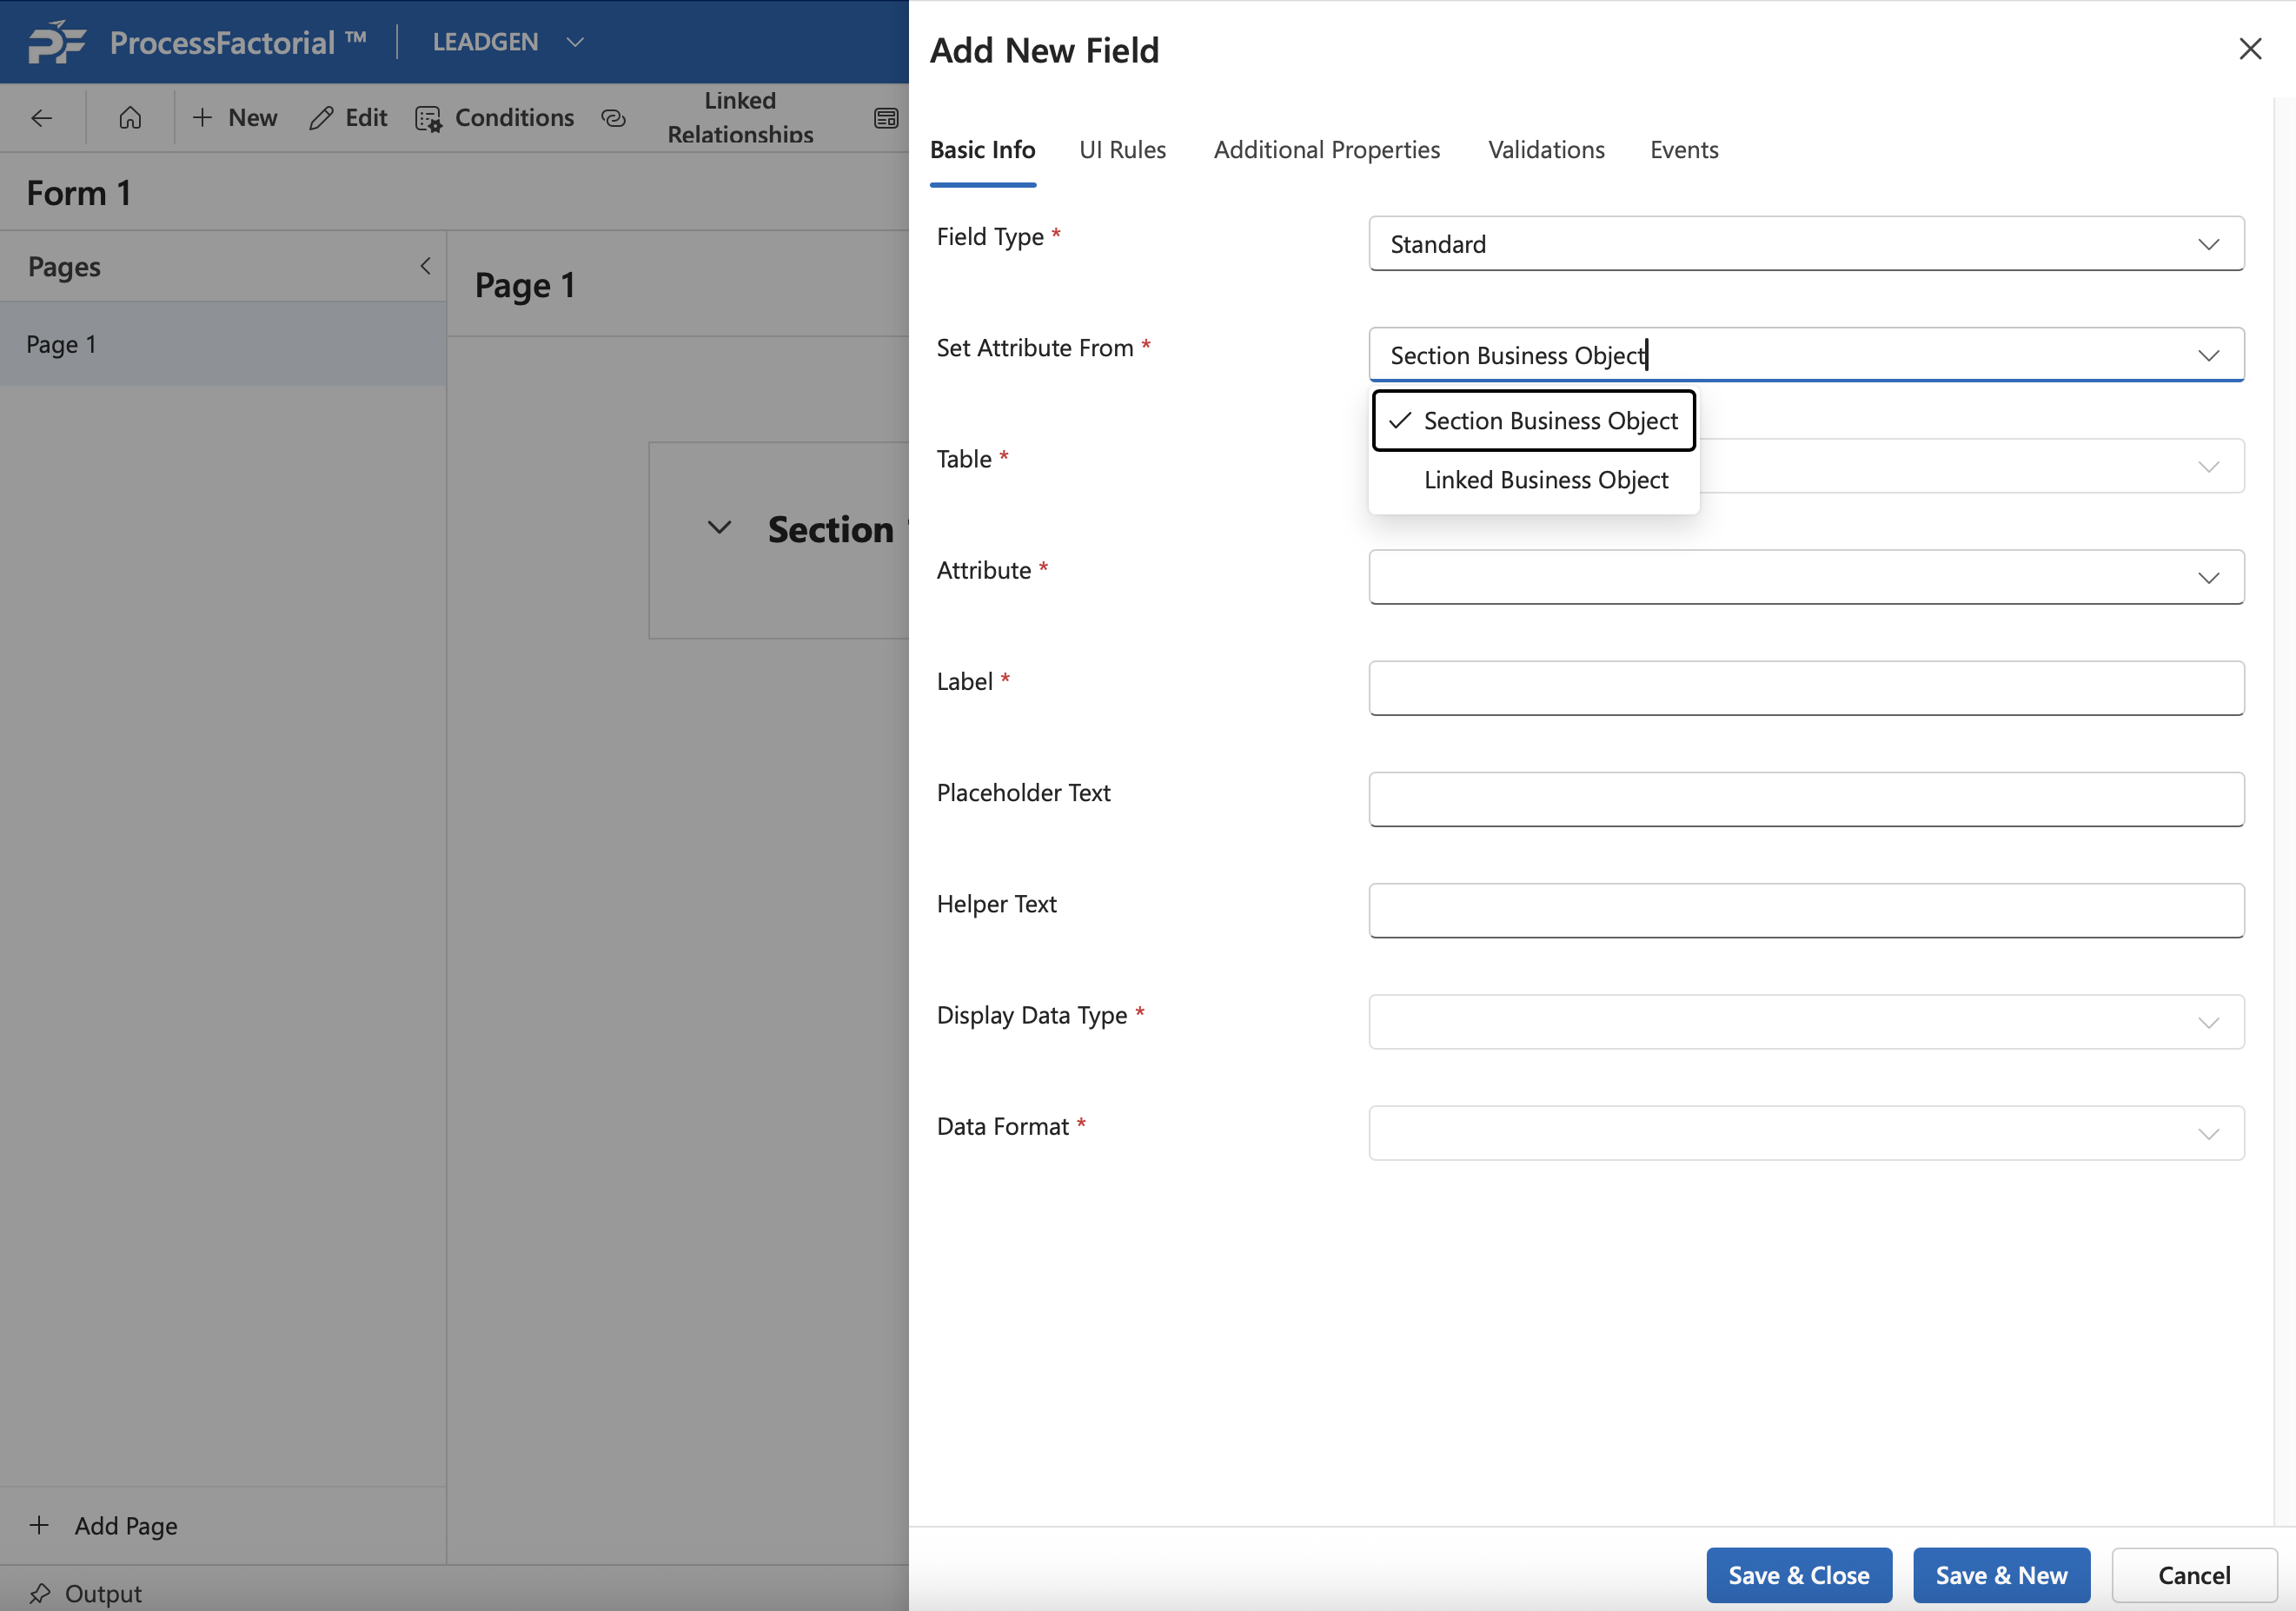
- In the fly-out panel, choose a type for the field using the
Field Typedrop down. Depending on the type, refer to the respective wiki for each to populate the rest of the corresponding details on the page: ^e4e456- Standard Field Types
- Static Field Type
- File Upload Field Type
- Image Upload Field Type
- Summary Field Type
- [[Form Only Field Type]] .
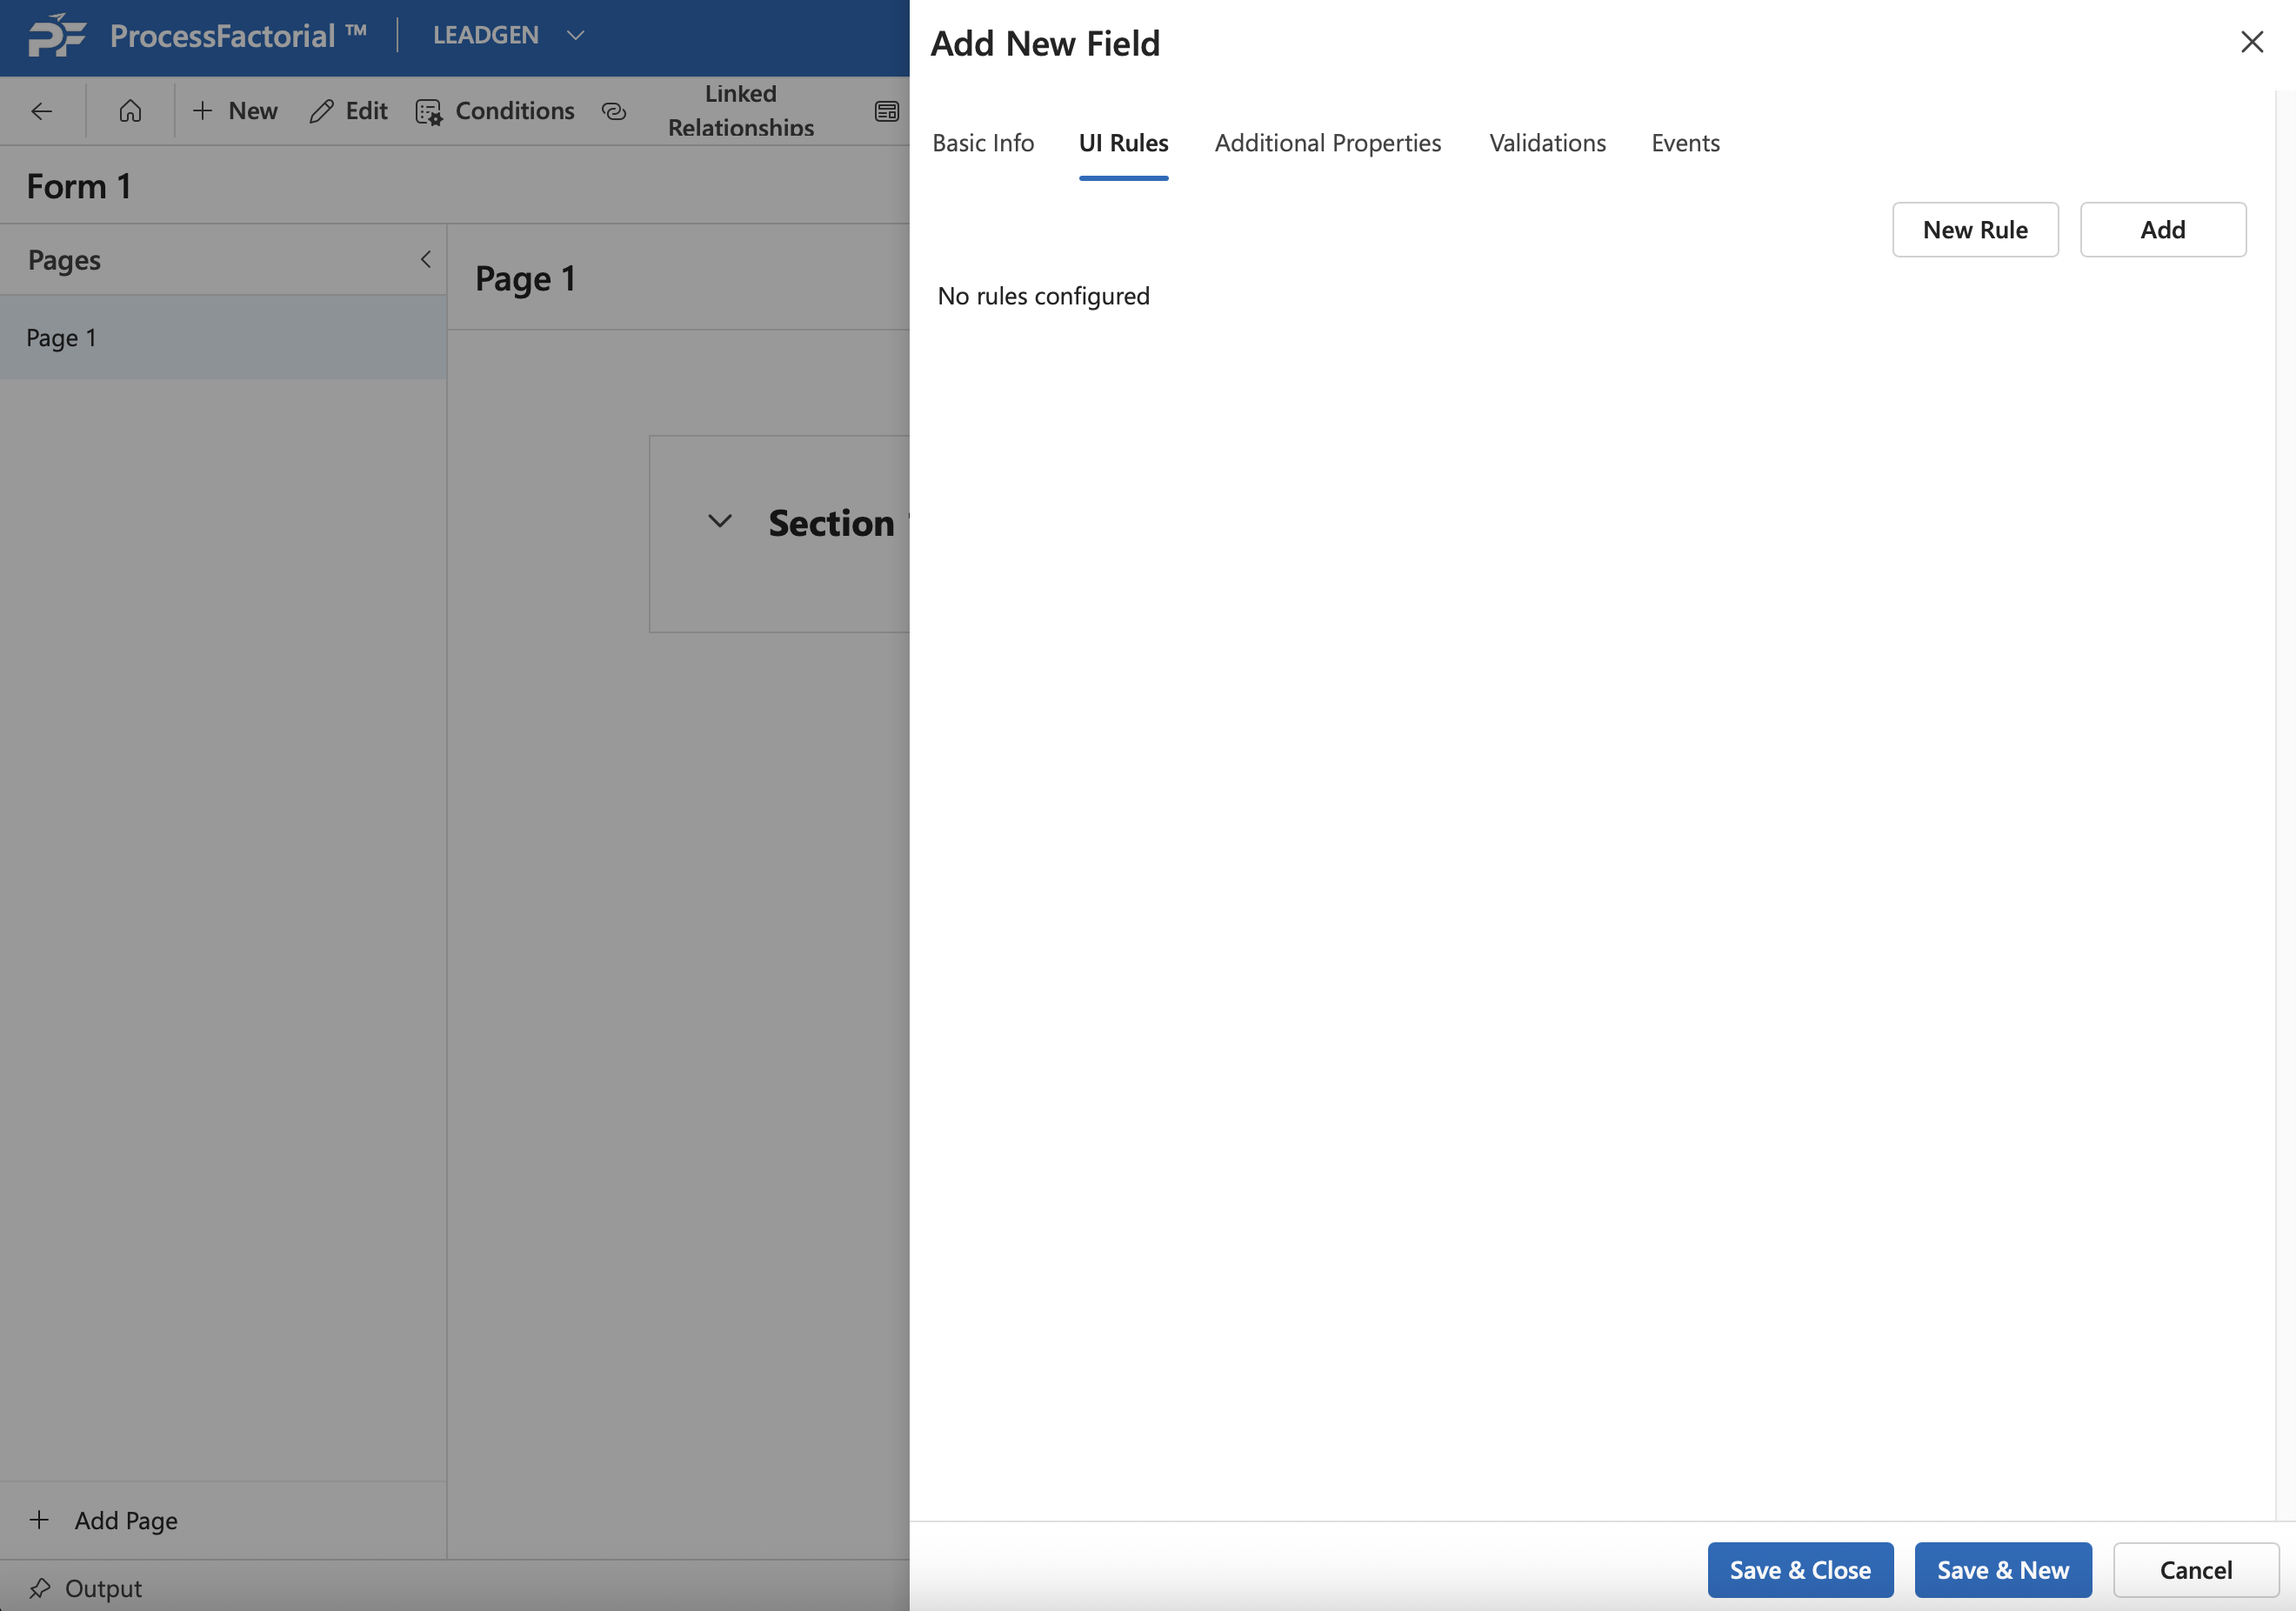
- Once the Basic Info has been configured, click in the UI Rules tab to define the same for the field. Click on the
New Rulebutton to define a new rule, or click on theAddbutton to add an existing rule. Refer to the Manage Conditional Rules wiki for more details regarding UI rules.
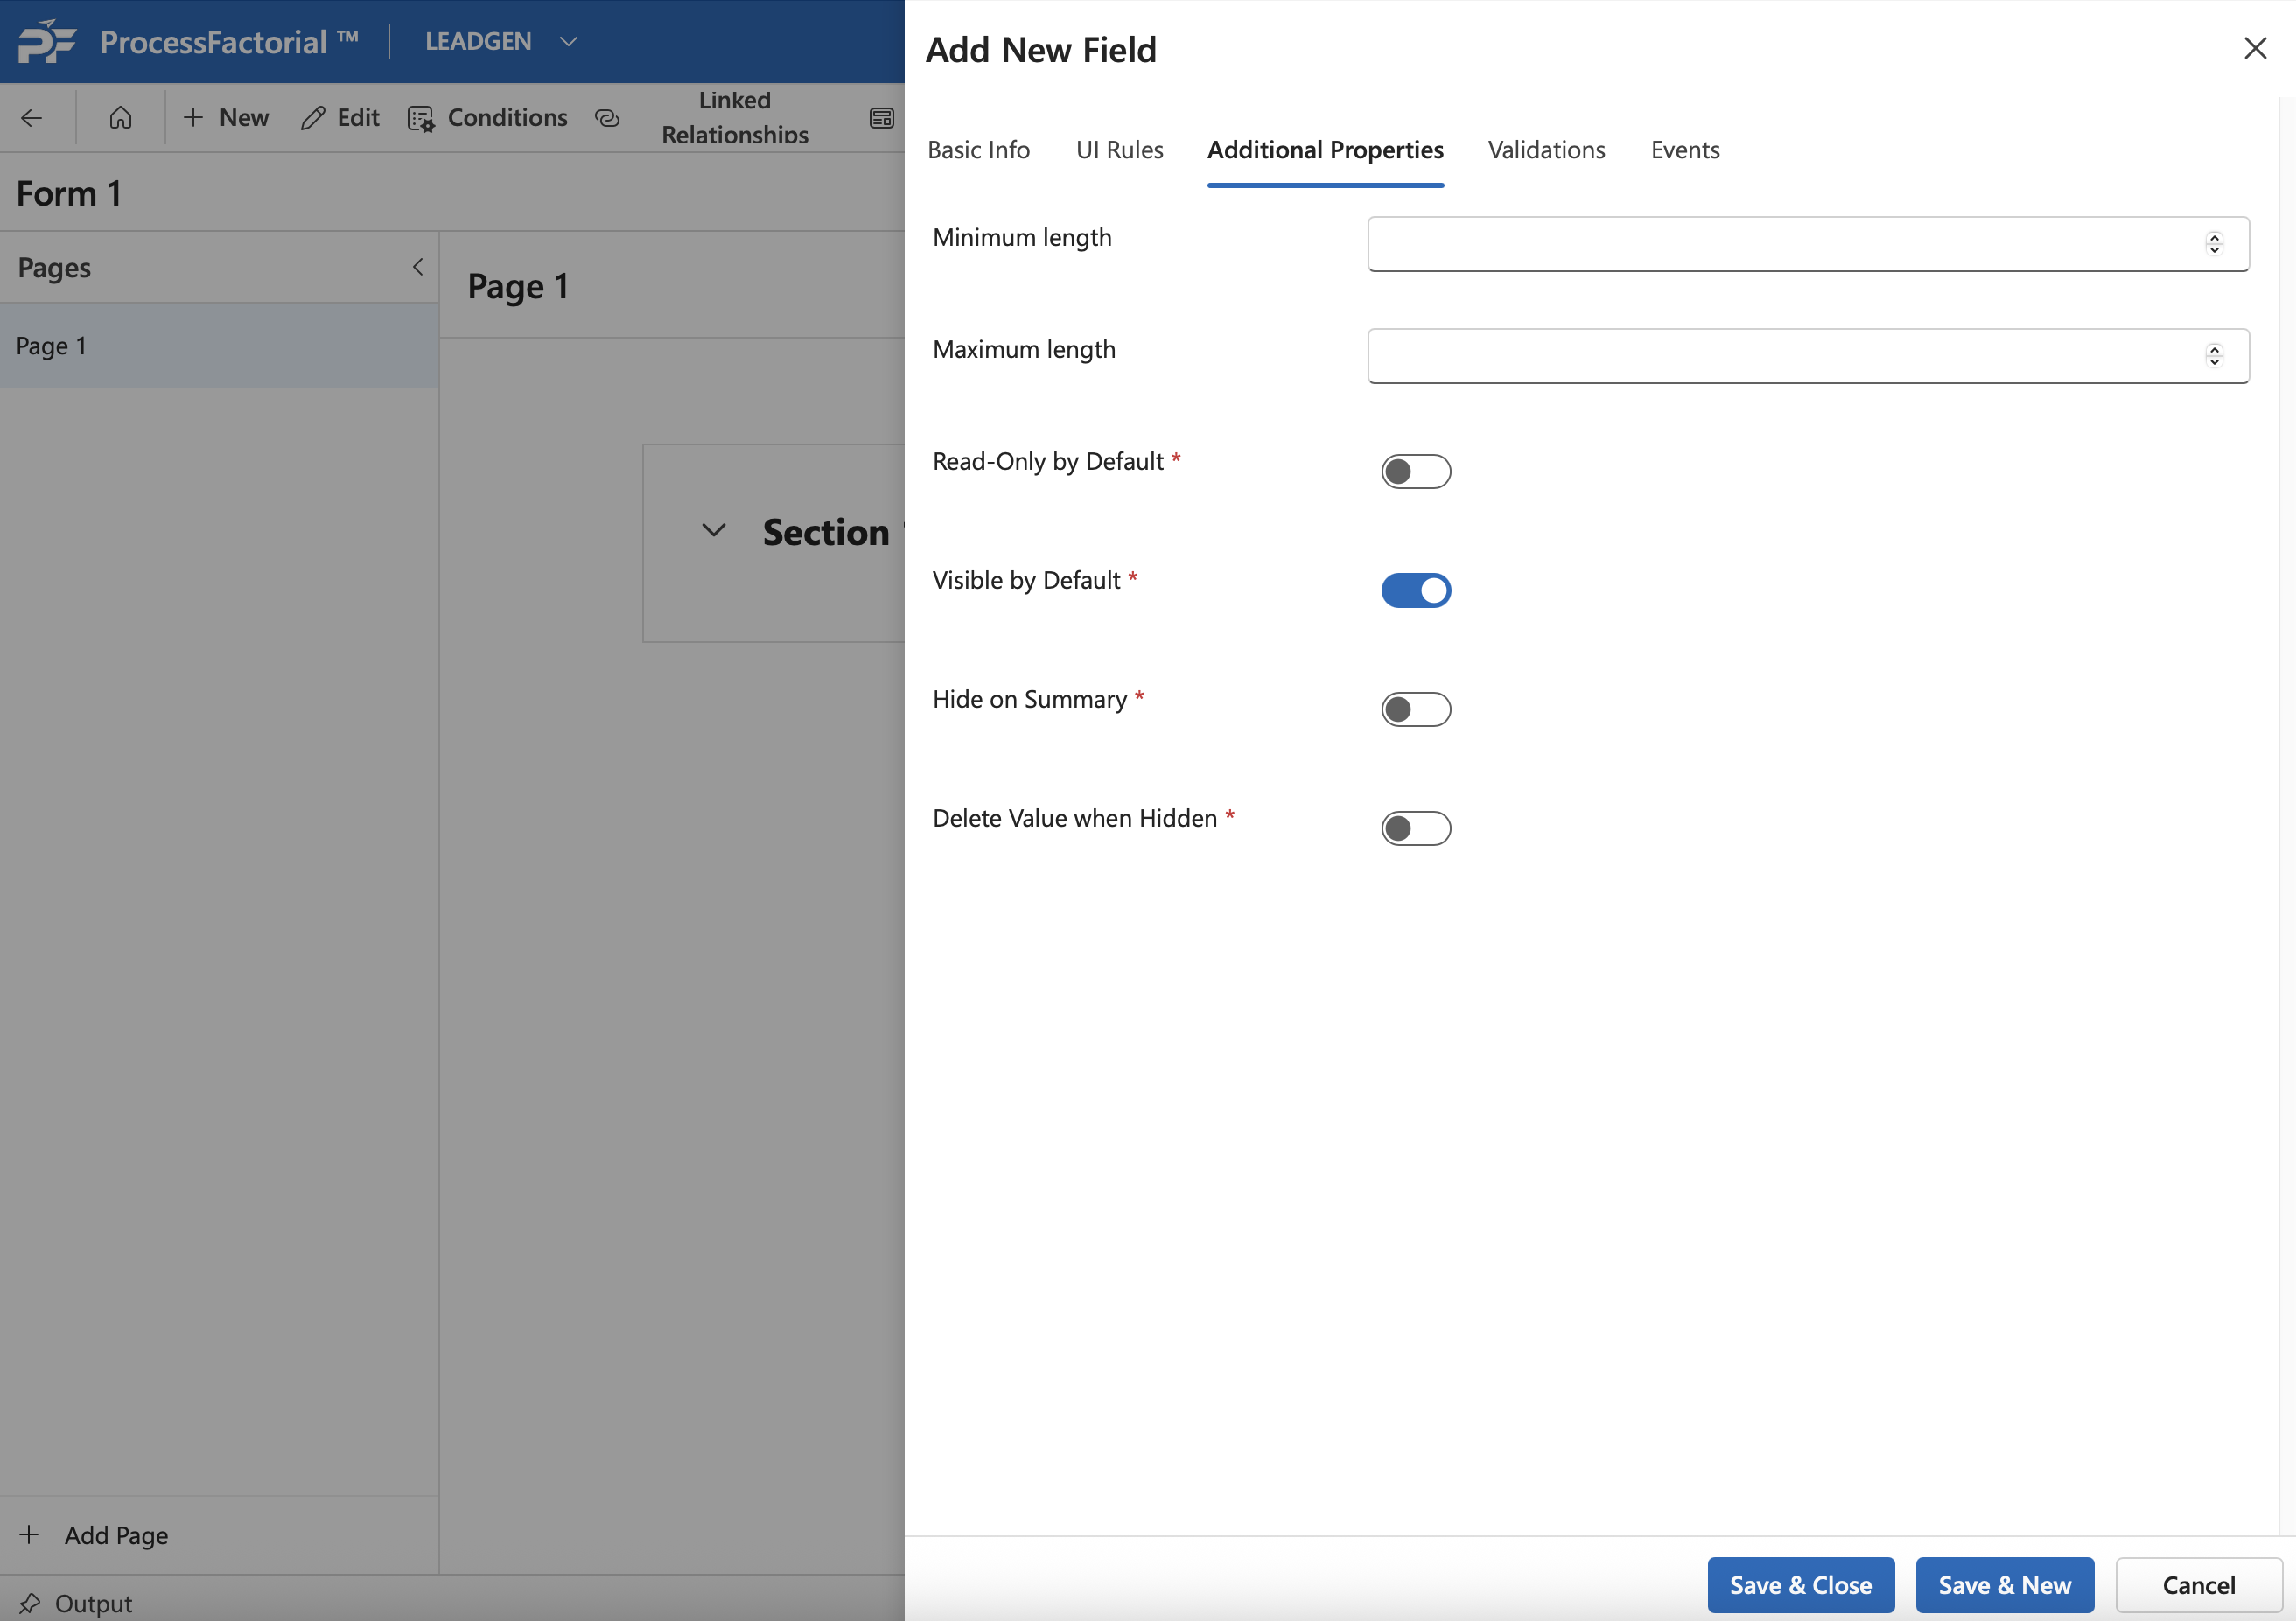
- Next, configure the details in the Additional Properties tab. Depending on the field refer to the corresponding wiki for each field type to configure the same.
- Next, set up desired validations for the field in the
Validationstab. Refer to the respective wikis for each field type for more details on the same.

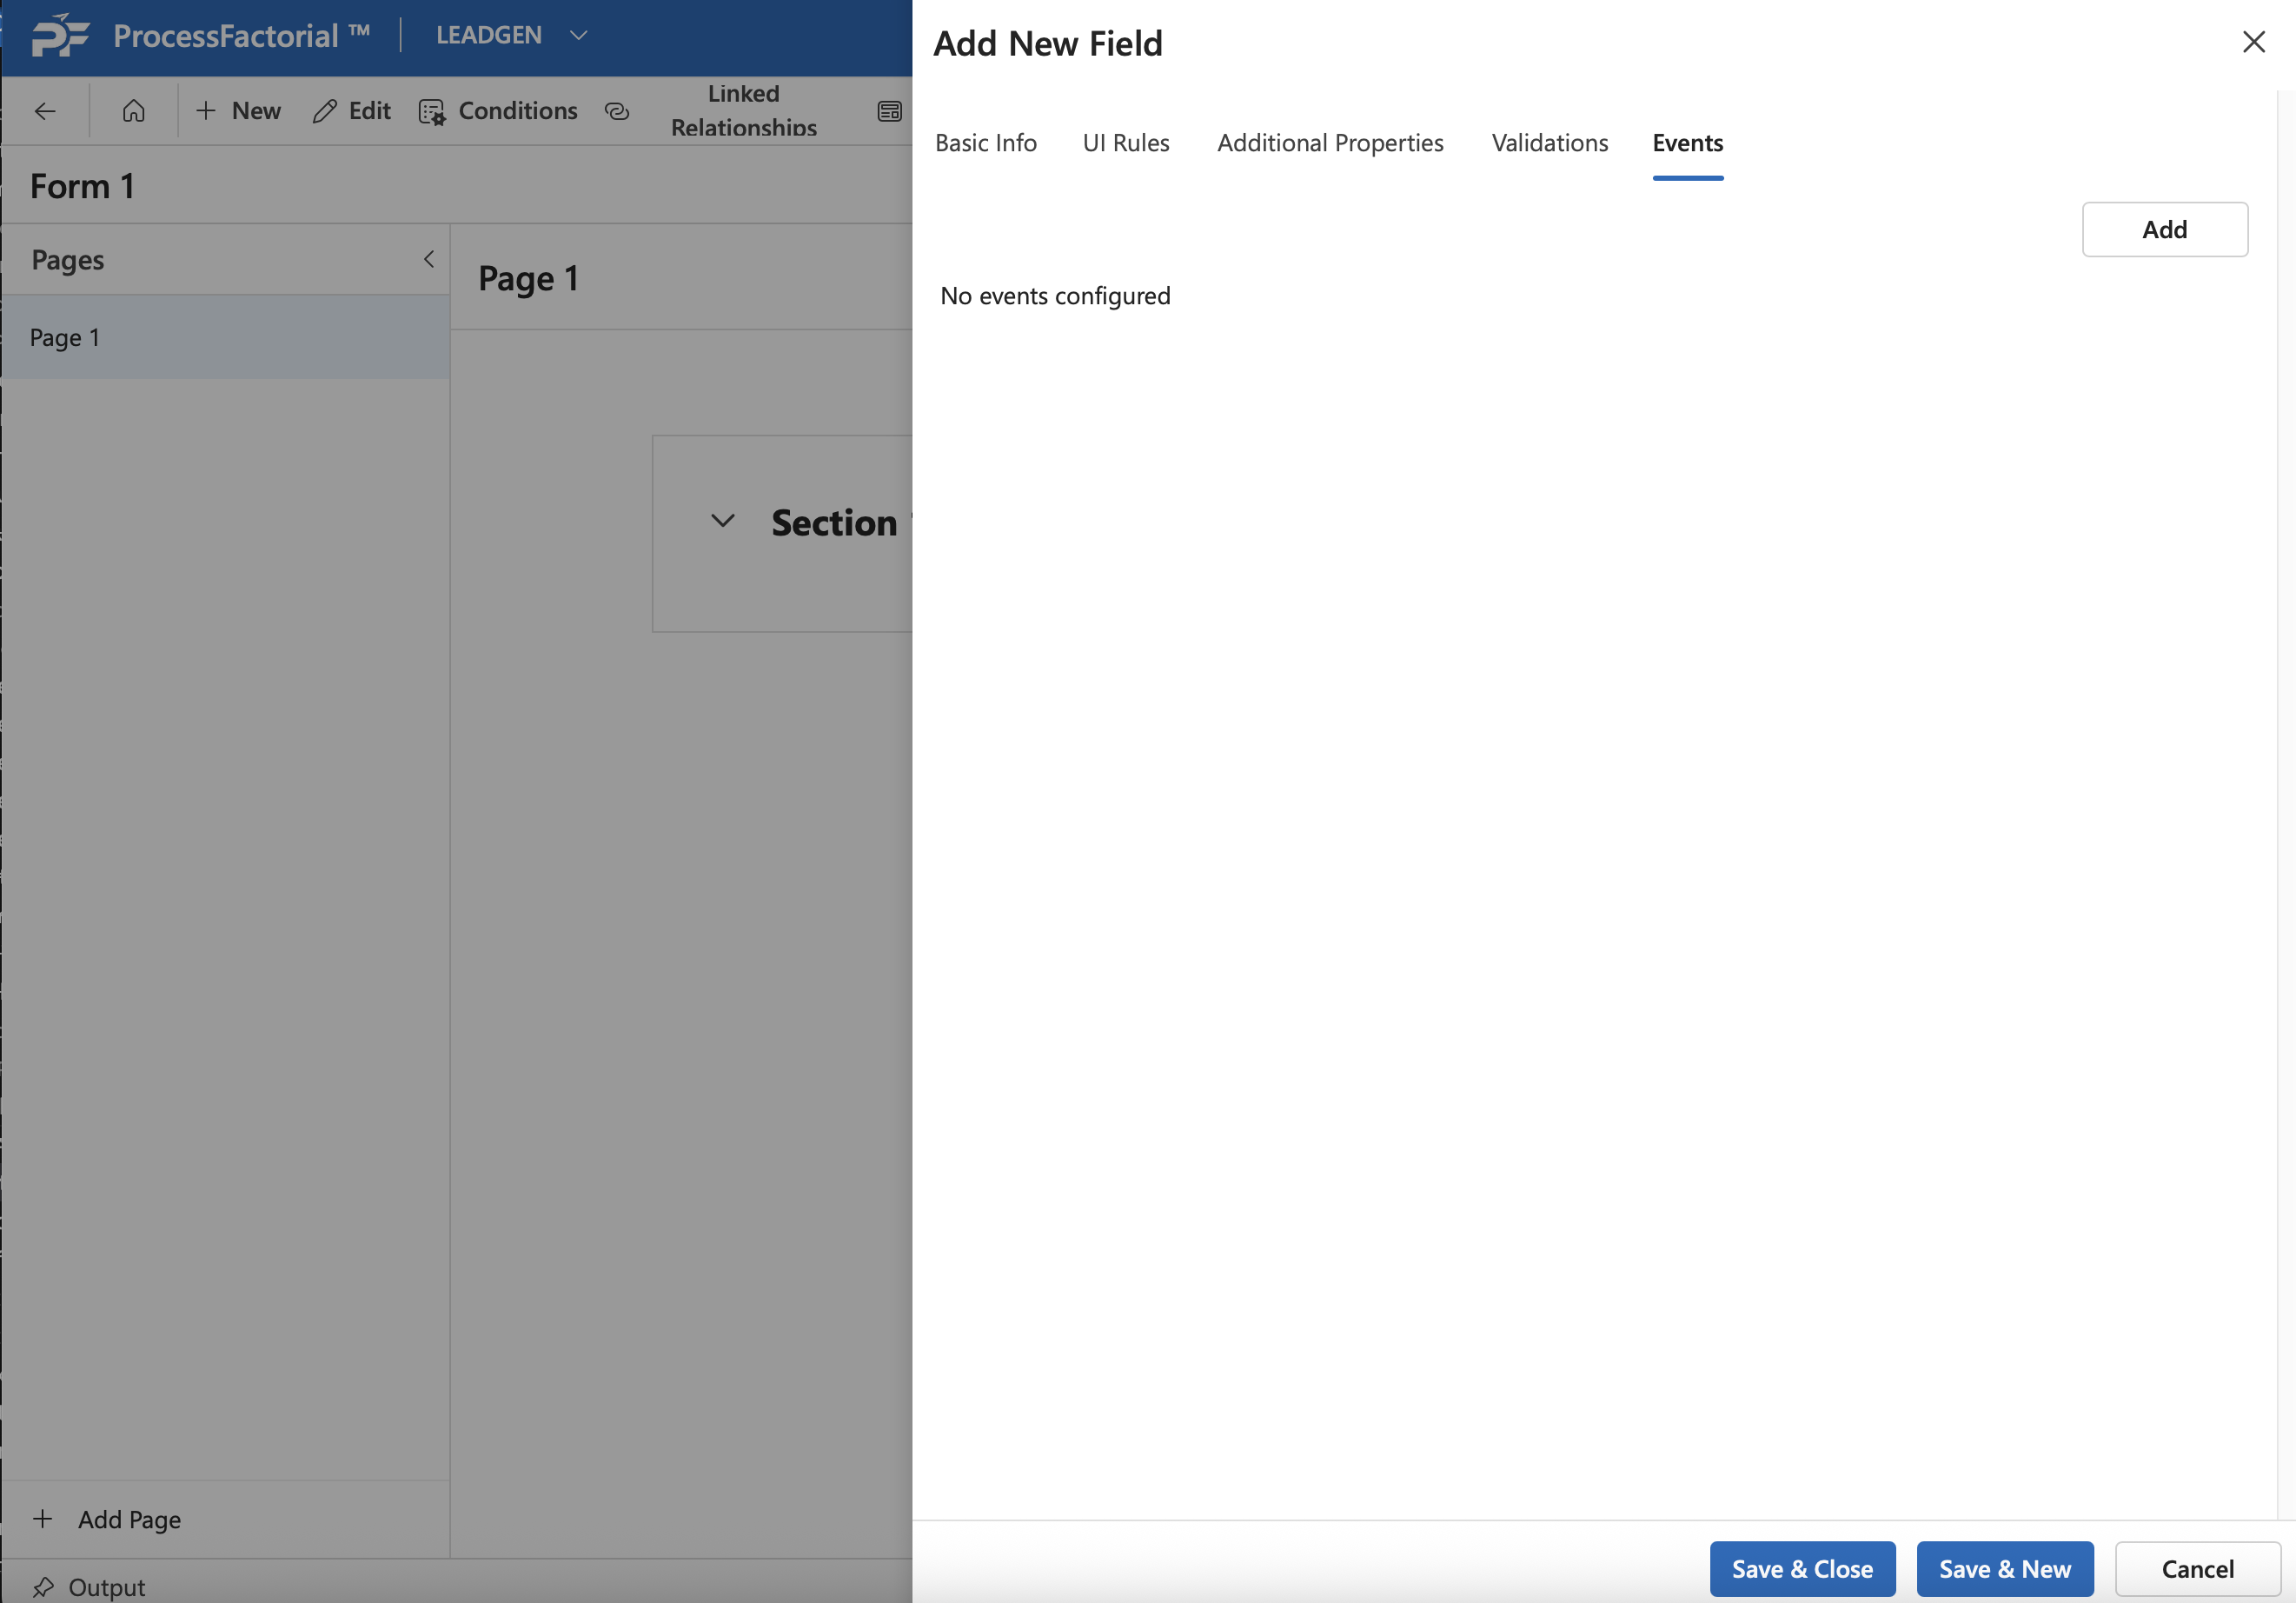
- Configure events associated with the field under the
Eventstab. Refer to Events on a Form to learn more.
- Click on
Save & Closeto save the field and exit to the Form Configuration page, or alternatively clickSave & Newto save the field and proceed to create another new field. Once the field is saved, it will be visible in the respective section.
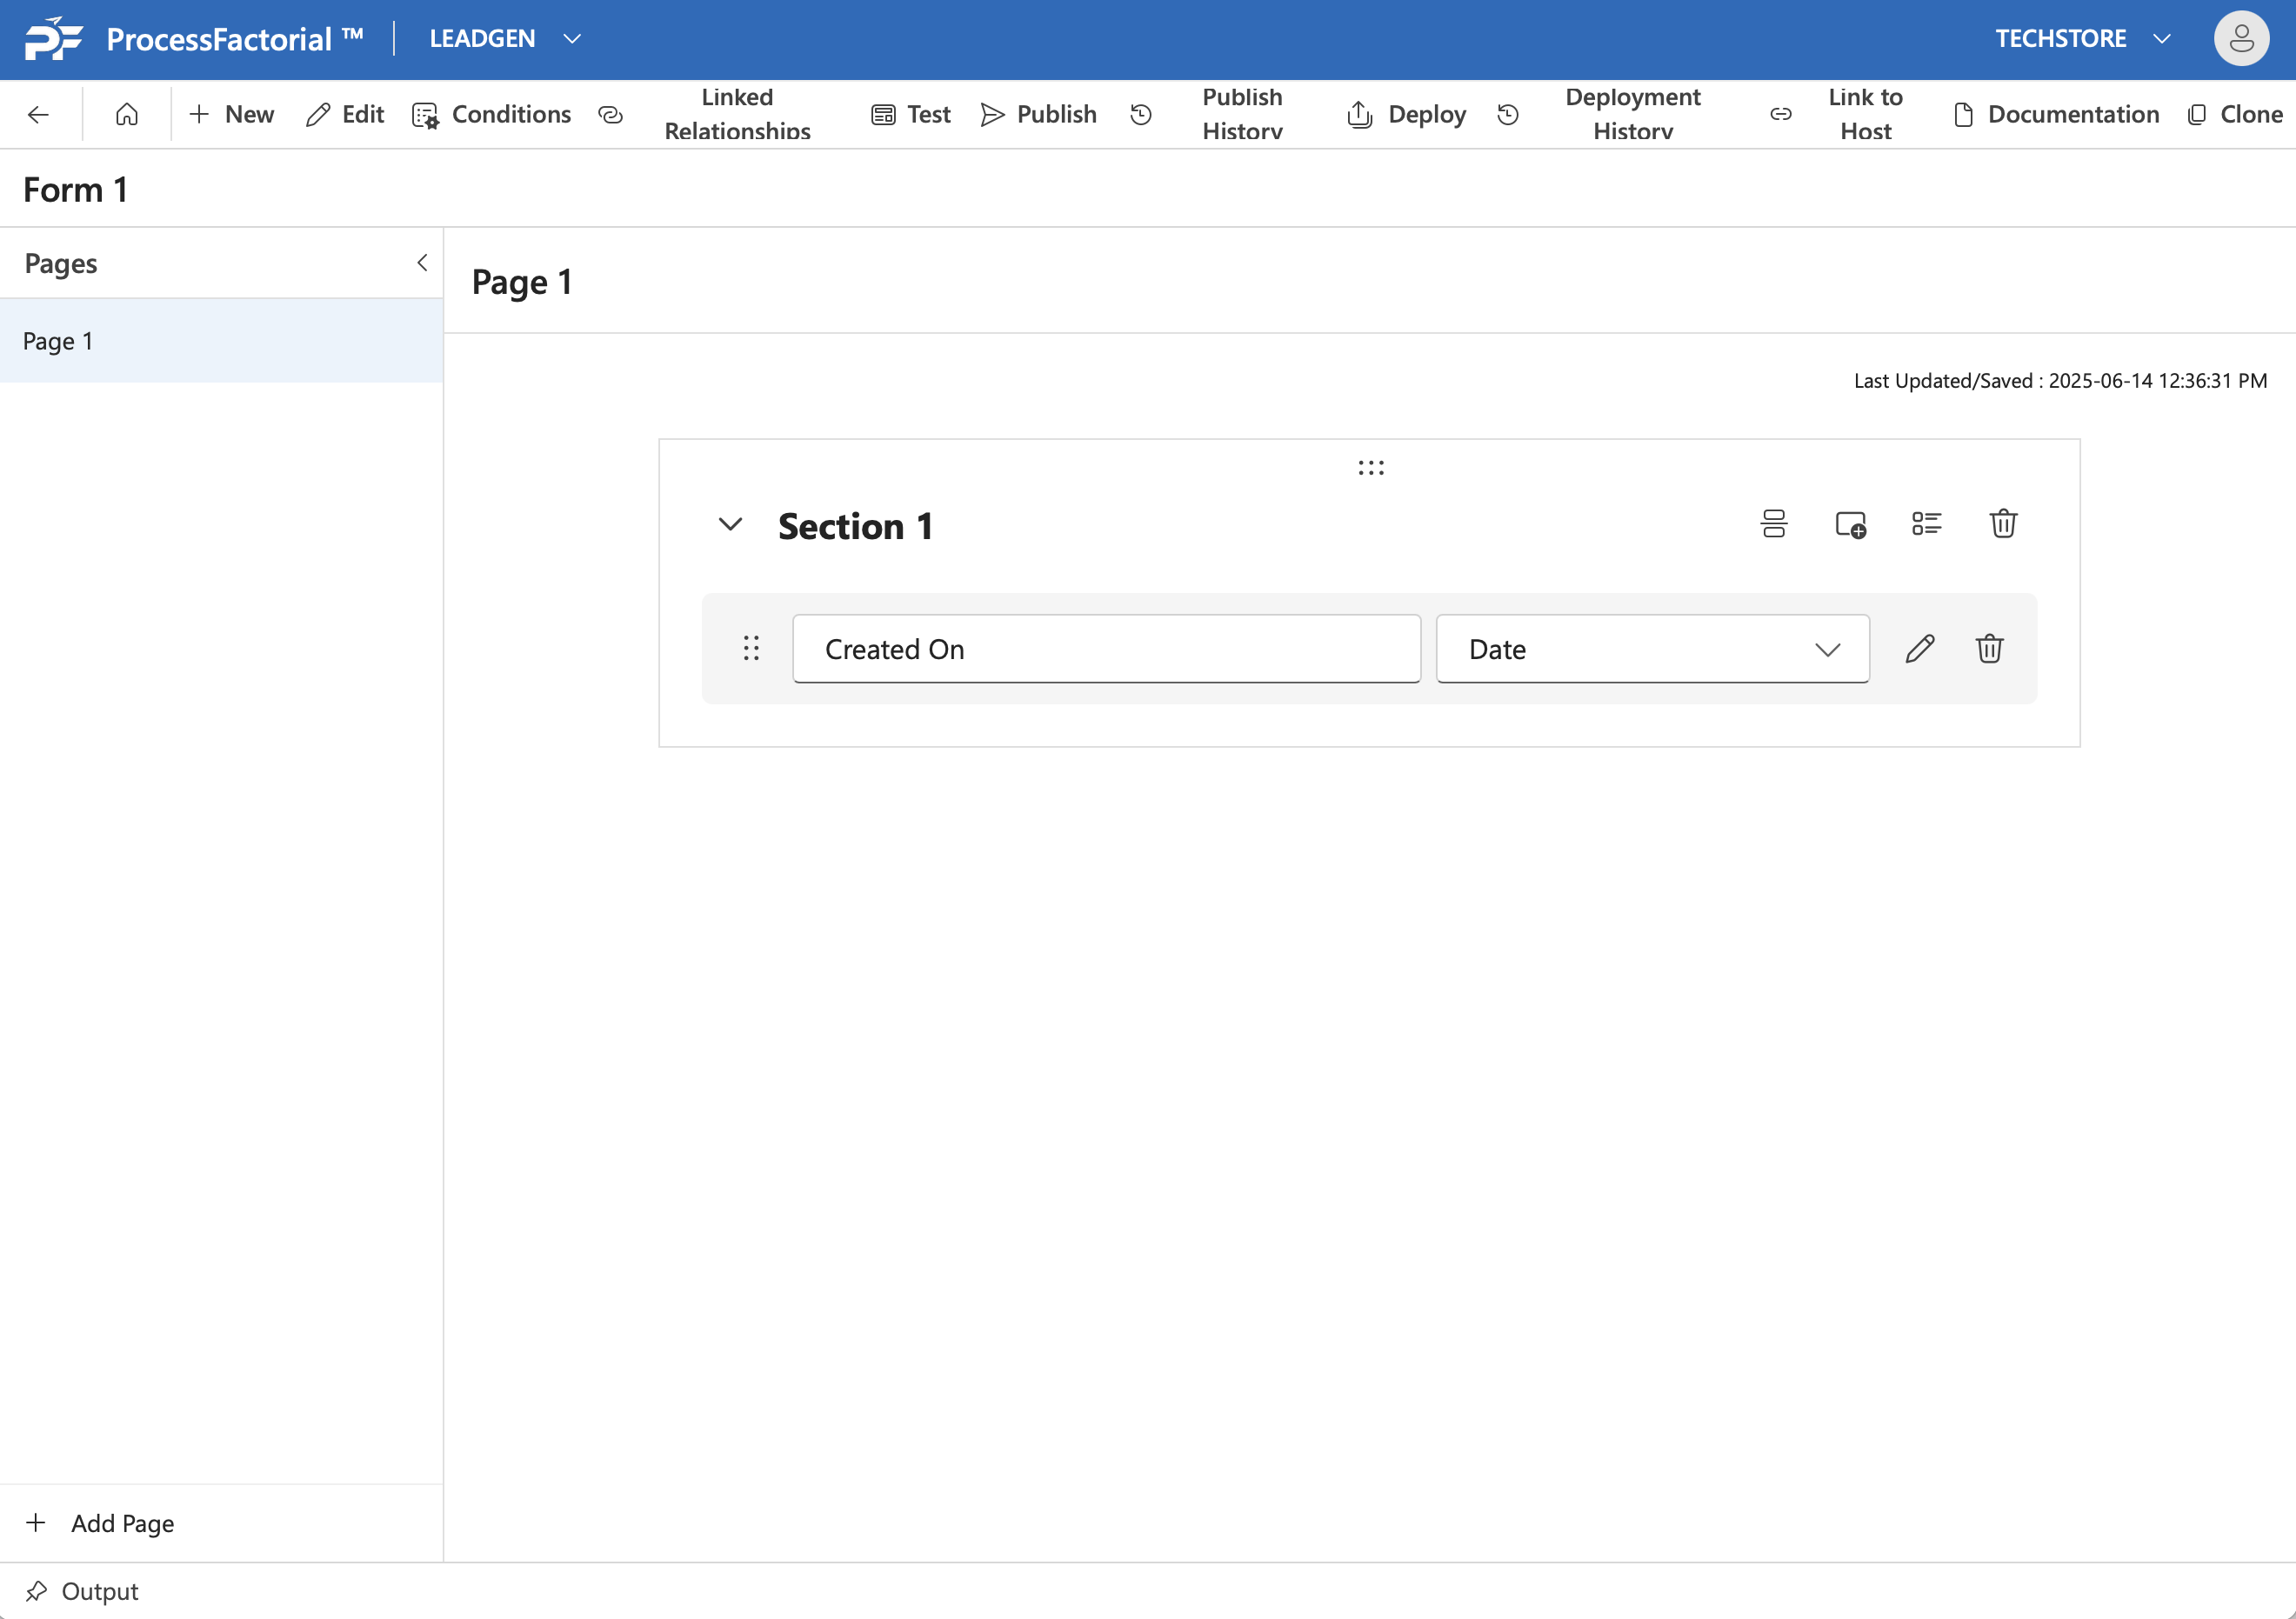
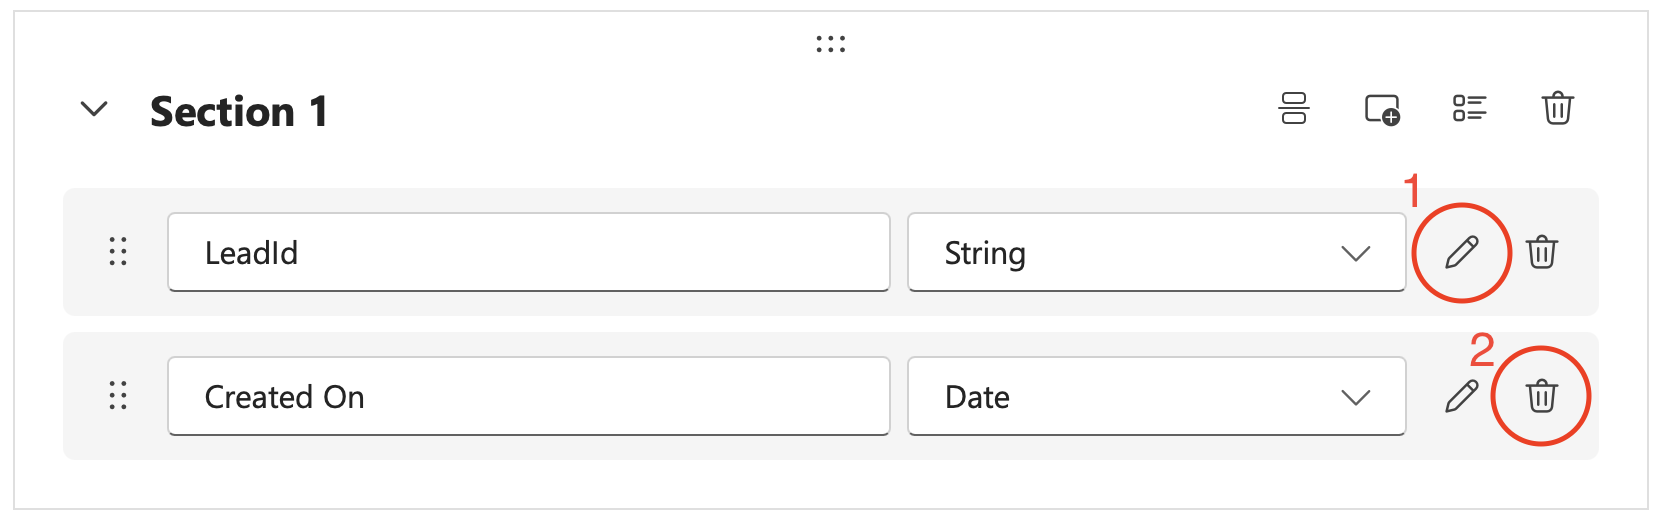
Existing fields can be edited and deleted from a section using the Edit and Delete buttons next to it.
Edit Field
- Click on the
Edit Button (Pencil Icon)next to an existing field to open up the properties drawer panel for the field. - In the drawer panel, modify necessary details for the respective fields as outlined here
- Once satisfied with the changes, click on
Save & Closeto save the changes, else, click onCancelto abort.
Delete Field
- Click on the
Delete Button (Trash Can)next to an existing field. - In the confirmation dialog box that appears, click on
Deleteto confirm and complete the deletion, else click onCloseto Abort.