Manage a Form
This page outlines how to manage Factorial Forms on the ProcessFactorial Portal Forms can be created and modified from the form management page as well as the overview page for an individual form.
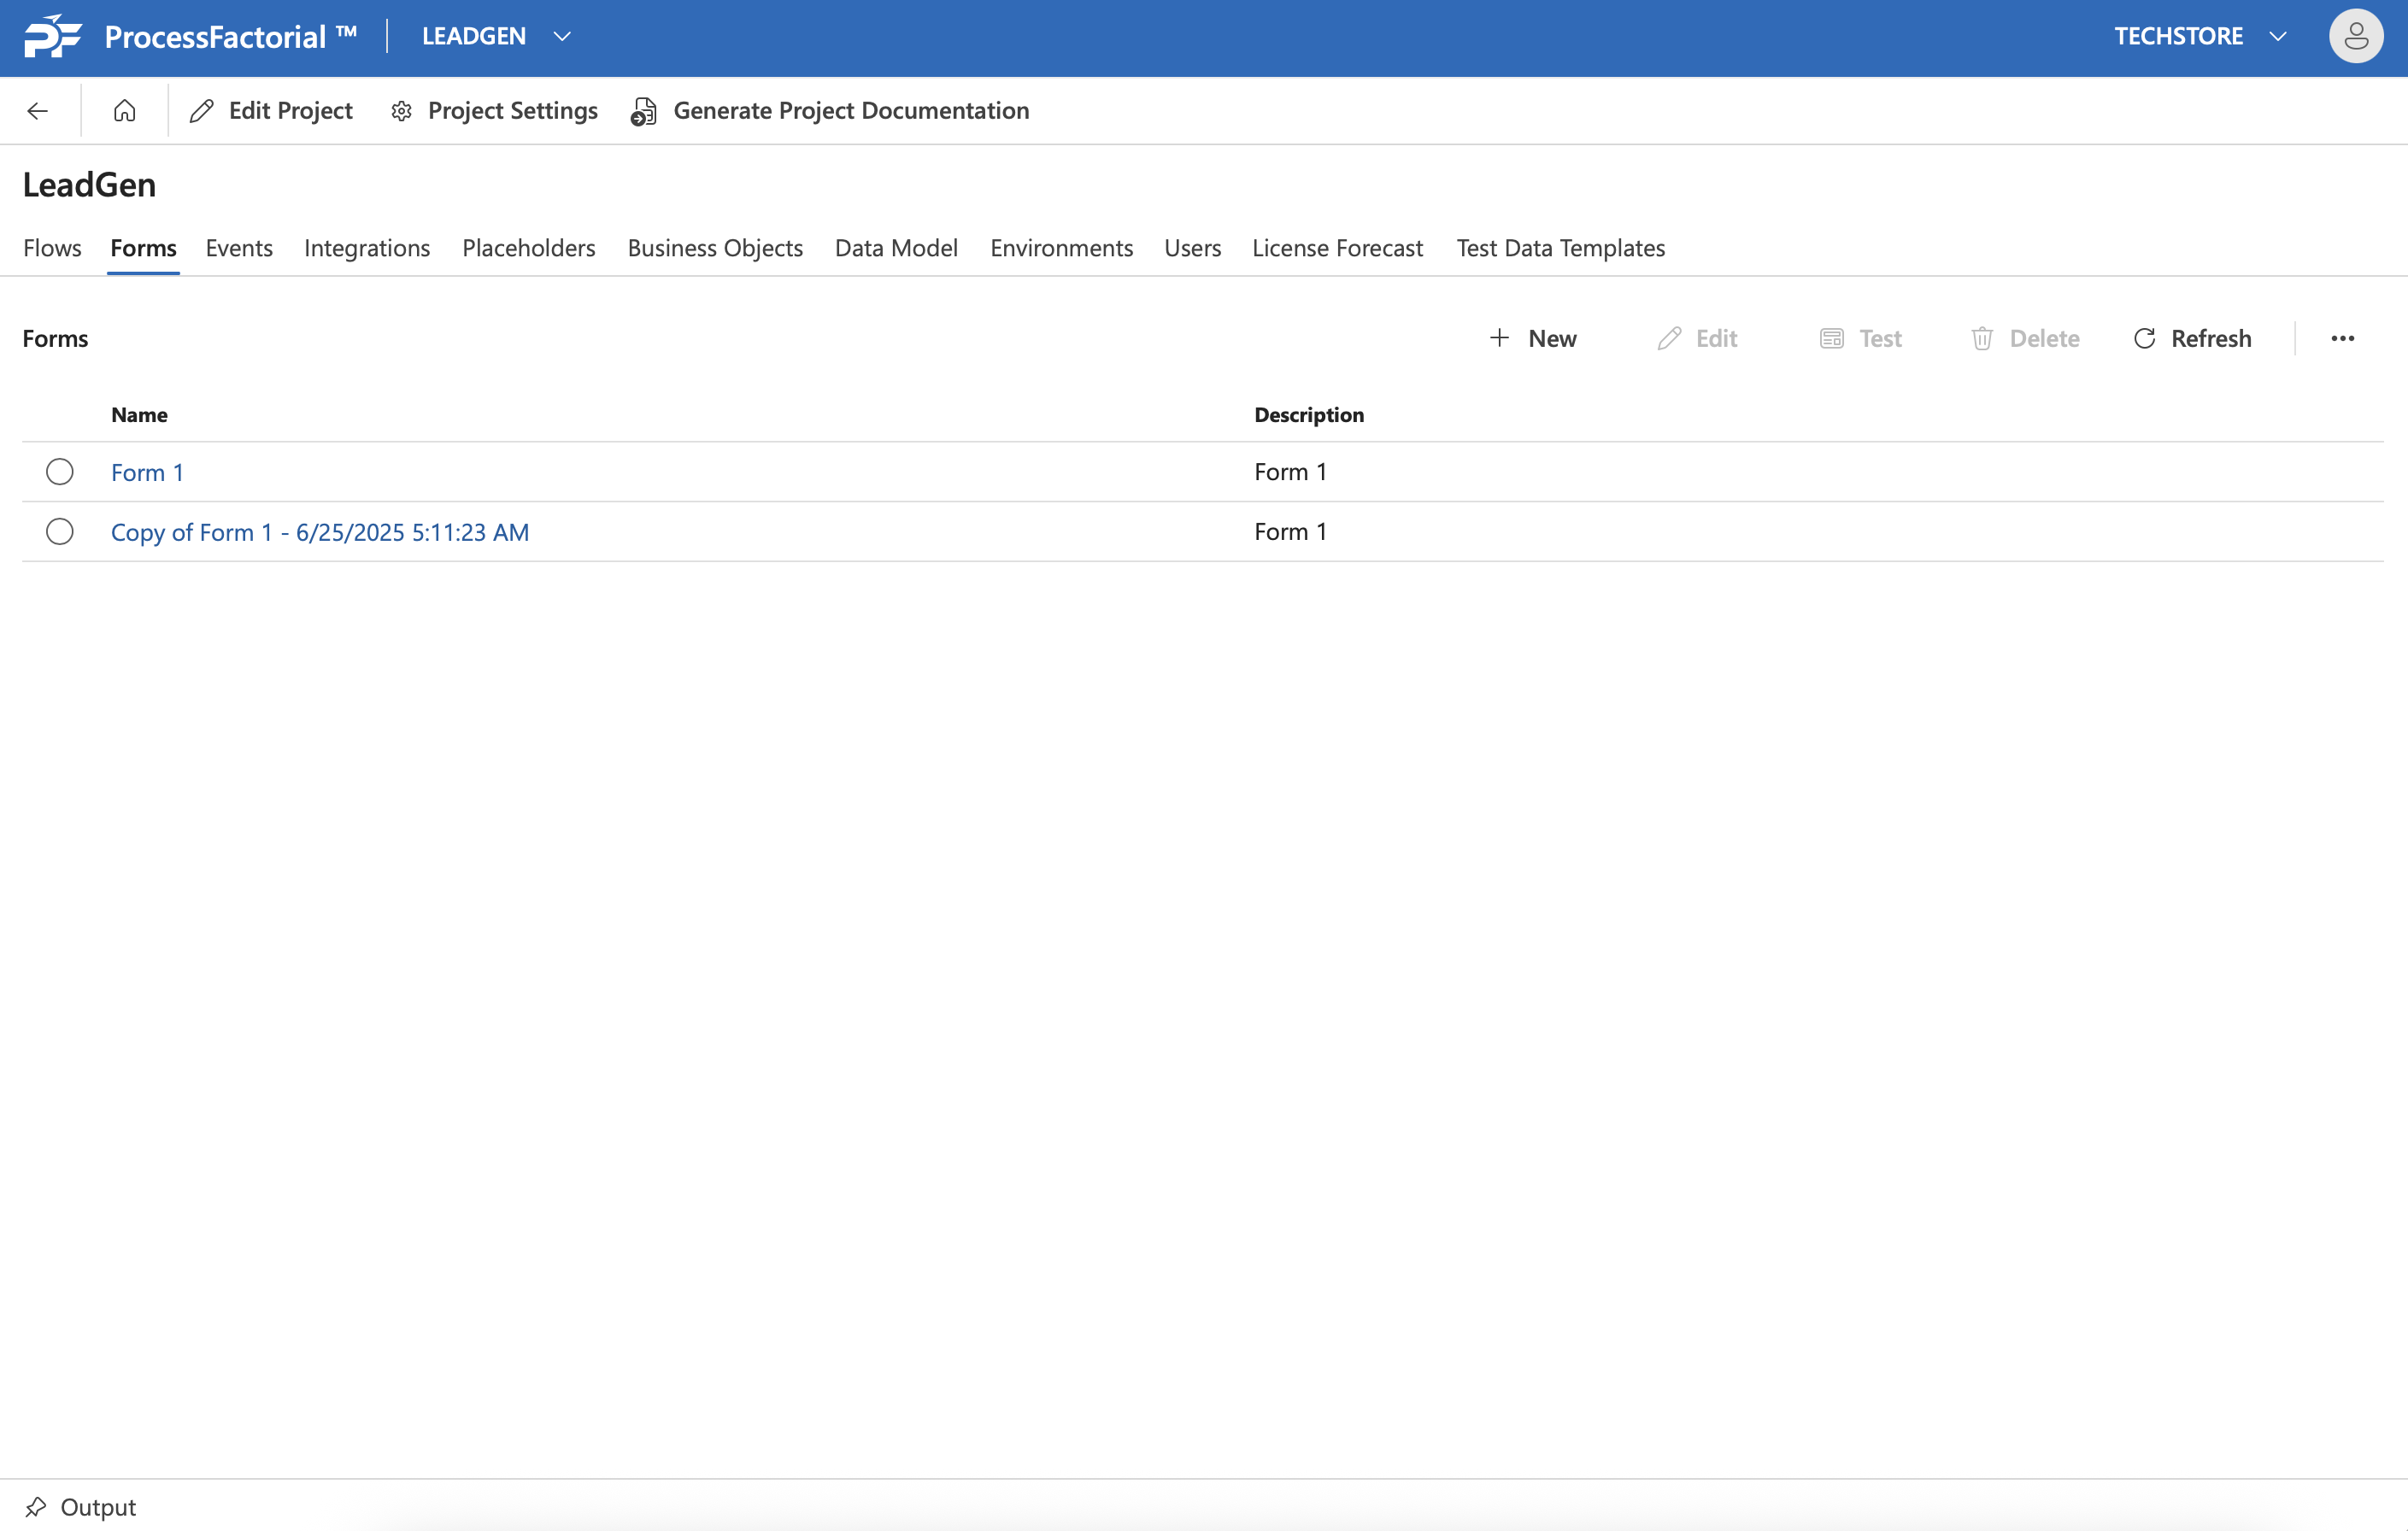
To get started, navigate to the Forms tab within an NPO Project
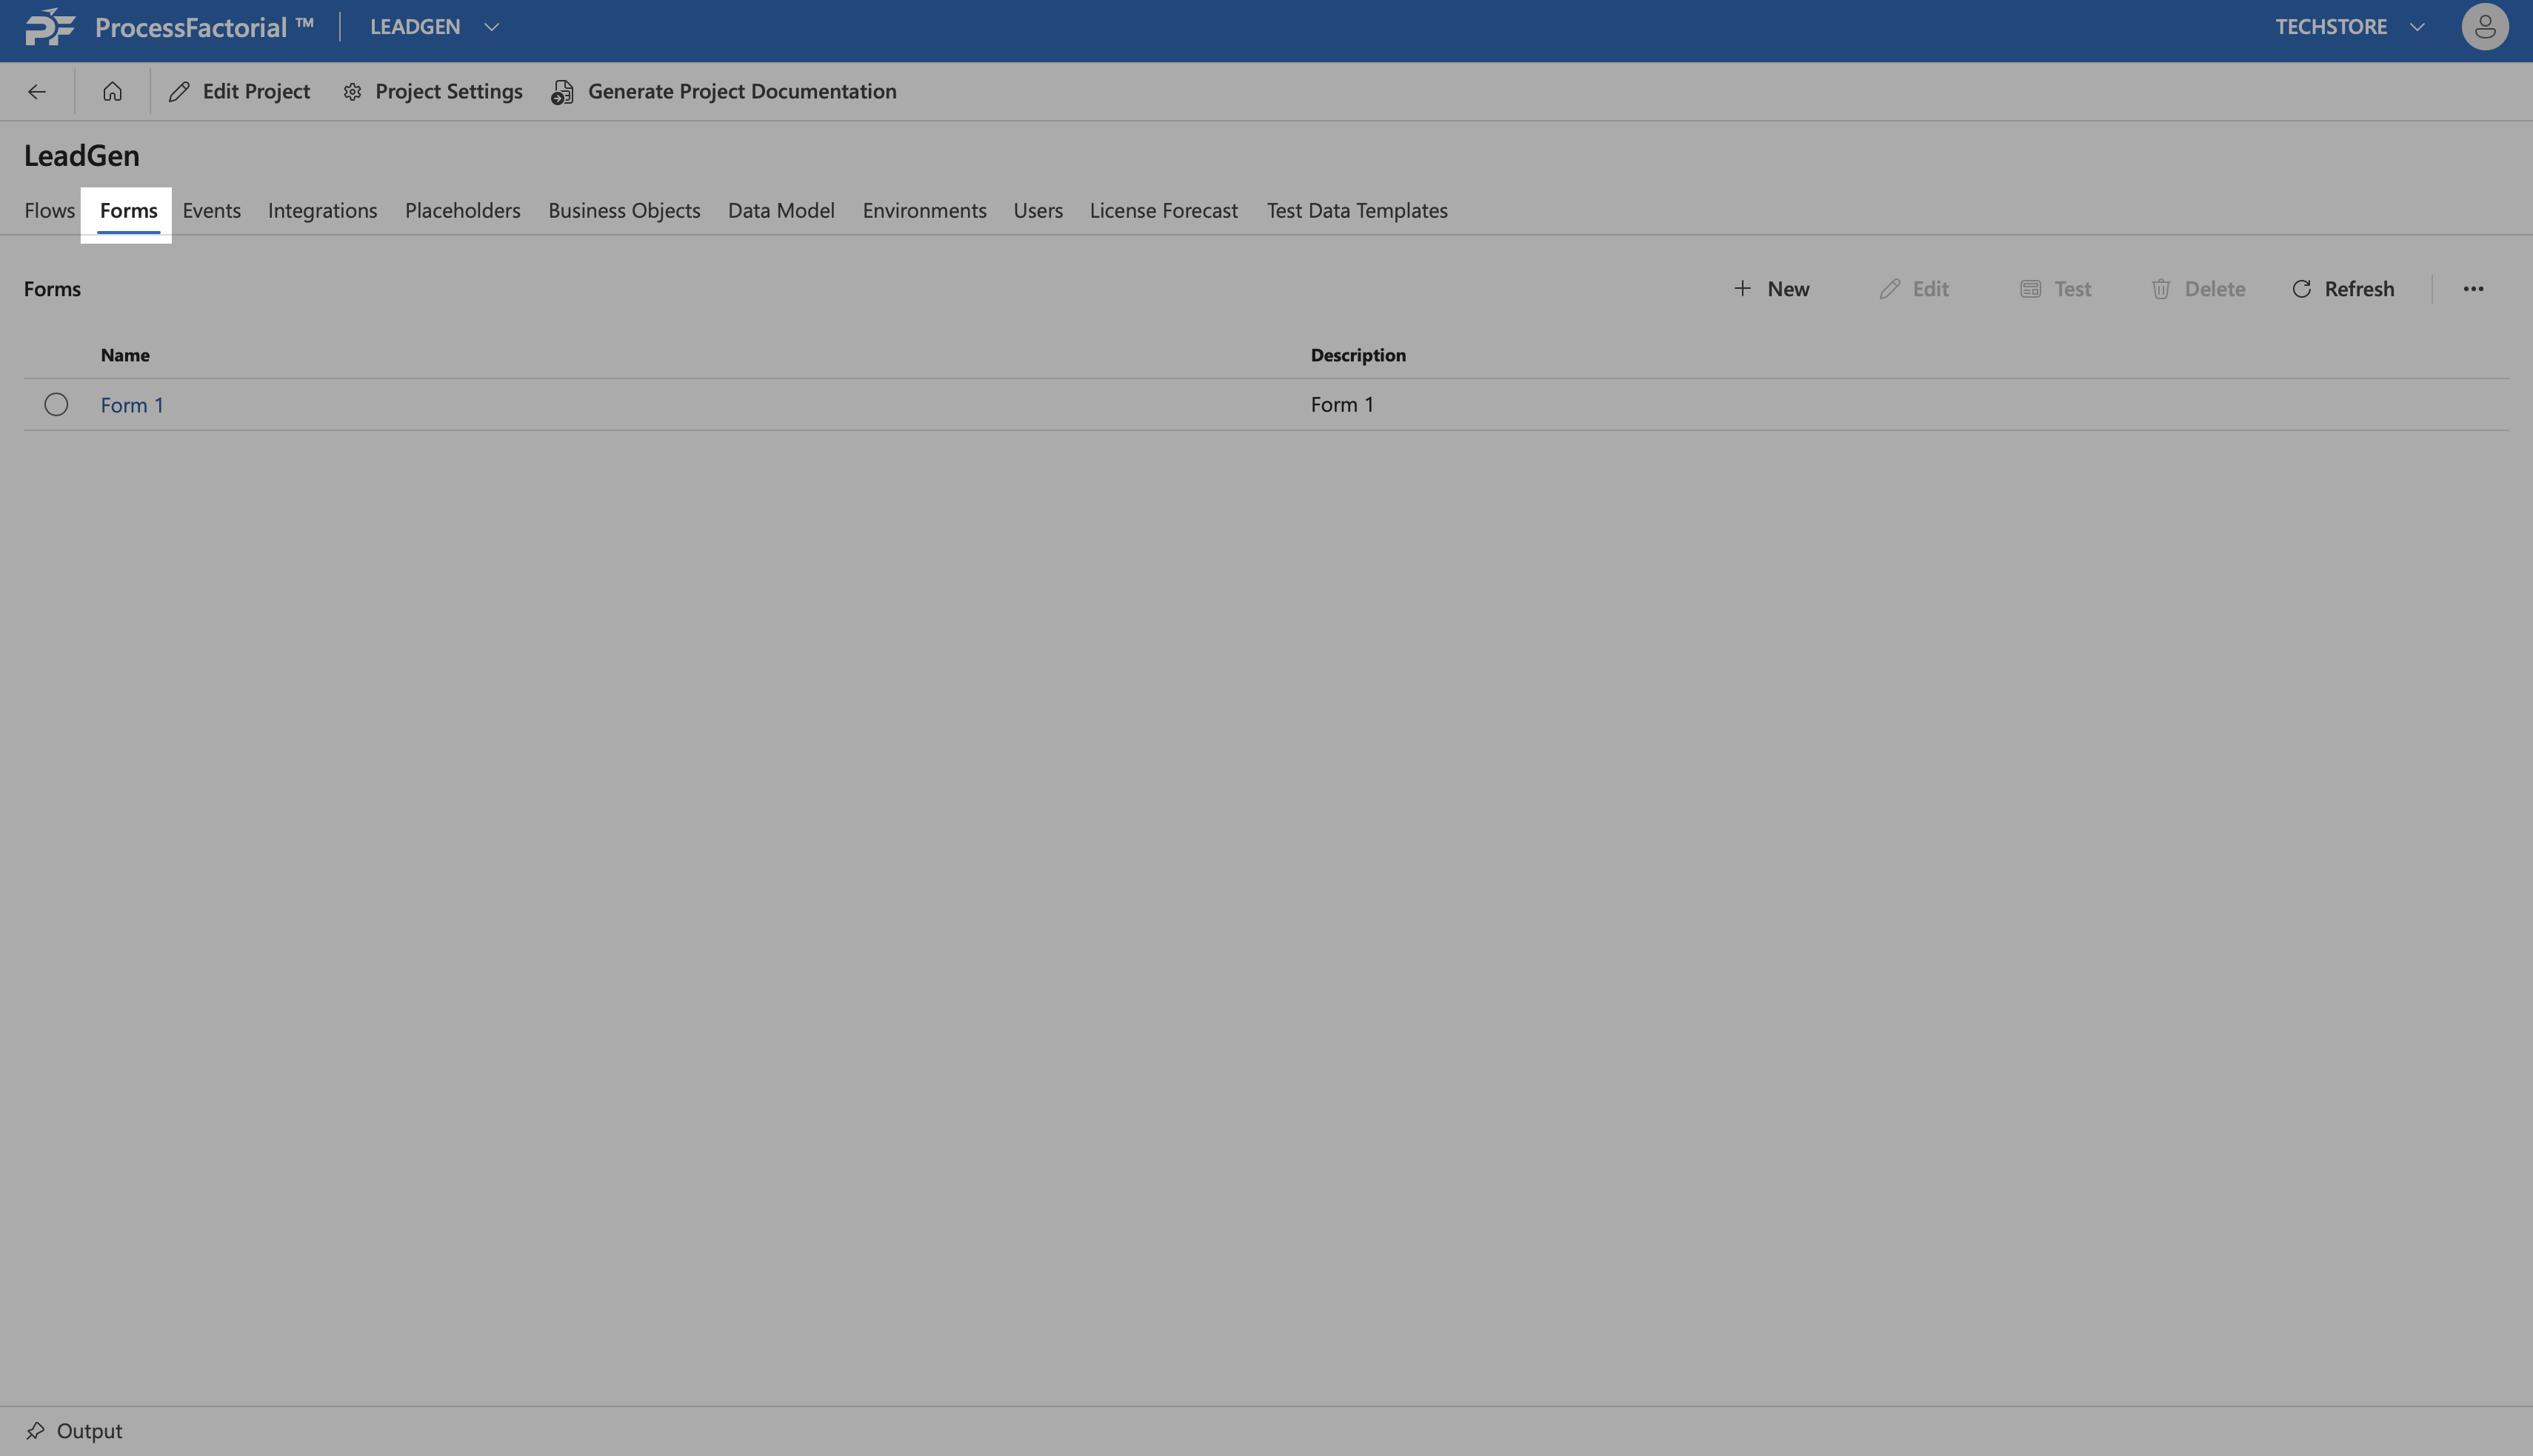
The top-right buttons panel provides access to below detailed functionalities.

Add a New Factorial Form to an NPO Project
The below steps outline how to create a new Form.
- Click on the
+ Newbutton to start creating a new Form. A drawer panel slides out that allows the user to enter Form details.
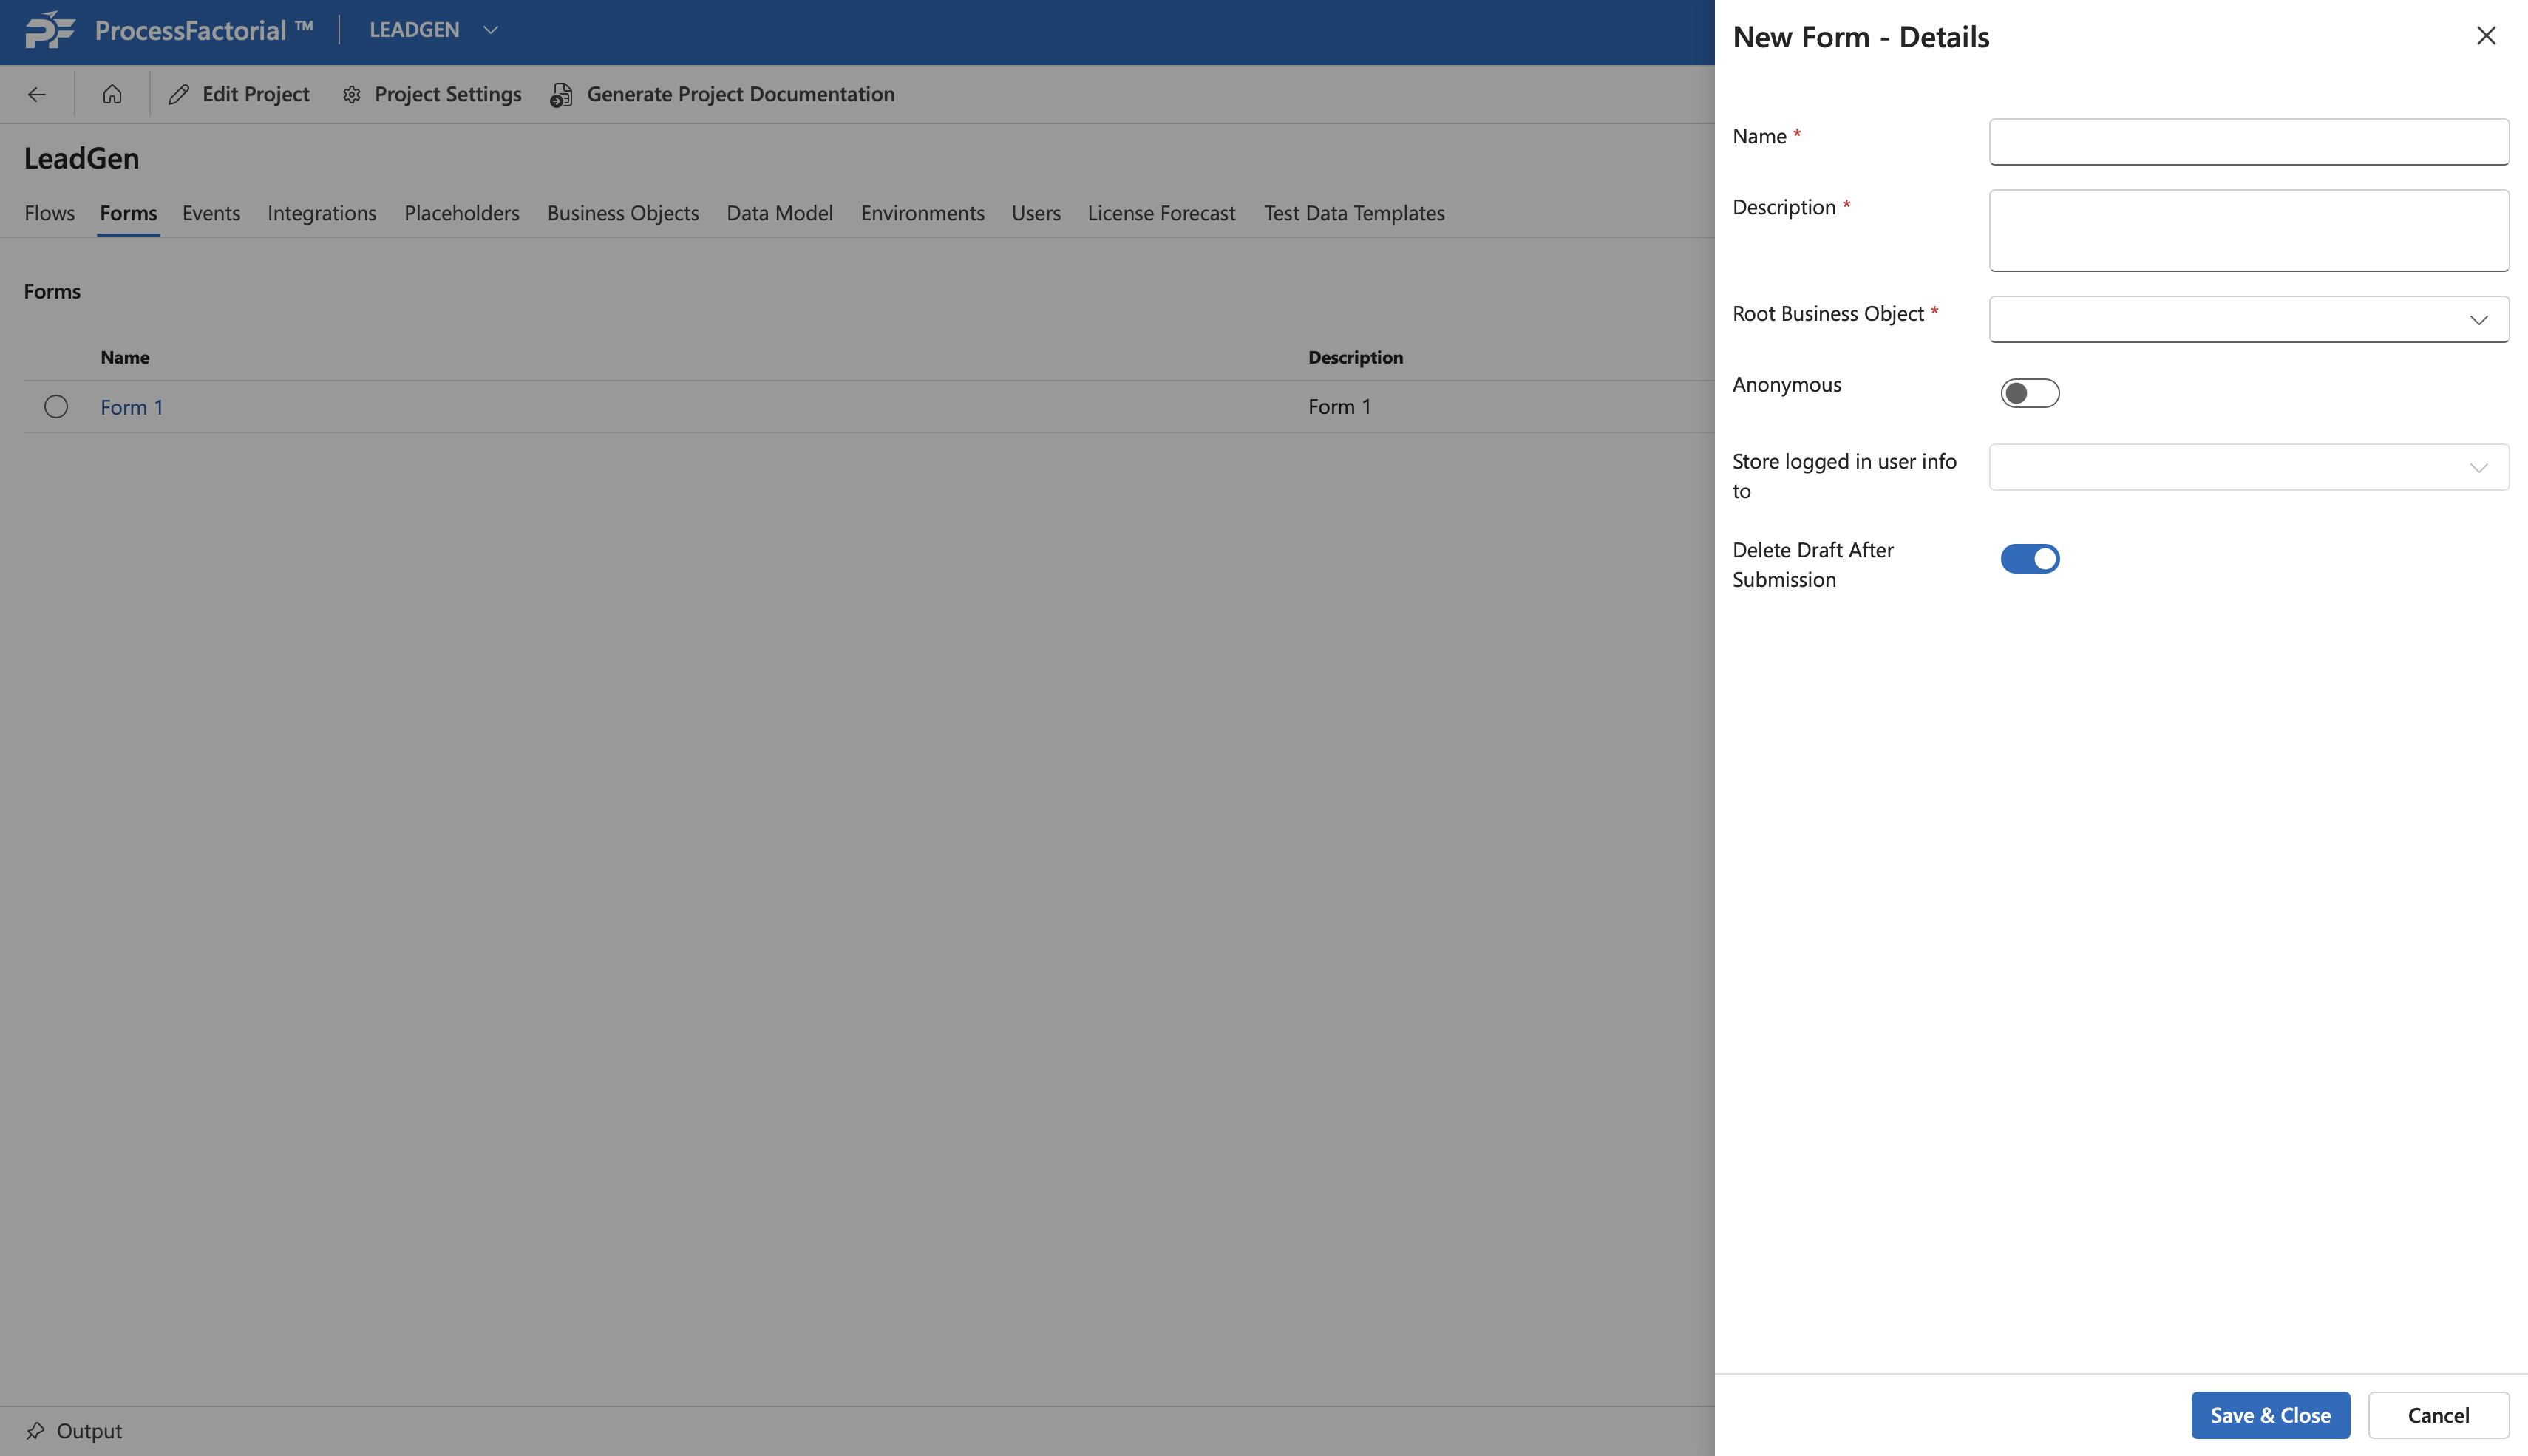
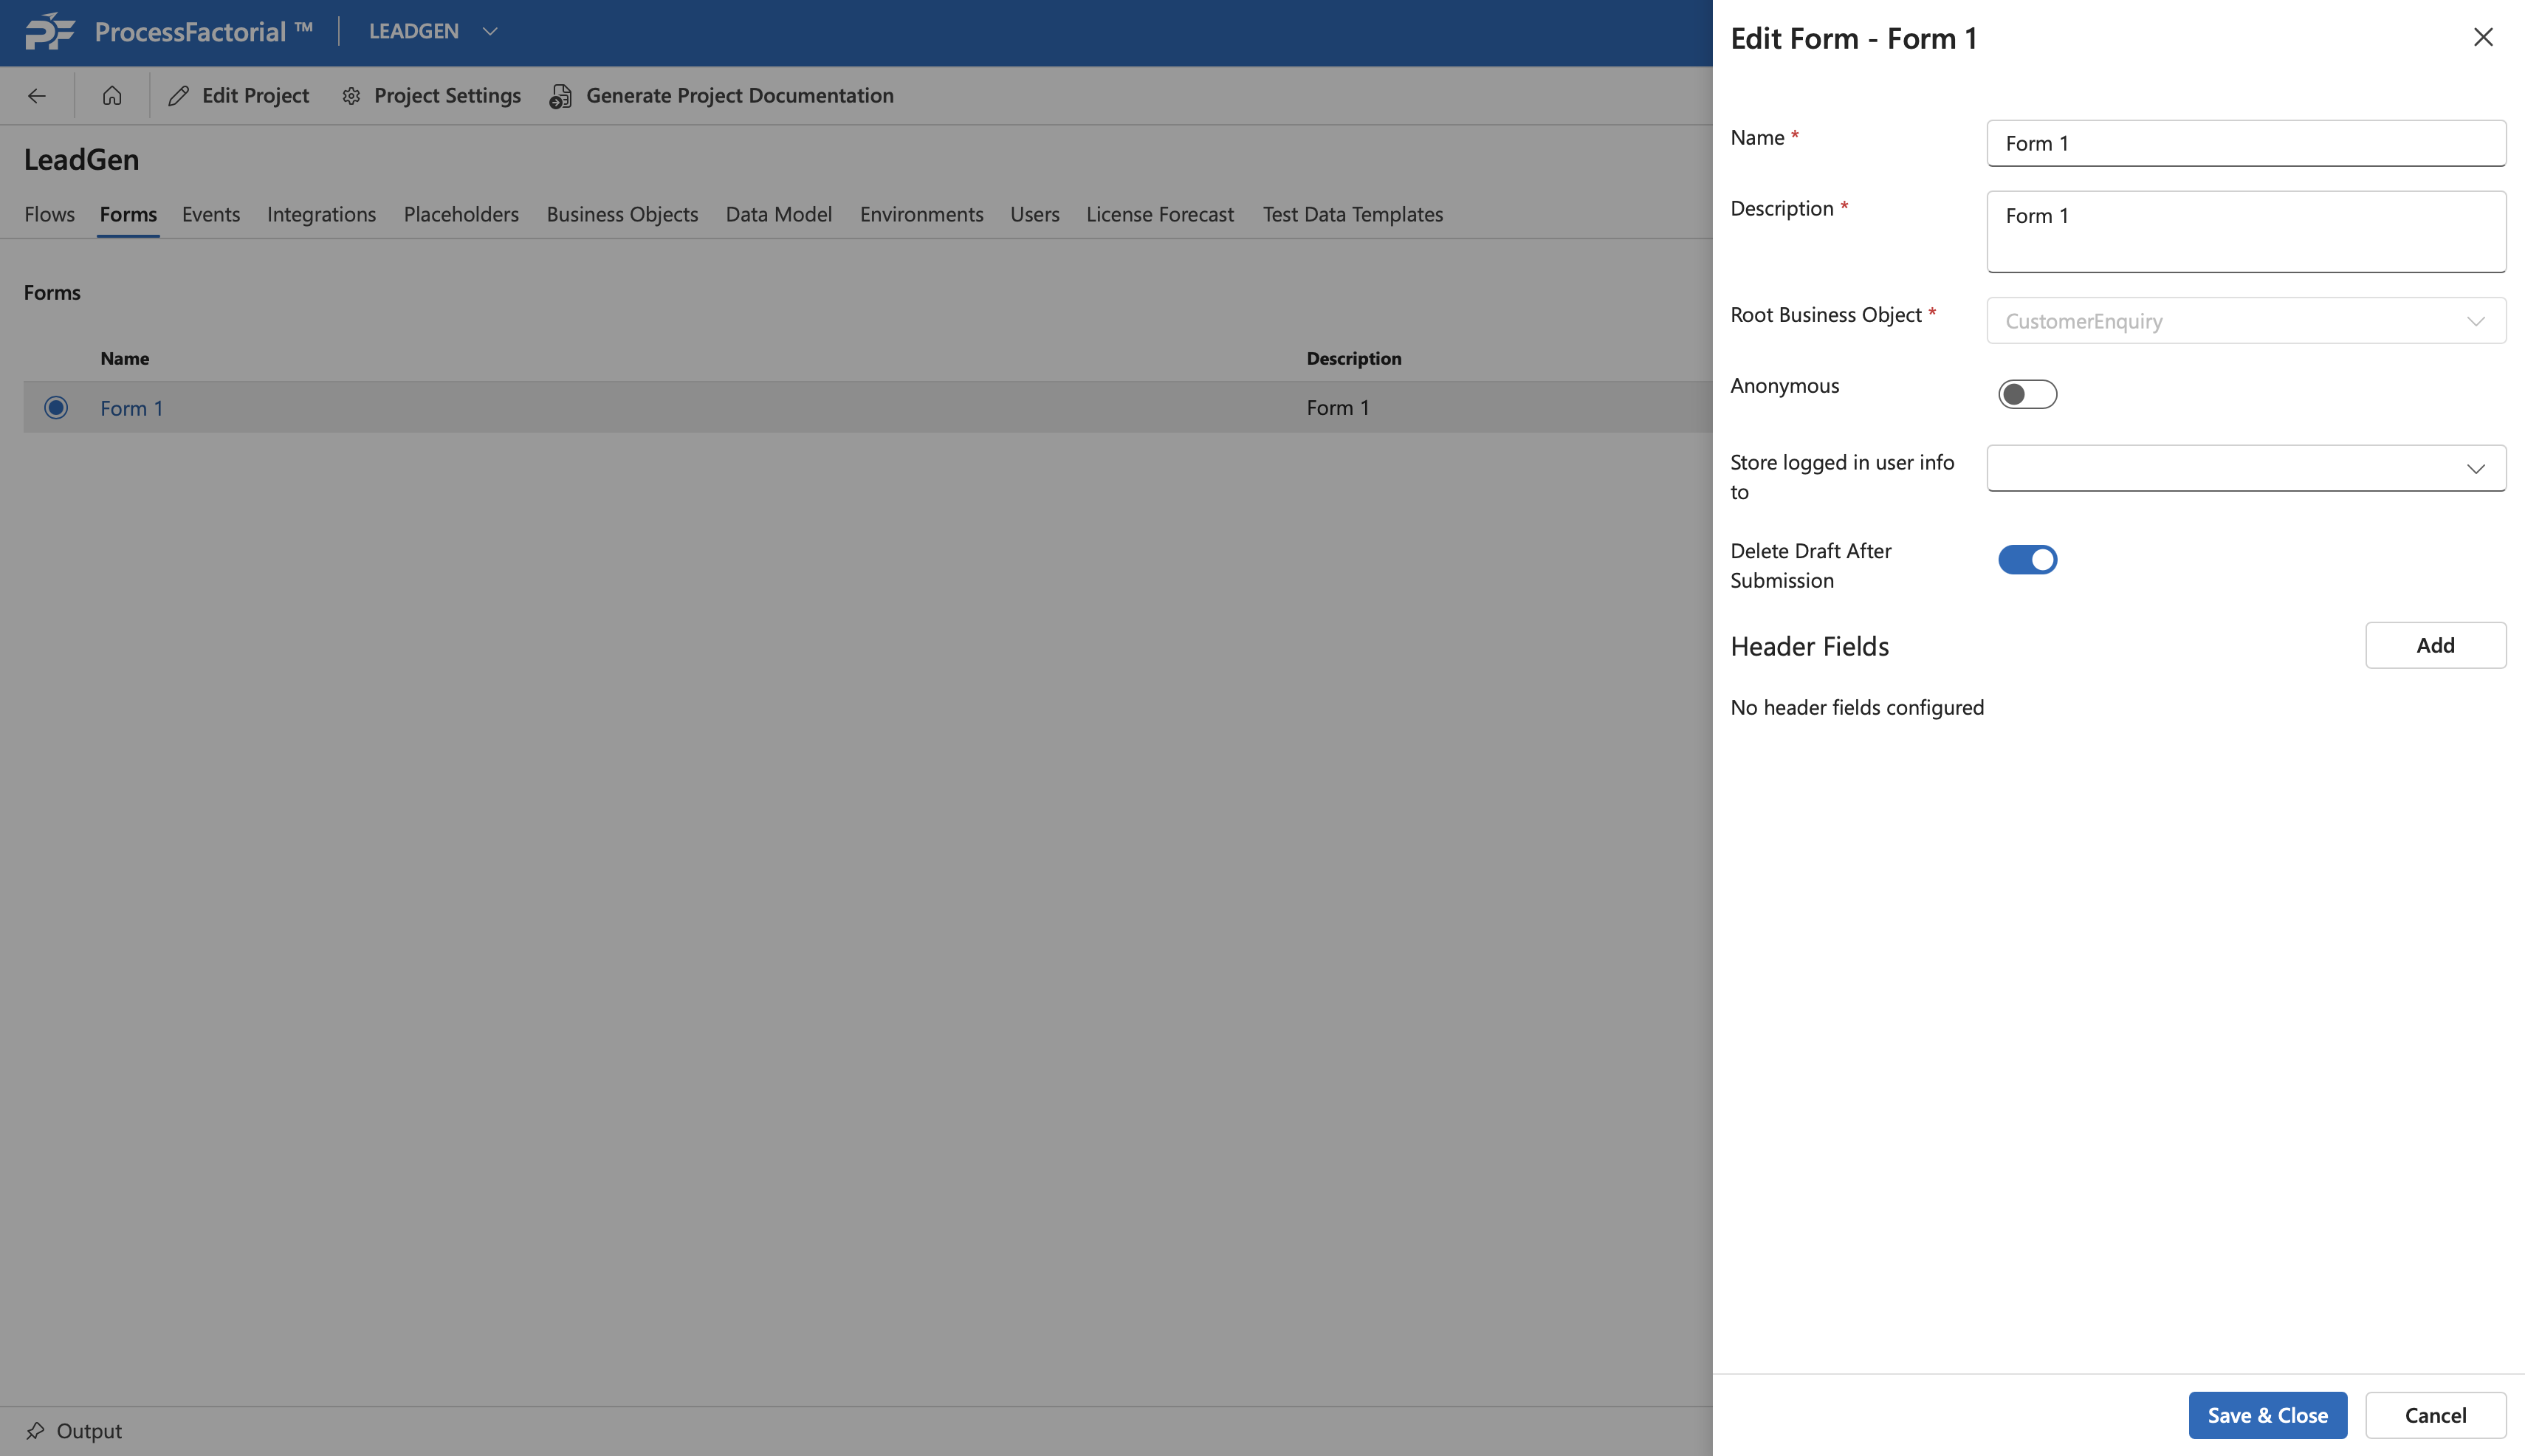
- Fill in the details outlined in the table below
%%ProofRead%%
| Field | Description |
|---|---|
| Name | (Required) A suitable name for the form |
| Description | (Required) A succinct description for the form |
| Root Business Object | (Required) The Business Object that stores the data associated with the form |
| Anonymous toggle switch | Enable to flag the form as [[Anonymous]] |
| Store logged in user info to | The attribute of the Root Business Object to which the user info has to be stored, If the form is not an Anonymous form. |
| Delete Draft After Submission toggle switch | Enable to Delete the Draft Version of the Form after it has been submitted. |
^f7b79f
- Click
Save & Closeto save the Form. The new form will now be visible in the form management page.
Edit a Form
The details of an existing form can be edited as follows.
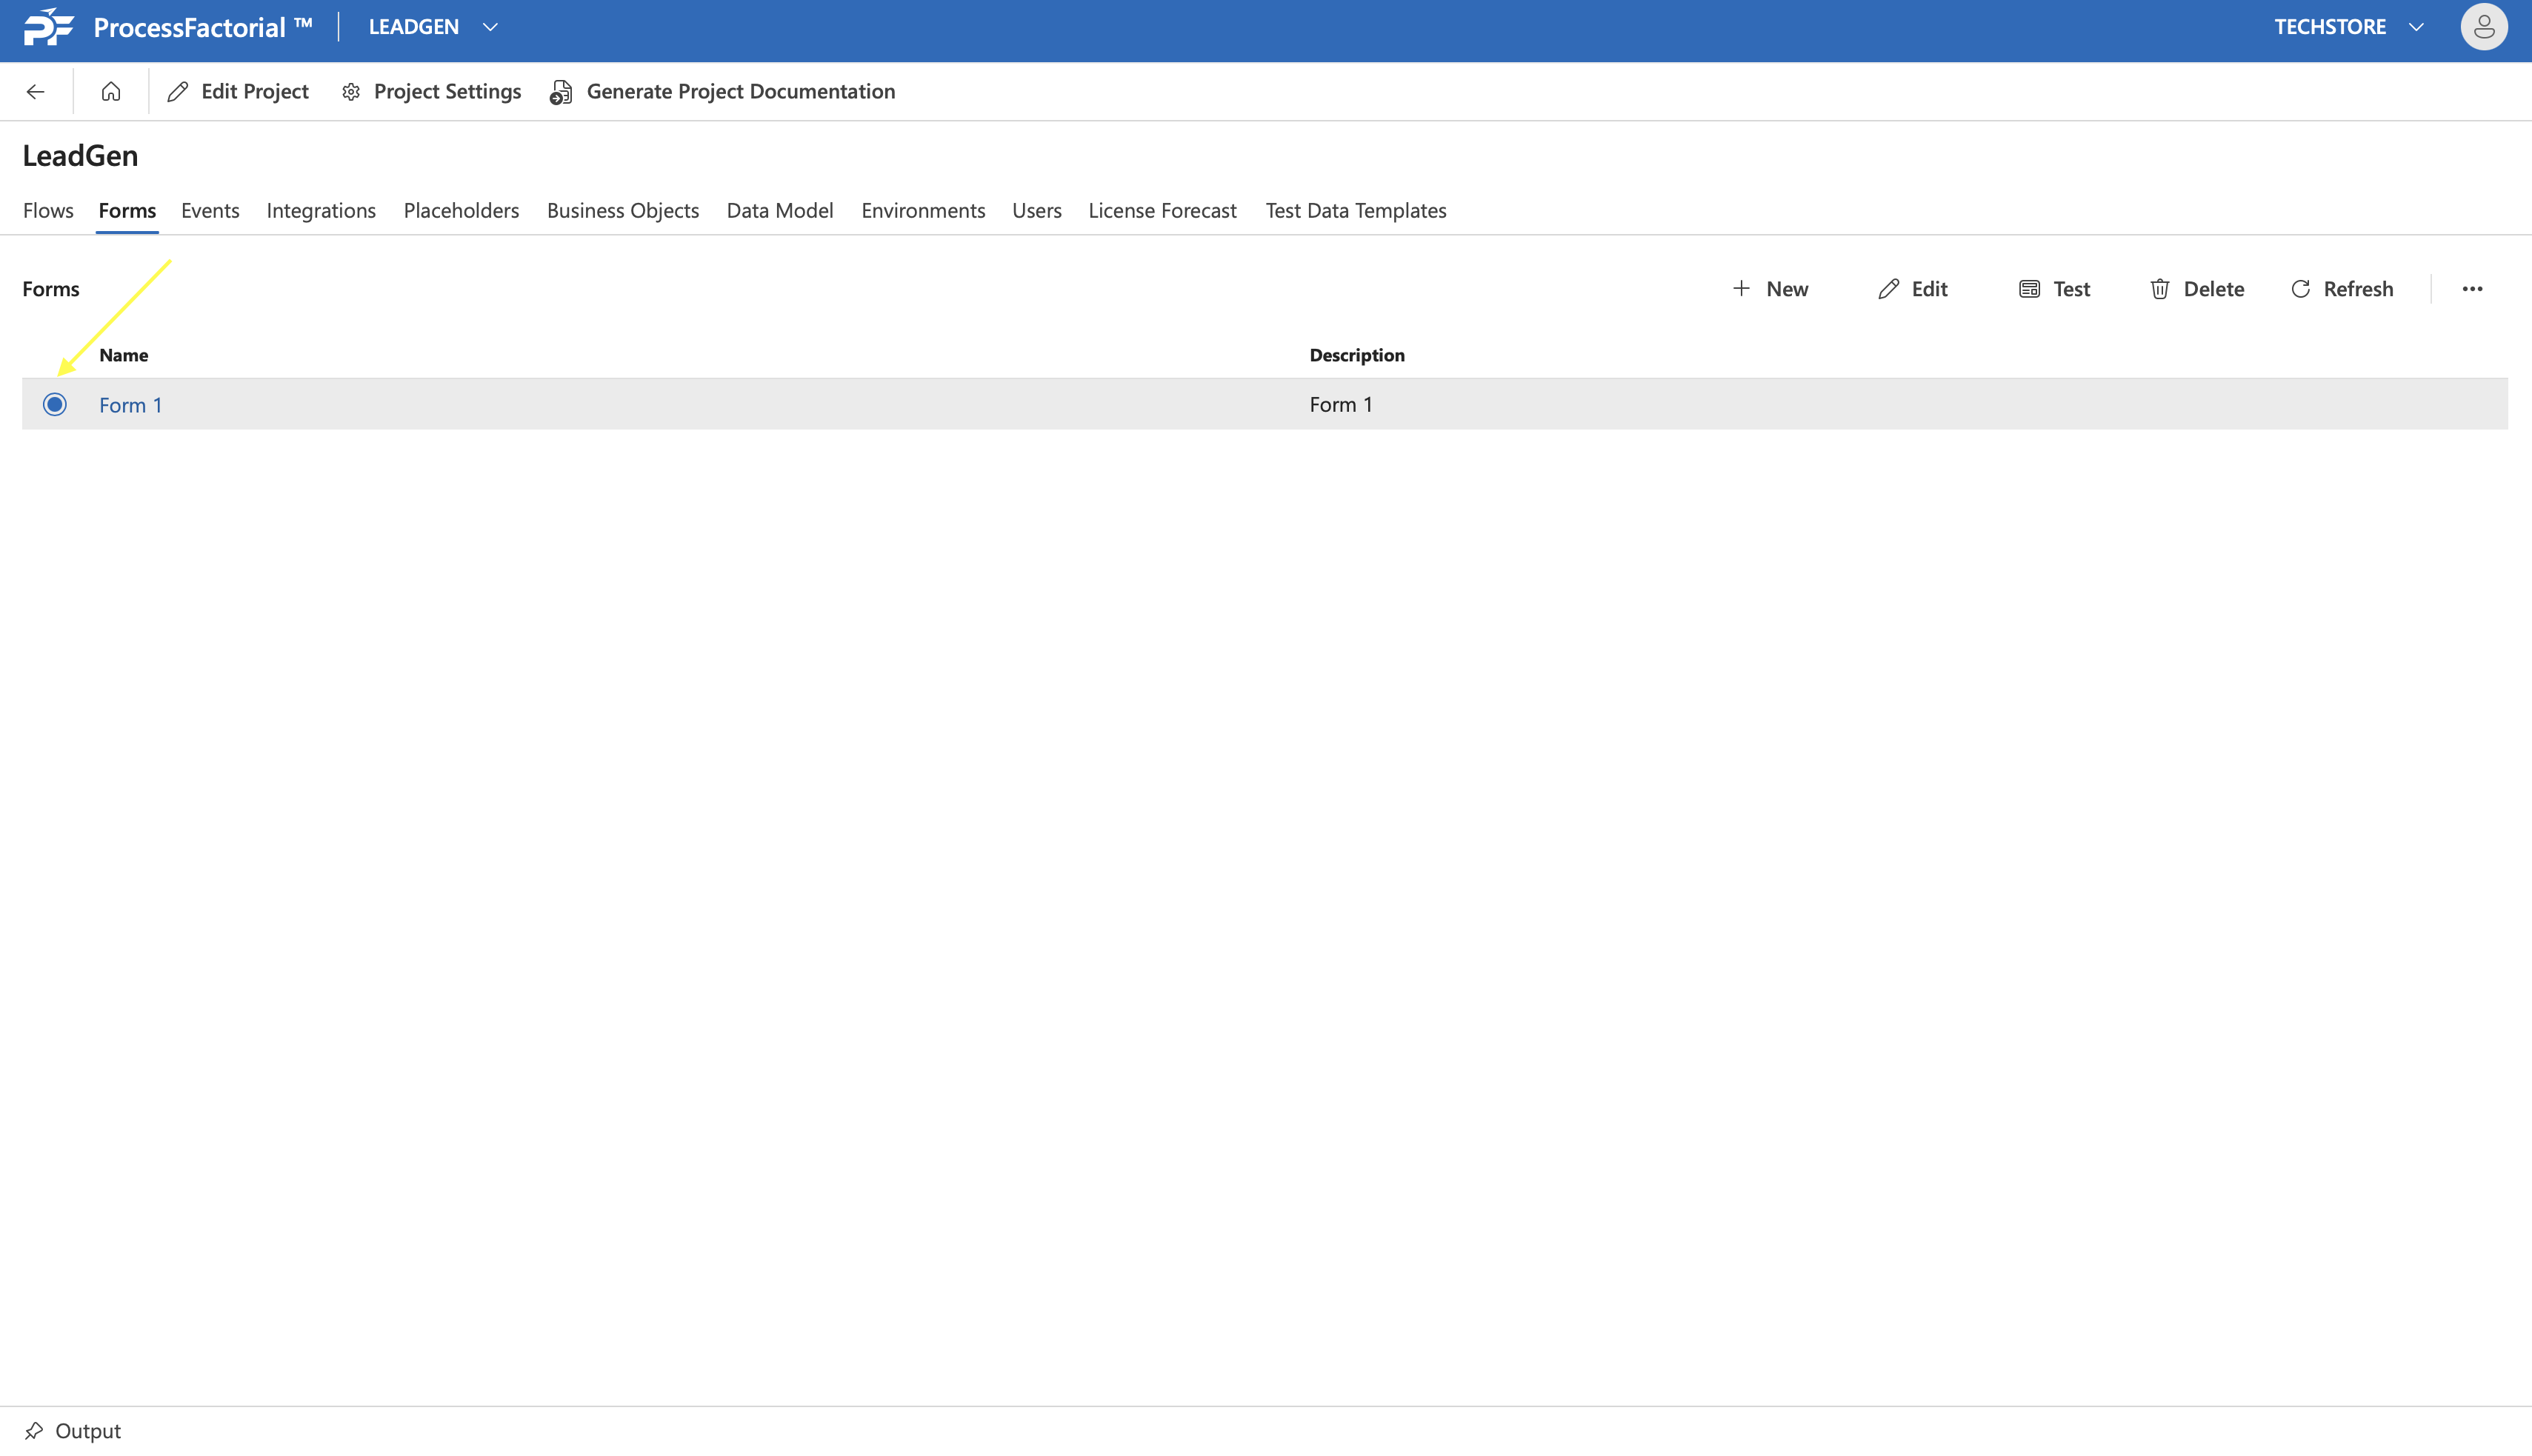
- Click on the radio button next to an existing Form to select the form. This activates the
Edit,TestandDeletebuttons in the top-right panel.
- Click on the
Editbutton. This opens the drawer panel where the form details can be edited.
- Make changes to the fields outlined in the Field details table as needed.
- Additionally, [[Header Fields]] can also be added by clicking on the
+Addbutton adjacent toHeader Fields. - Click on
Save & Closeto save the changes or clickCancelto discard changes and exit the panel.
Test a Form
To test a form, select it by clicking the radio button next to it, then click the Test button to open and interact with the form on a new page.
Delete a Form
An existing Form can be deleted as follows
- Select the form and click on the
Delete Button. - This opens up a dialog box seeking confirmation
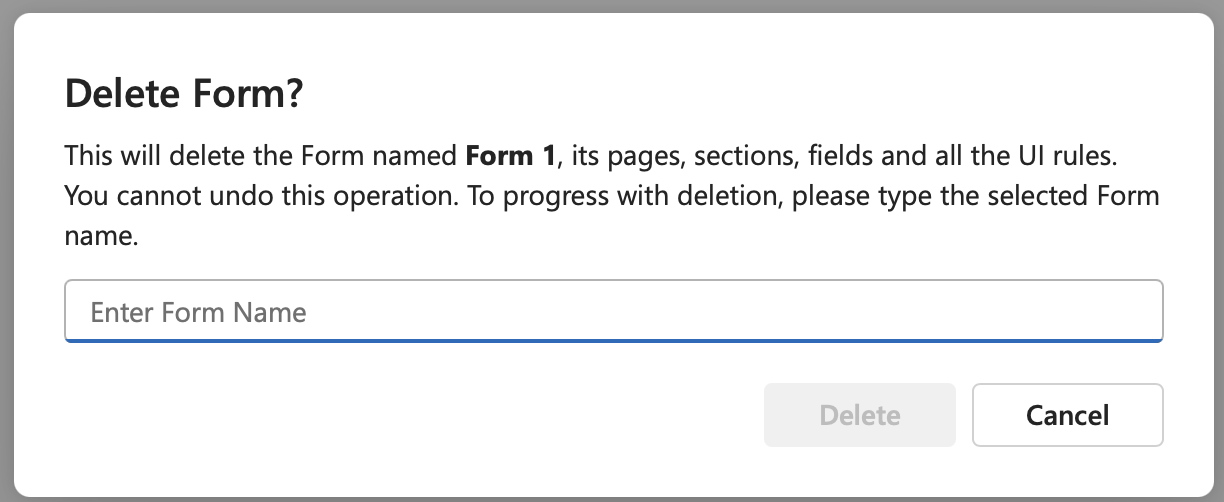
- Enter the name of the Form in the text box and click on the
Deletebutton to delete the form. Alternatively, click on theCancelbutton to exit the dialog box without deleting the form.
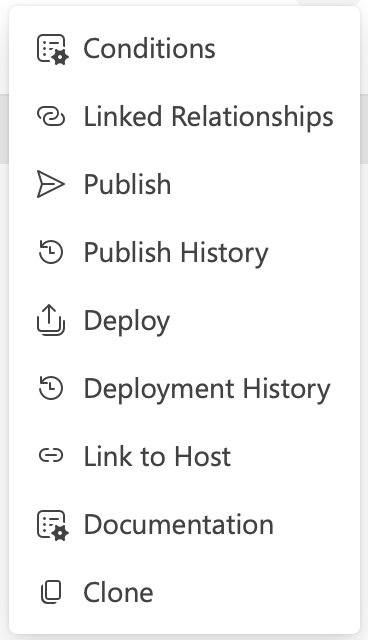
Click in the ... button to expand more options that are detailed below
 ^2fe4a4
Conditions
Clicking on Conditions button opens up a new page that allows the user to configure display rules for the form. Further details are provided in the Manage Conditional Rules wiki.
Linked Relationships
Linked Relationships
Publish a Form
Below steps outline how a form is published.
- Click on the
Publish Formbutton to start off with publishing the form. - In the drawer panel that opens up, the
Form NameandVersionfields will be auto-populated with the respective details. - Provide any suitable comments and click on the
Save & Closebutton to publish the form, else click on theCancelbutton to exit the panel and abort the publish. - Once published, the respective version of the form will be listed along with all other published versions in the publish history of the form.
Publish History
Clicking on Publish History takes the user to all of the published version of the form, as displayed in the screenshot below.
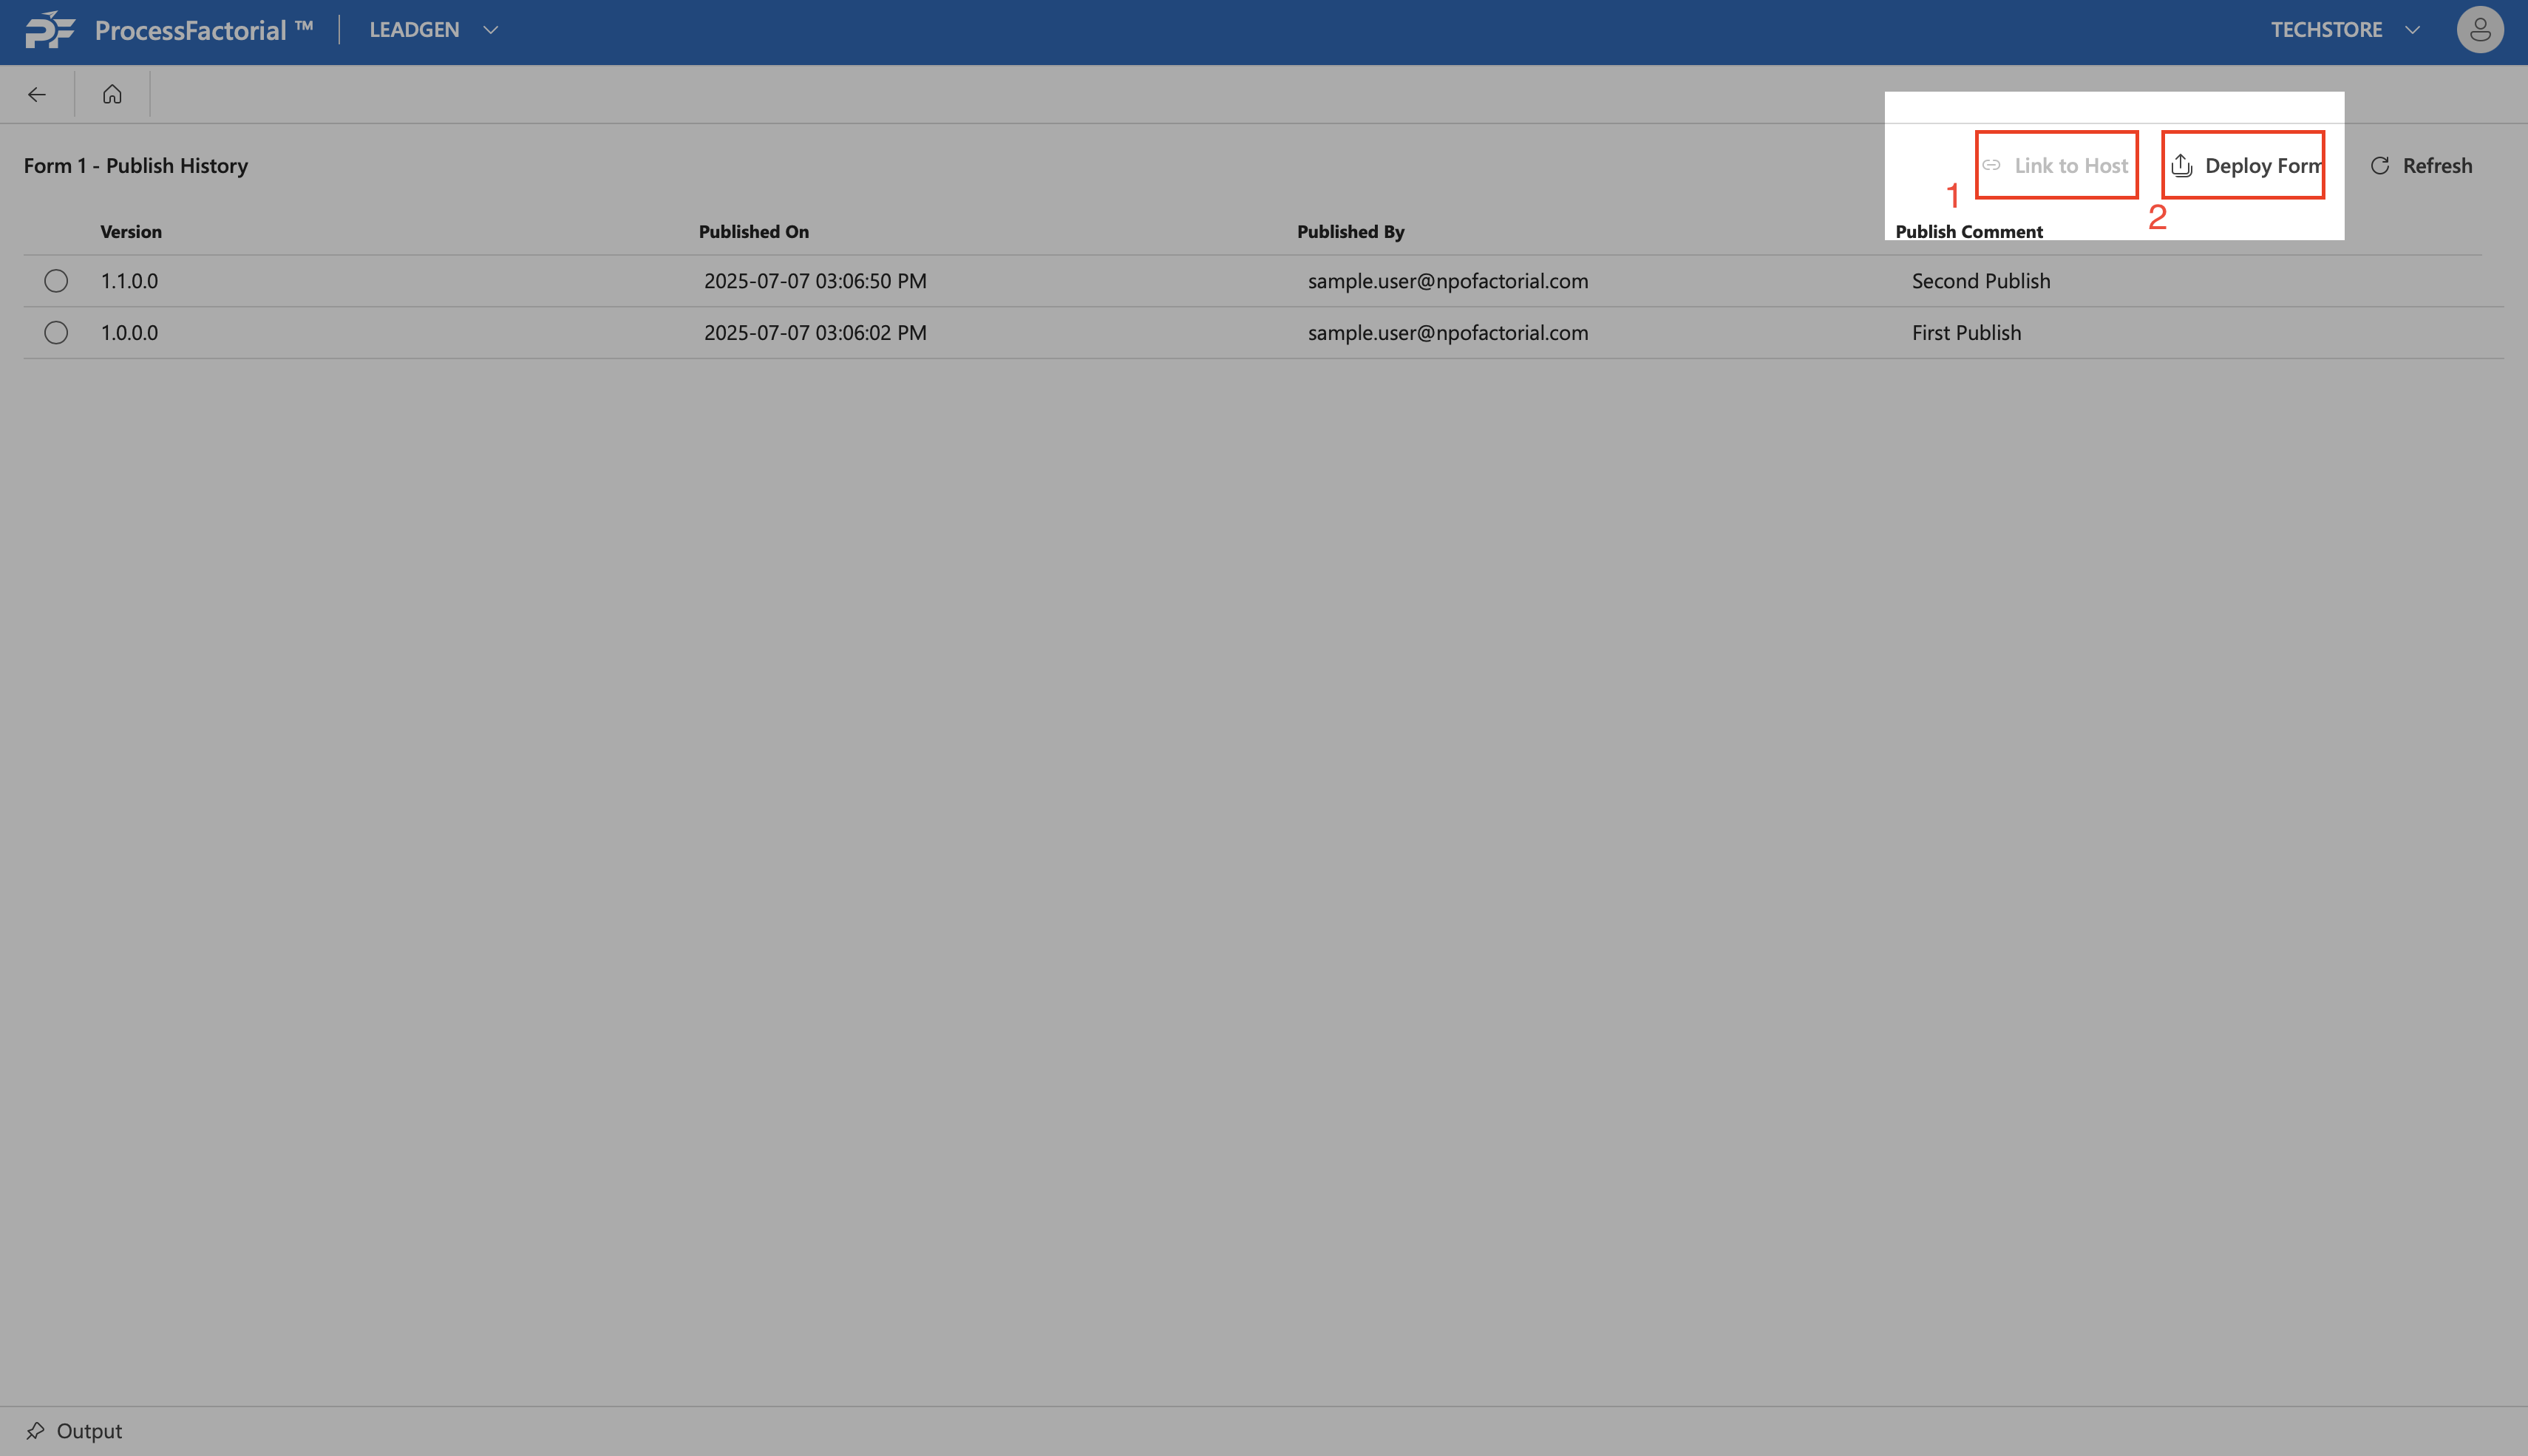
In the publish history page, one has the option to select any version of the form and further deploy the form or link the form to a host.
Deploy a Form
Once a form has been published it can be deployed to an environment by clicking on the Deploy button.
^ecfbe6
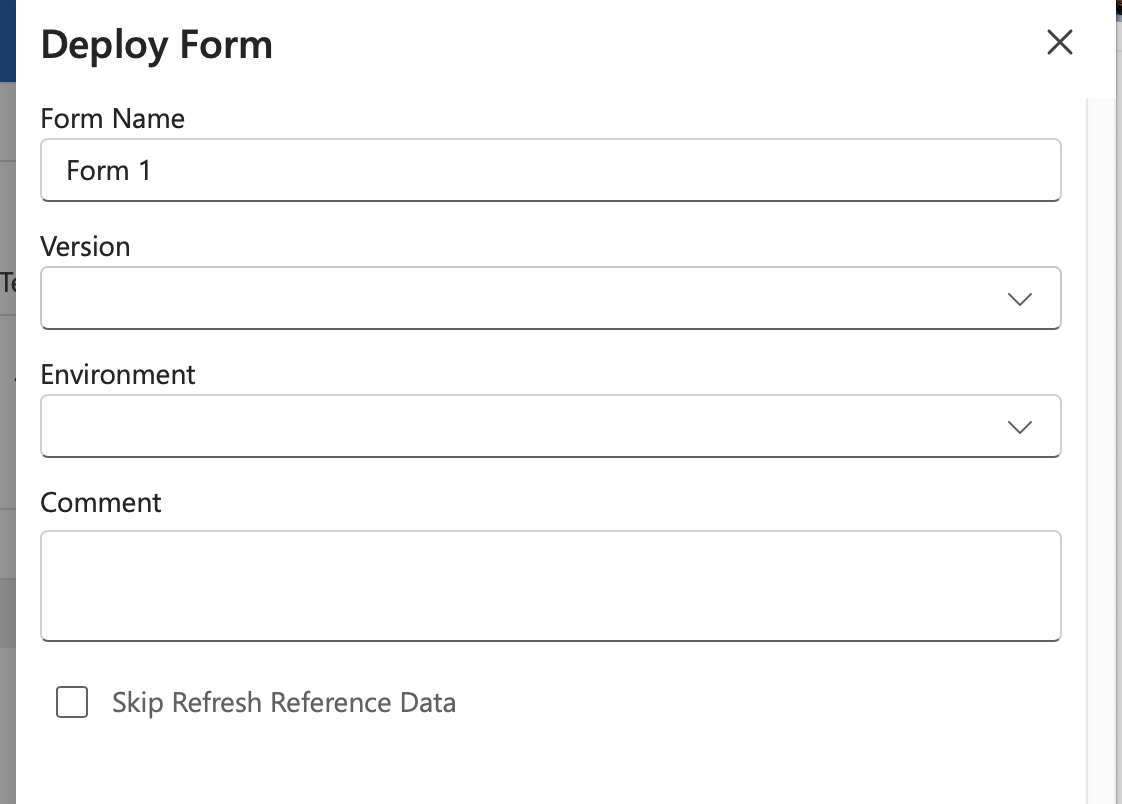
- In the drawer panel that opens up, fill in the details for the following fields.
| Field | Description |
|---|---|
| Form Name | The name of the form. This will be auto-filled. |
| Version | Choose the published version version from the dropdown. Note: If deploying from [Publish History](#^9c5ec0) by selecting a published version first, this will be auto-filled. |
| Environment | Choose the environment to deploy the form to. |
| Comment | Optionally, provide any appropriate comments. |
| Skip Refresh Reference Data | Check this box to skip refreshing the reference data. |
2. Click on the Save & Close button to deploy the form, else, click Cancel to abort. |
|
| 3. The deployed version of the form will now be listed in the deployment history of the form. | |
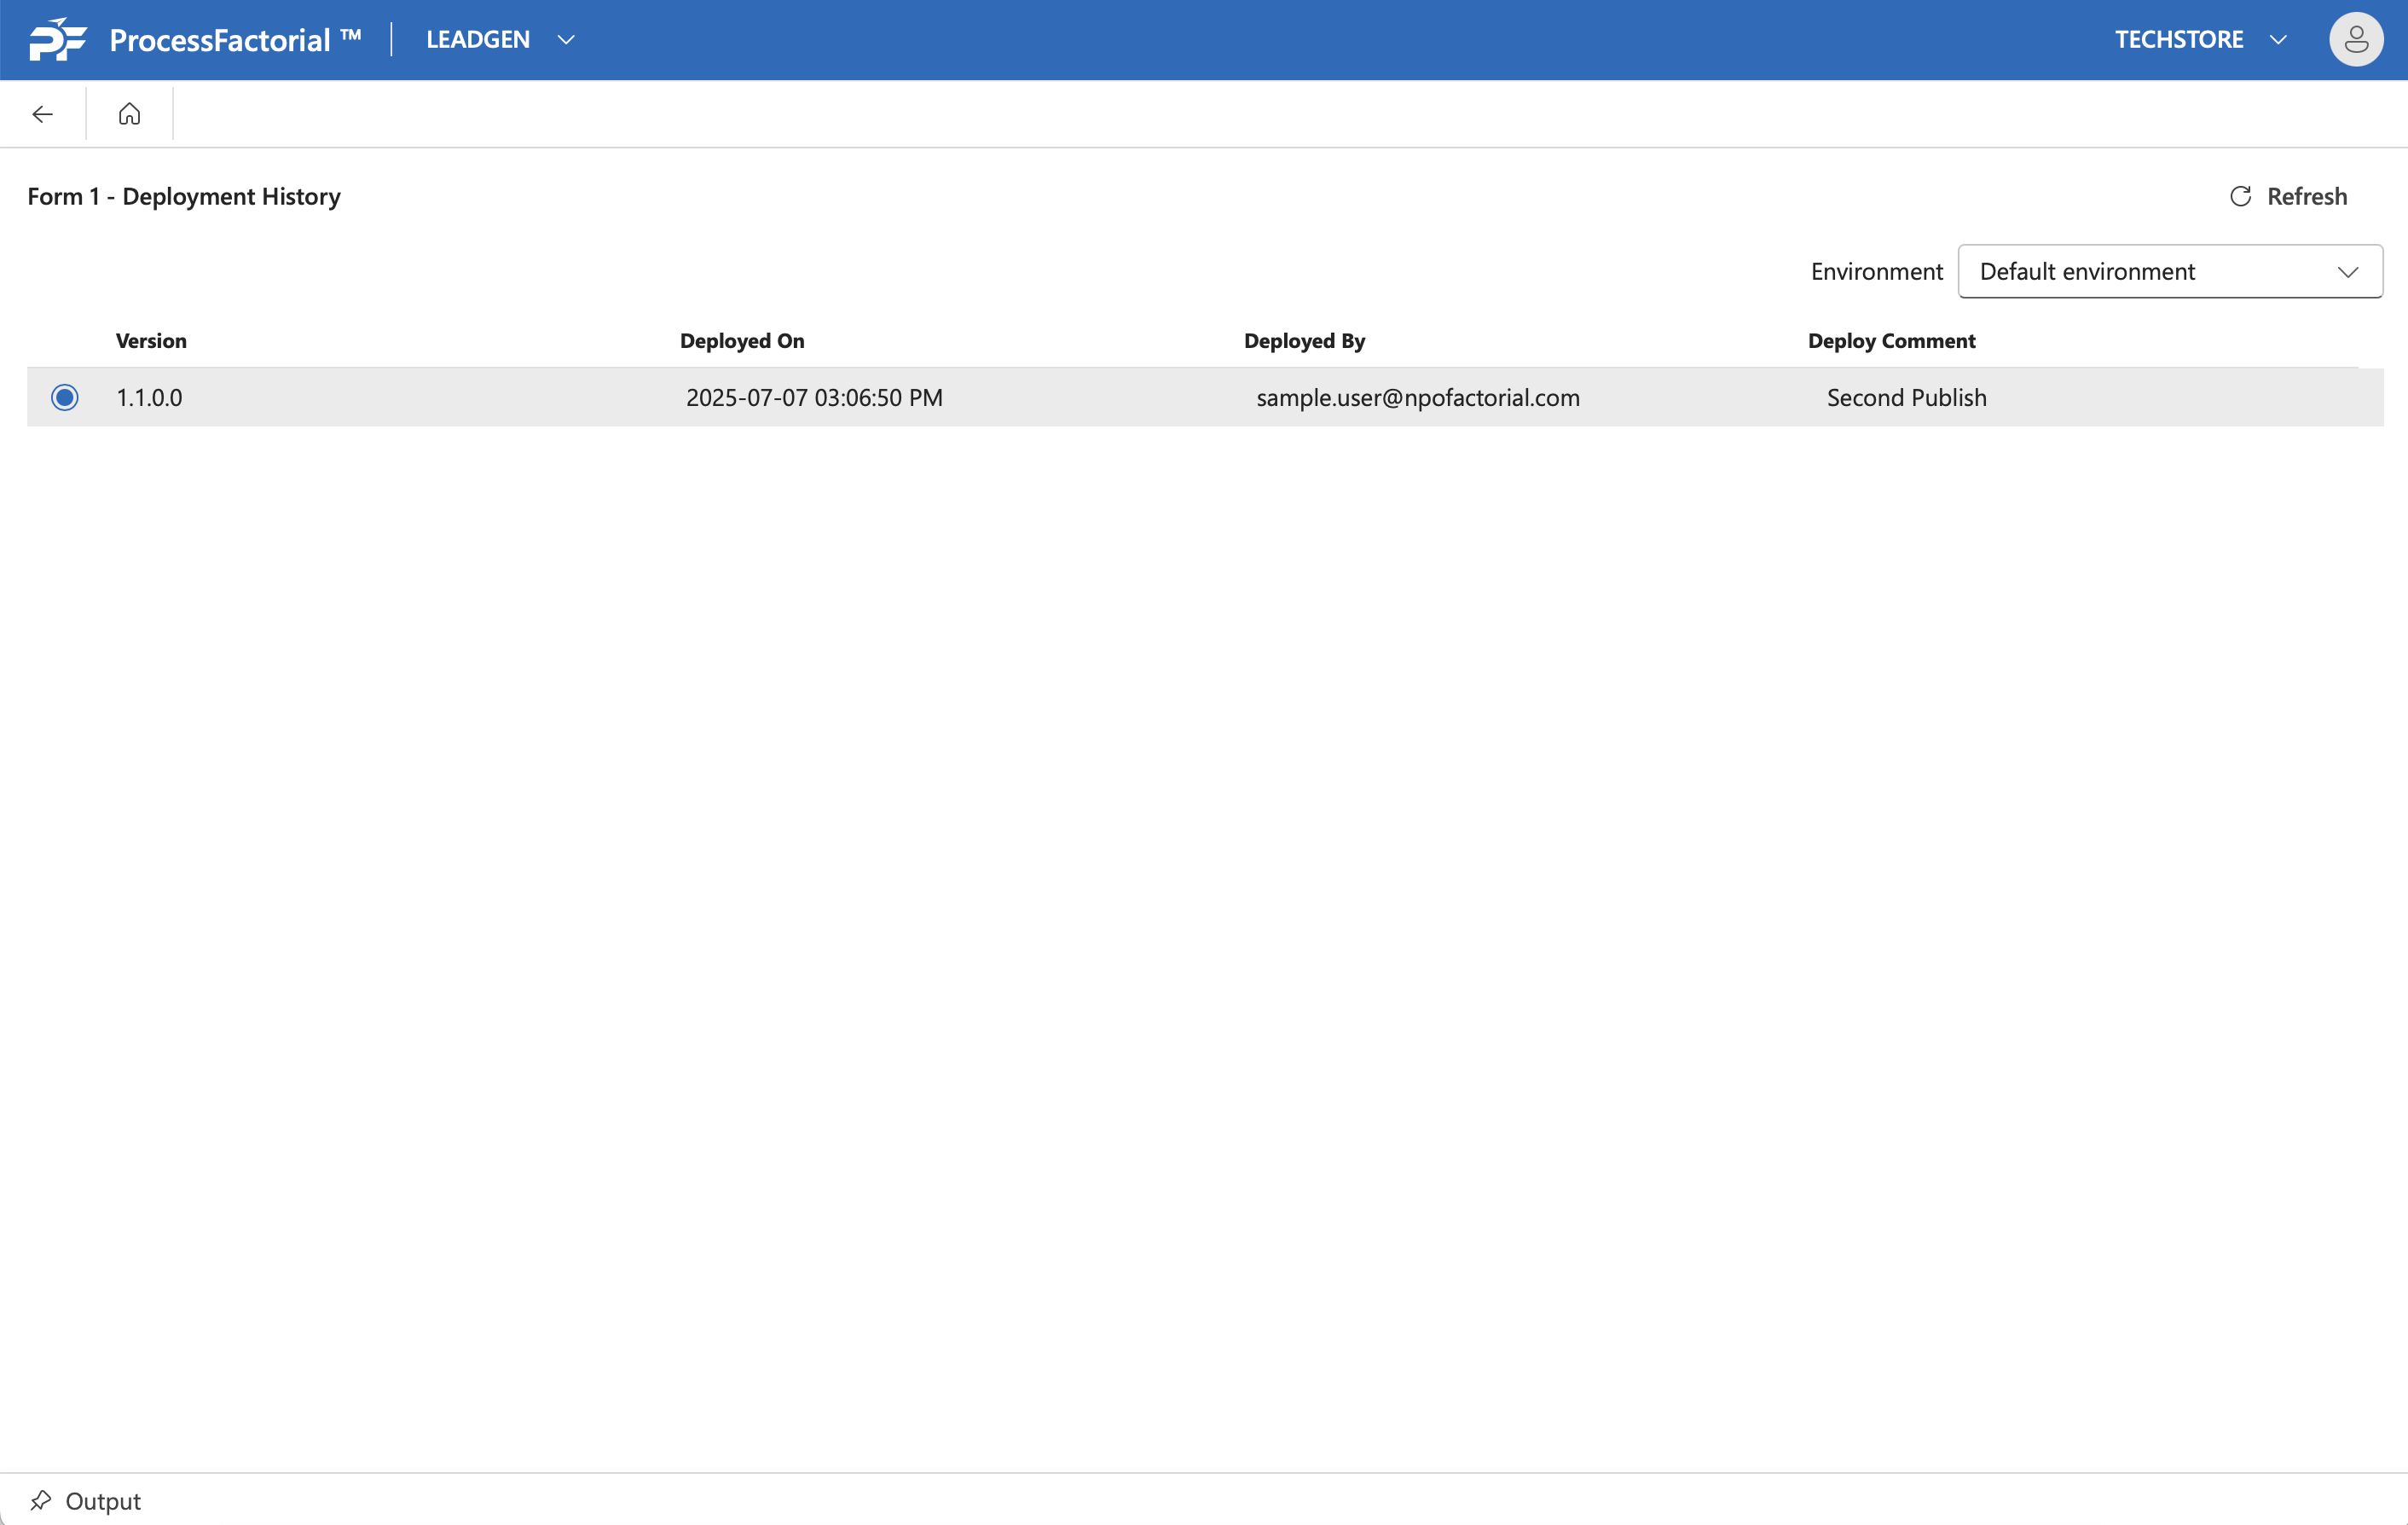
| ## Deployment History |
Clicking on Deployment History takes the user to the list of all deployed versions of the form.
Link to Host
Click on the Link to Host button to expose the Form to your website. More details on the same can be found in Expose your Journey
Documentation
On-the-fly documentation for a form can be generated by clicking on the Documentation button. More details on the same can be found on [[Generate Documentation]]
Clone
A copy of an existing form can be created as follows.
- In the more options menu, click on the
Clonebutton. - This opens a dialog box with a
Clone Display Rulestoggle button, which, as the name suggest clones the display rules associated with the form as well, if enabled. Disable the button if the display rules needn't be cloned.
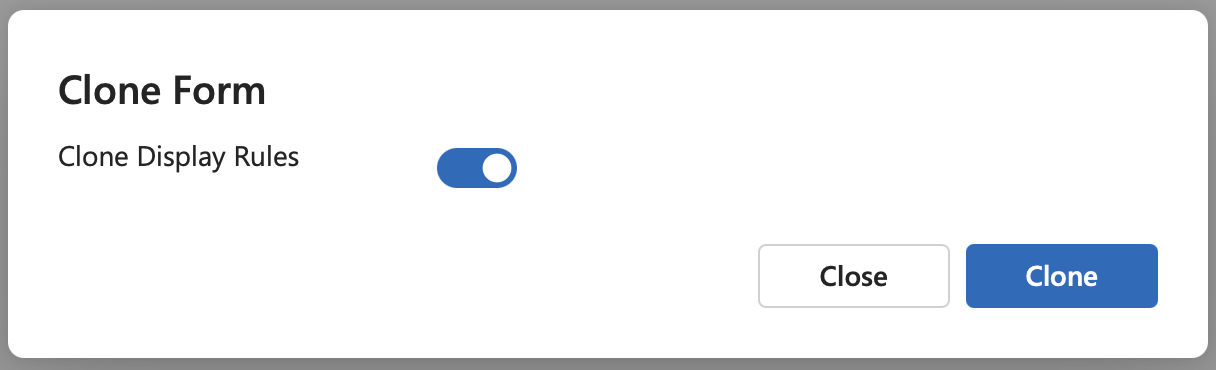
- Click on the
Clonebutton in the dialog box, to create a clone of the form. - The cloned form will be visible in the form management page now.