Manage Flow
This page outlines how to manage Factorial Flows on the ProcessFactorial Portal Flows can be created and modified from the flow management page as well as the overview page for an individual flow. The first section of the page outlines the functionalities of the flow management page, while the second section details that of the overview page.
Flow Management Page
The flow management page can be accessed by clicking on any project from the project management page. Here, one can find listed all the flows that have been created for the project with options to do the following.
Add new Factorial Flow to an NPO Project
The steps below shows the typical path for adding a new Factorial Flow
-
Click on the
New buttonto create a new flow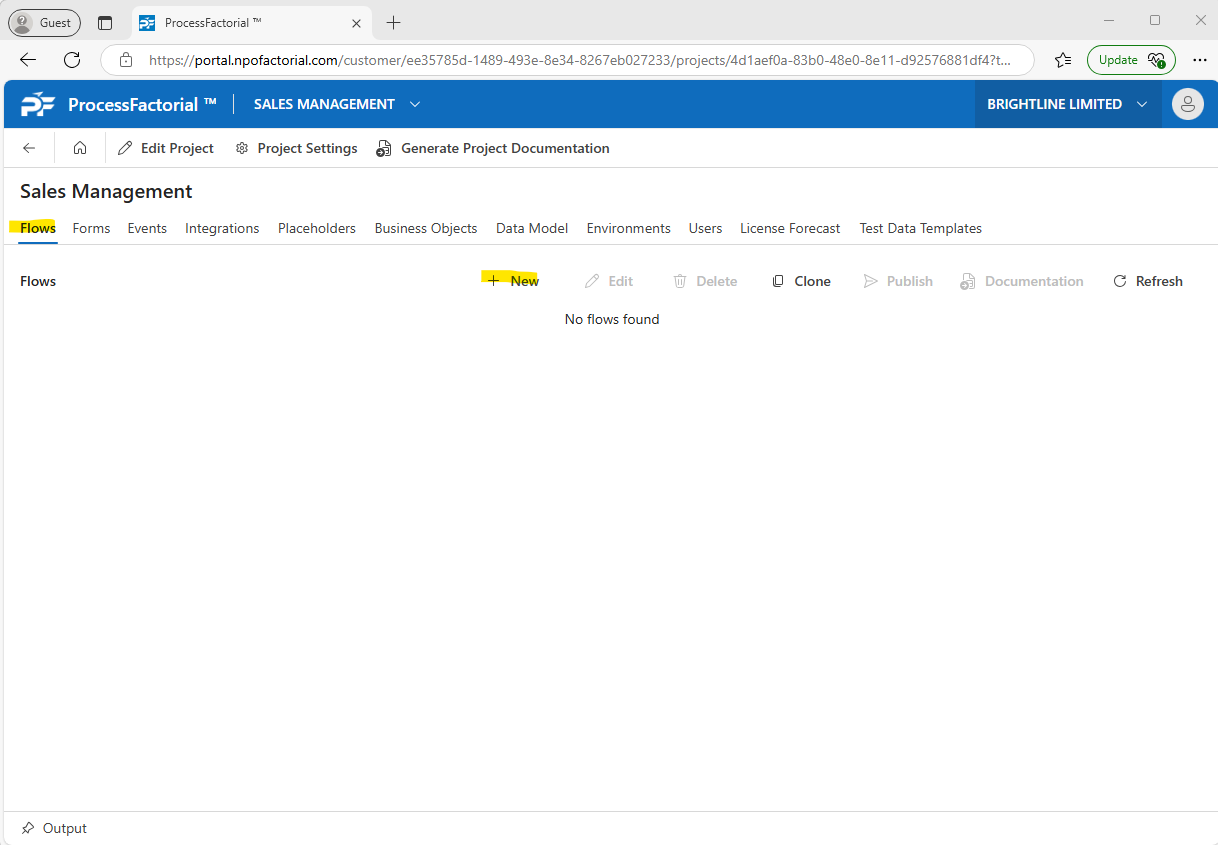
-
In the
New Flow - Detailsside panel, fill in the necessary details outlined in the table below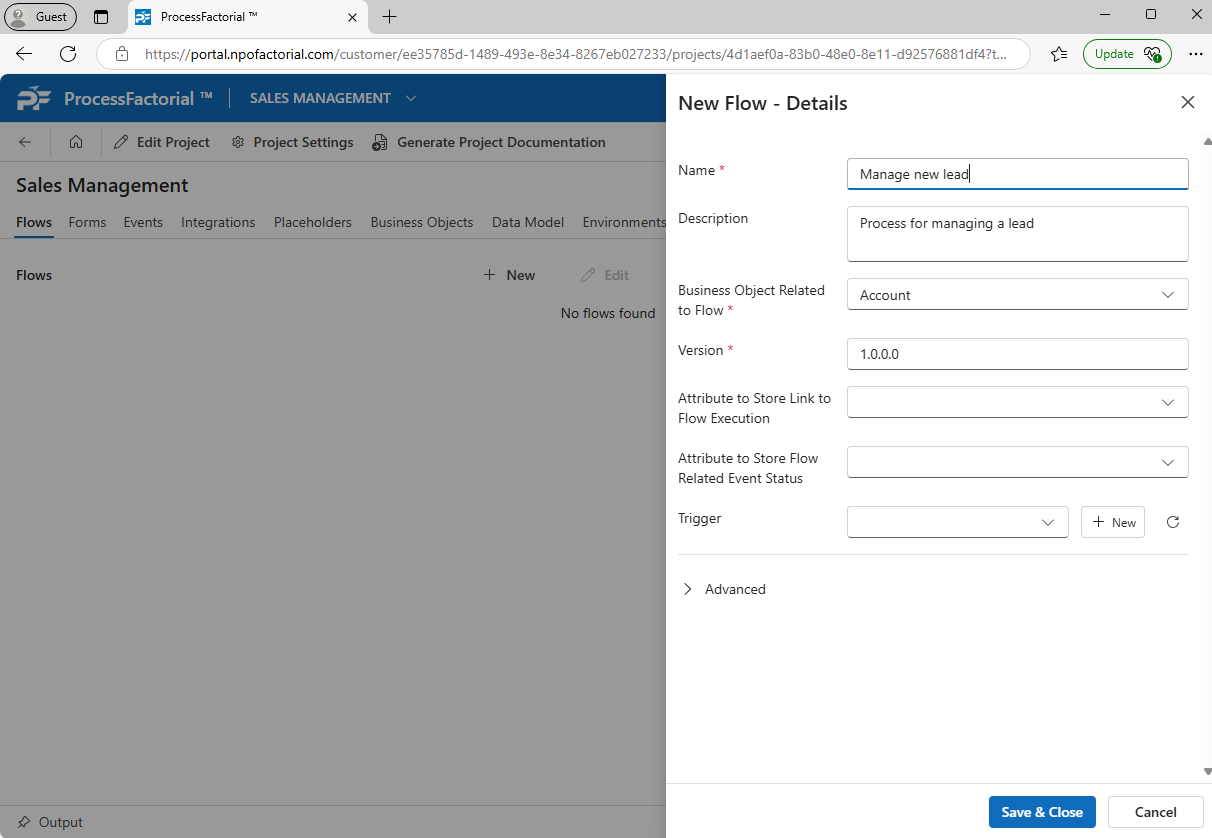
Field Description Name (Required) A succinct name for the flow Description A short description for the flow Business Object Related to Flow (Required) The Business Object that stores the attributes associated with the flow Version (Required) (auto-generated) Version number of the flow Attribute to Store Link to Flow Execution The attribute in the Business Object used to store a link to the flow execution data Attribute to Store Flow Related Event Status The attribute in the Business Object used to store a the execution status Trigger The trigger event that starts flow execution (Advanced) Records per cycle Allows user to configure the number of records that can be processed per cycle of execution -
Click on
Save & Closebutton to save the flow and exit the panel. Alternatively, click onCancelto discard and exit the panel.
Edit an existing Factorial Flow on an NPO Customer
Follow the below steps to make changes to an existing flow.
-
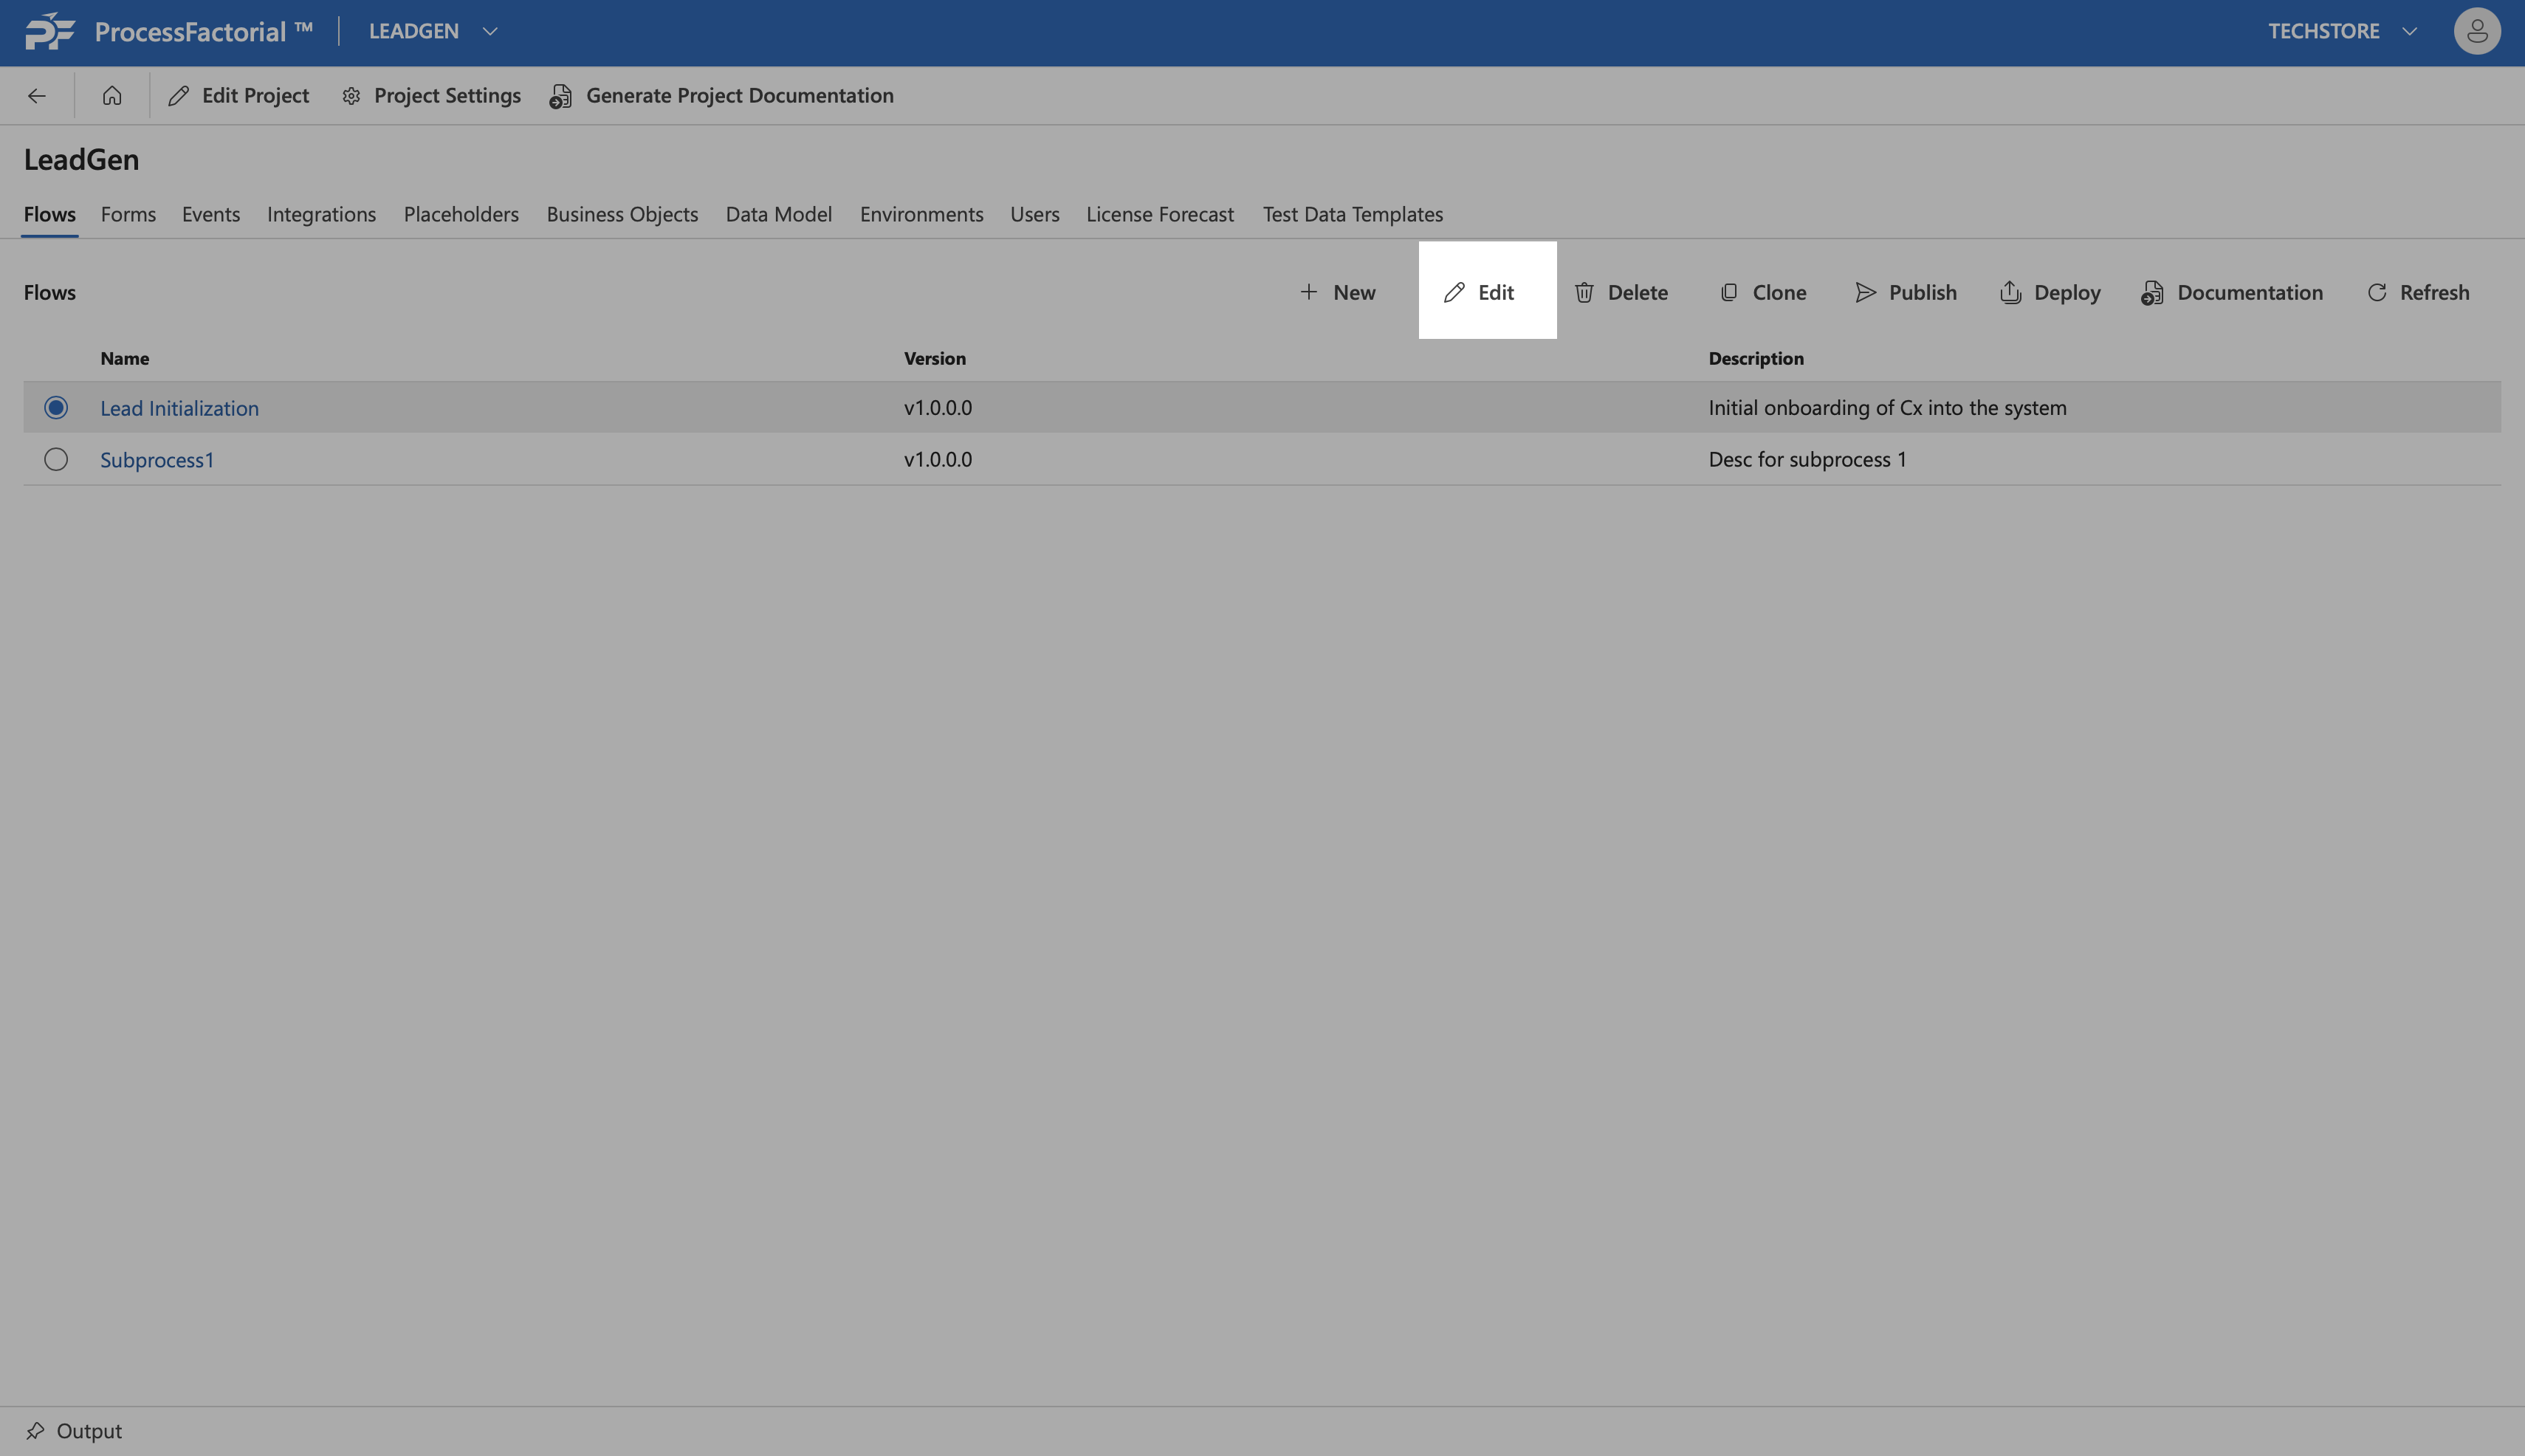
Select the flow within the flow tab of a project, by clicking on the radio button next to it.
-
Click on the
Editbutton to make changes to the flow.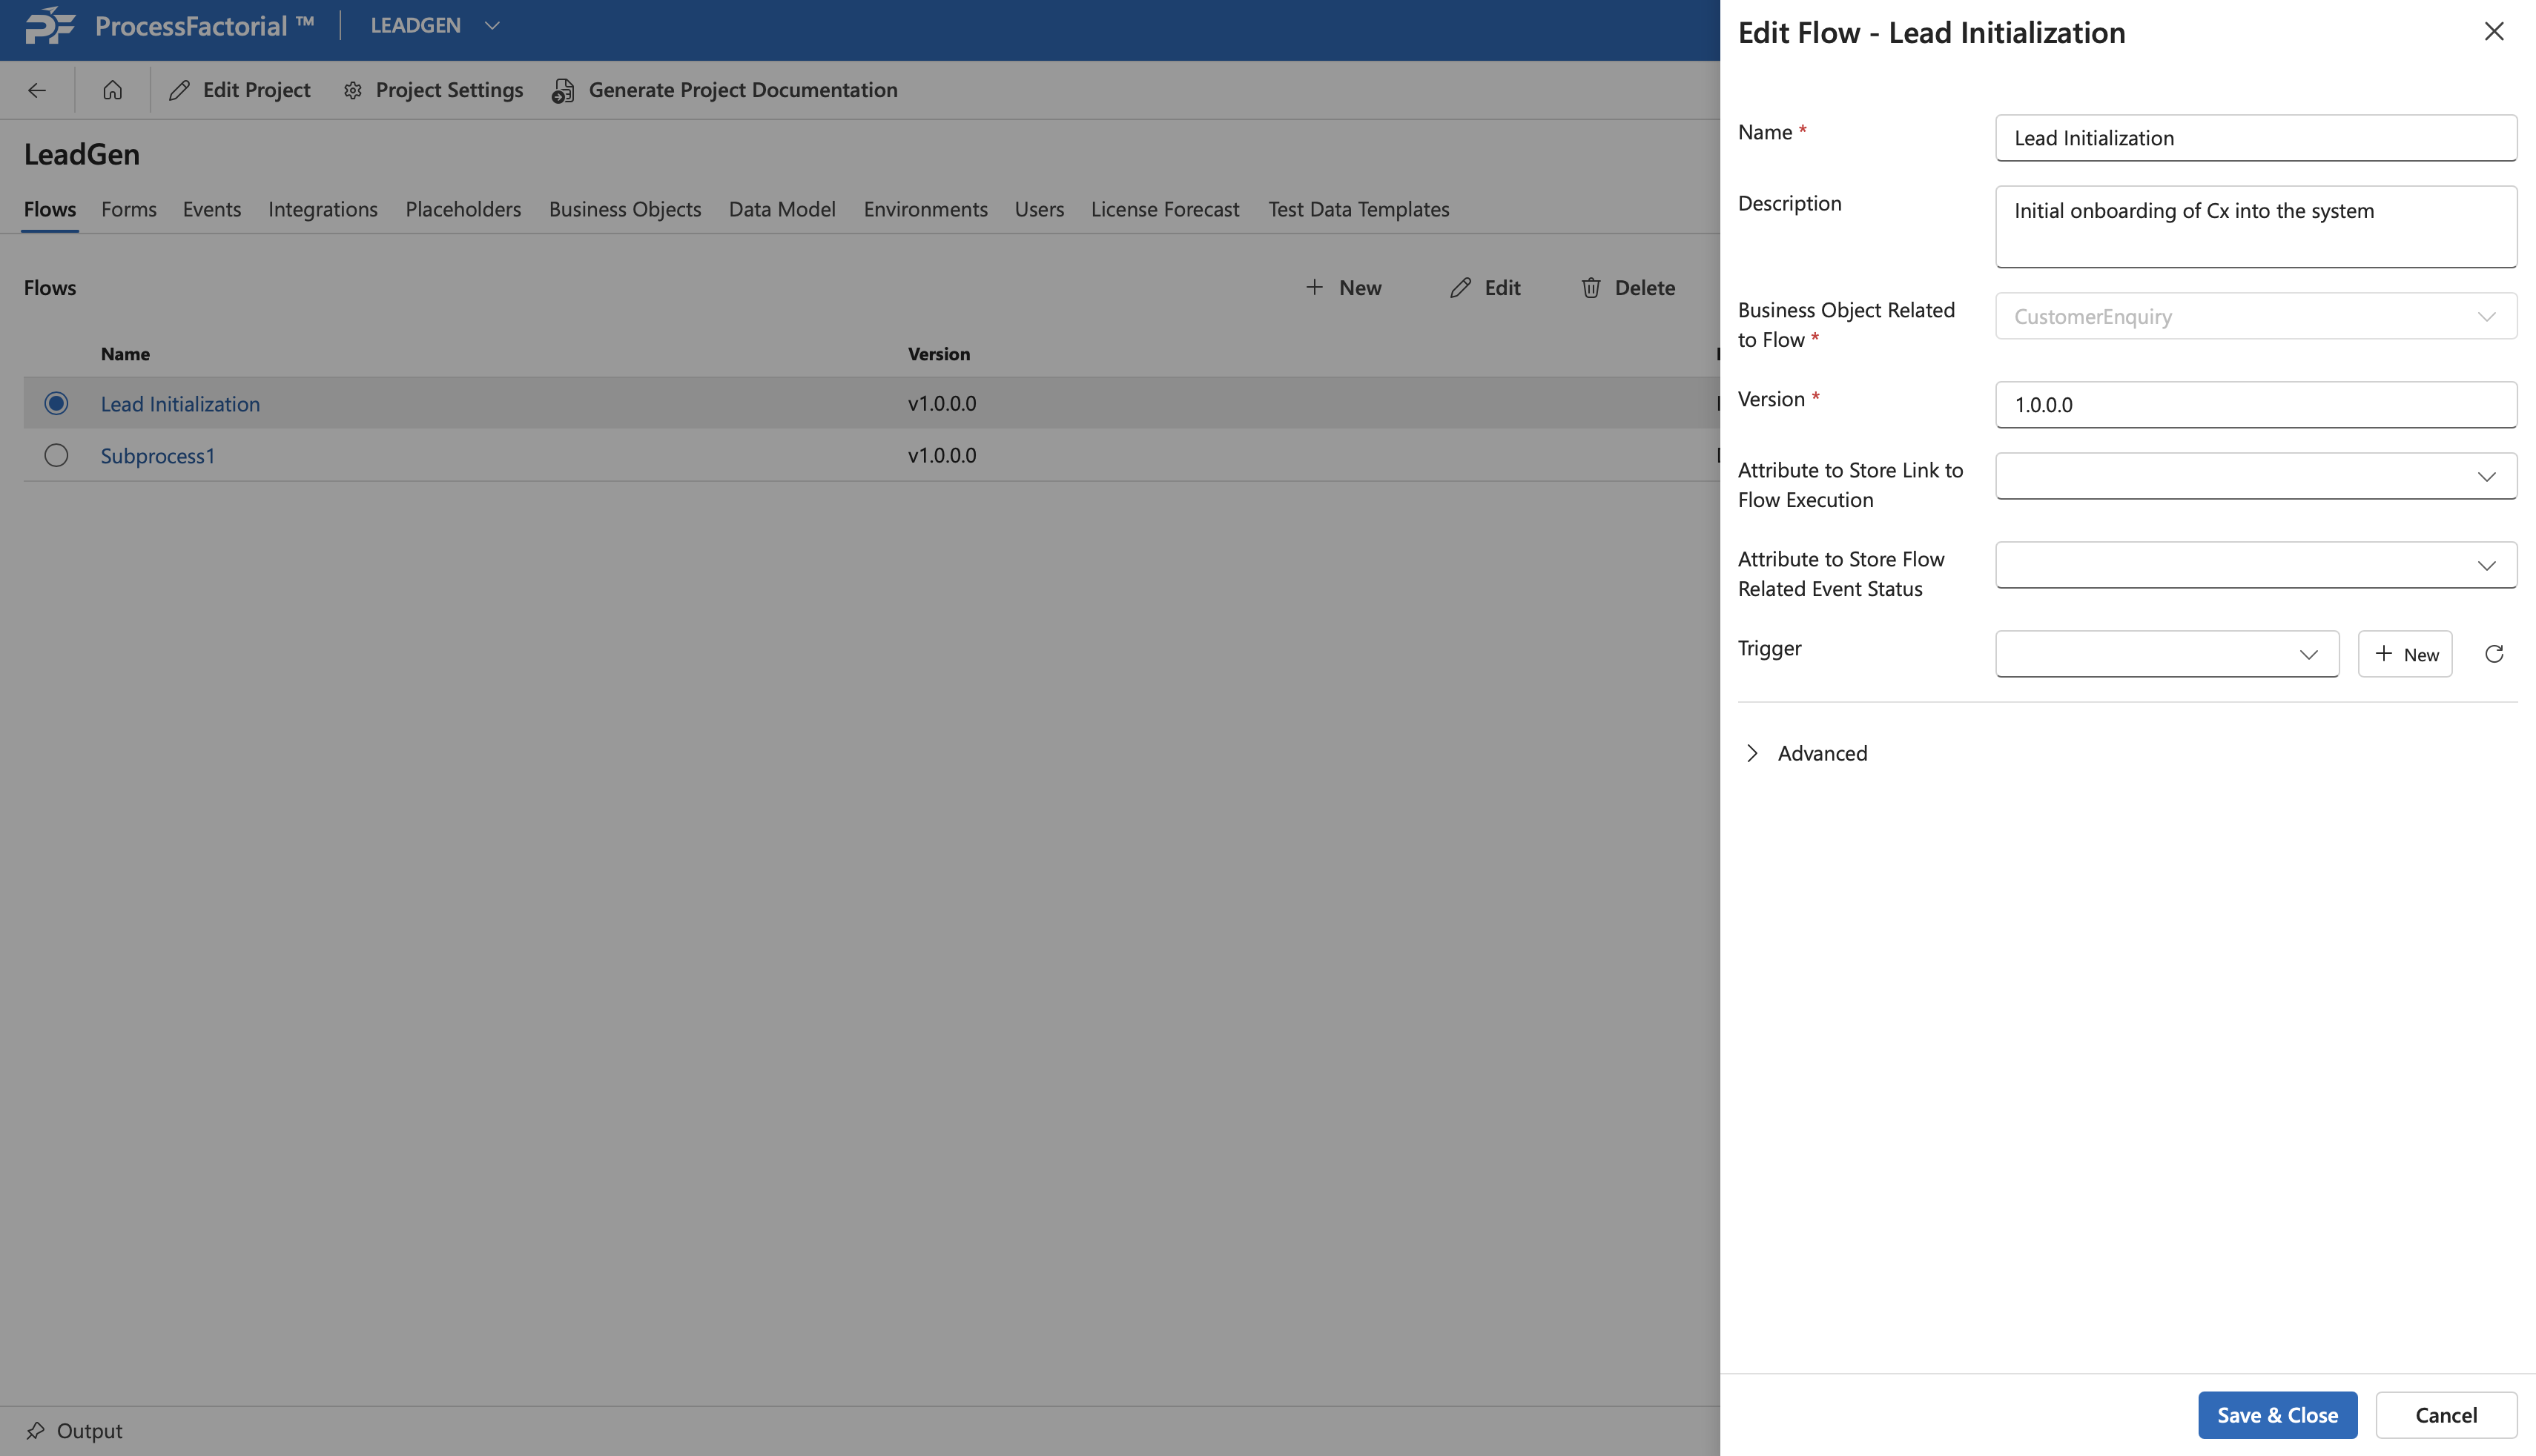
-
In the drawer panel that appears, make changes to the respective fields that need to be modified.
- Click
Save & Closeto save the changes, orCancelto discard all changes.
Delete a Flow
Warning
Deleting a flow results in deletion of all of its child entities including steps and actions
Follow the below steps to delete a flow.
- Select the flow by clicking on the radio button next to it.
-
Click on the
Deletebutton in the panel above.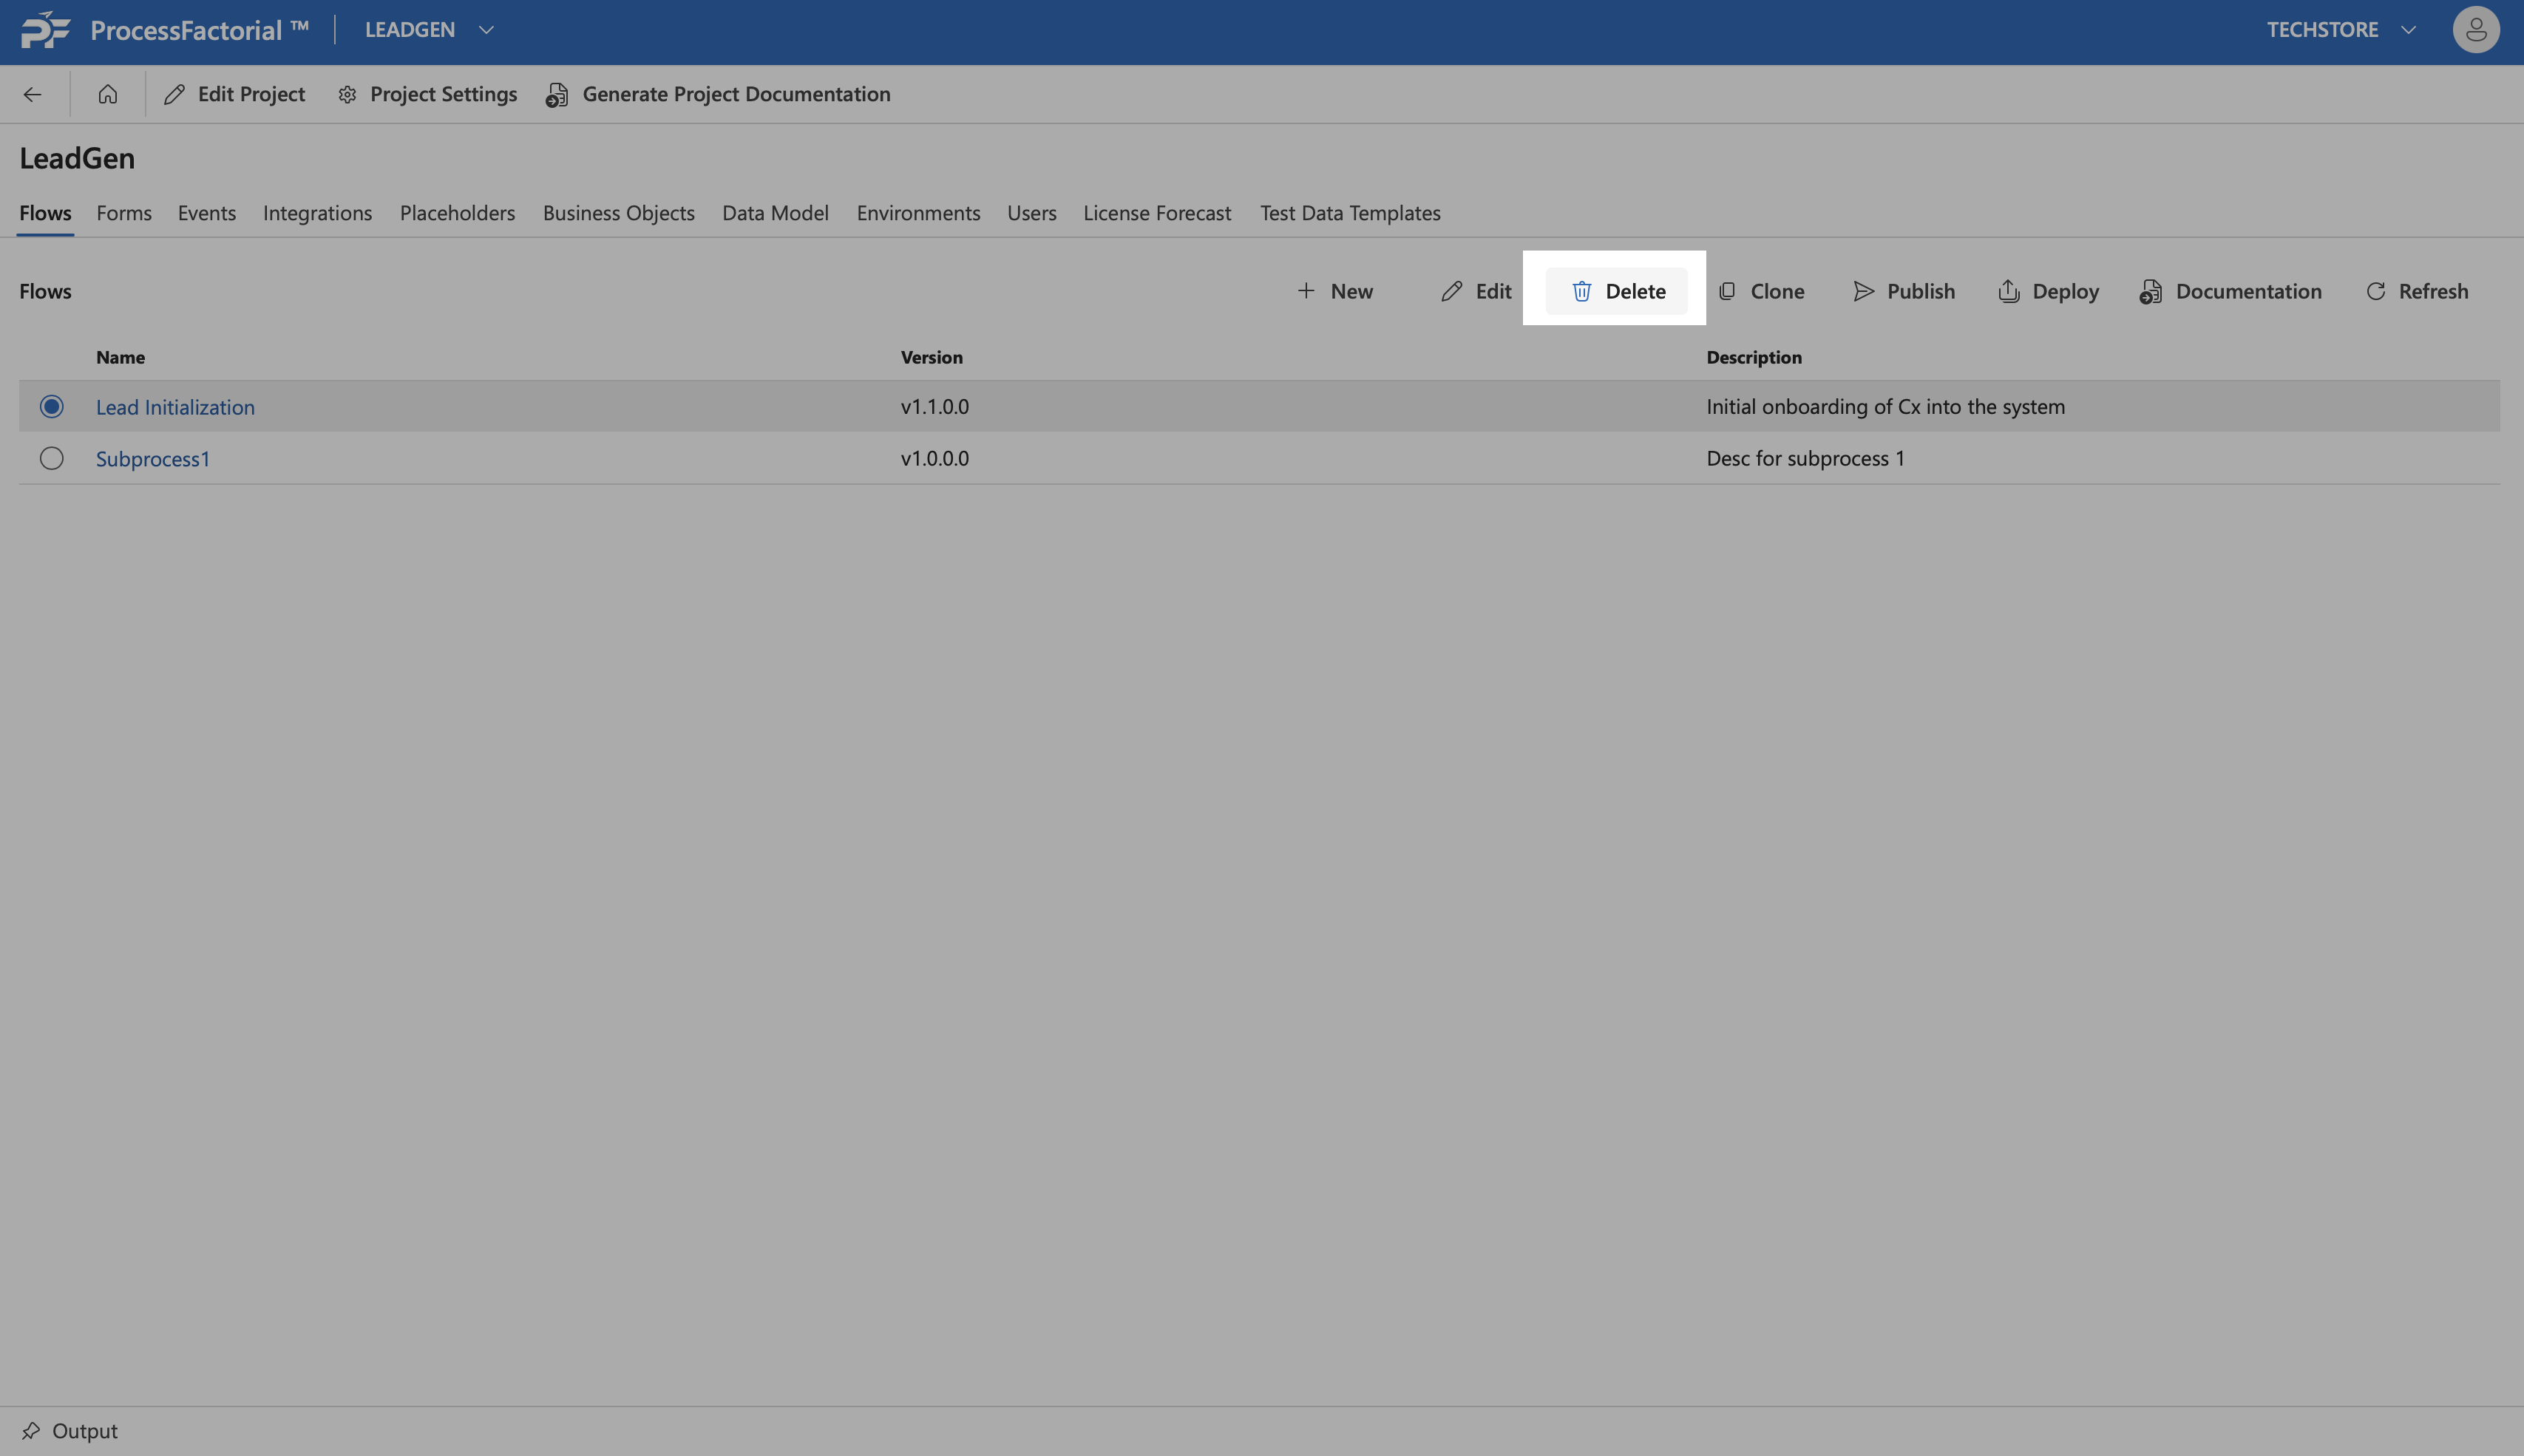
-
In the confirmation dialog box, type in the Flow name in the text box and click on the
Deletebutton to confirm and complete the deletion. Alternatively click onCancelto exit the dialog box without deleting the flow.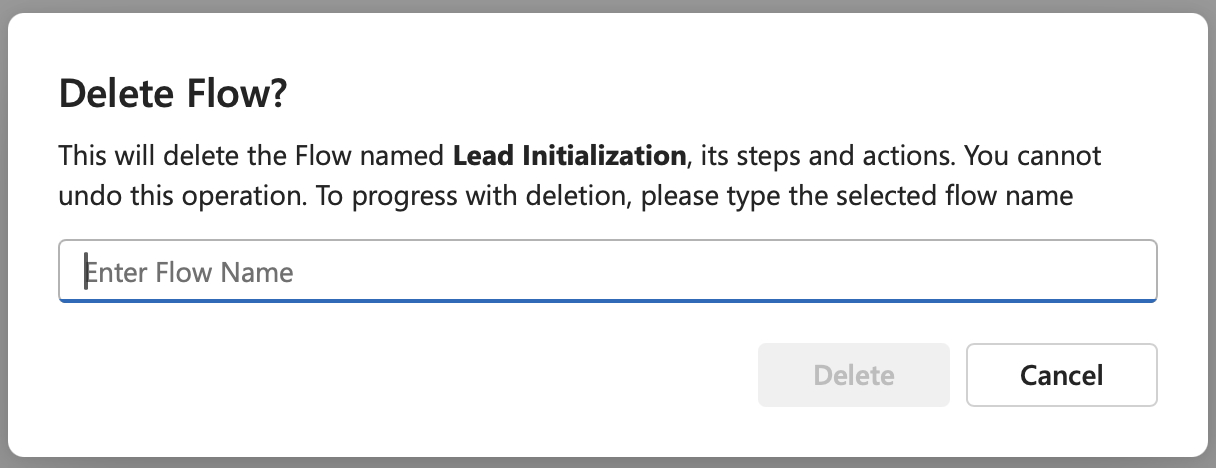
Clone a Flow
Follow the below steps to clone a flow.
- Select the flow by clicking on the radio button next to it.
-
Click on the
Clonebutton in the panel above.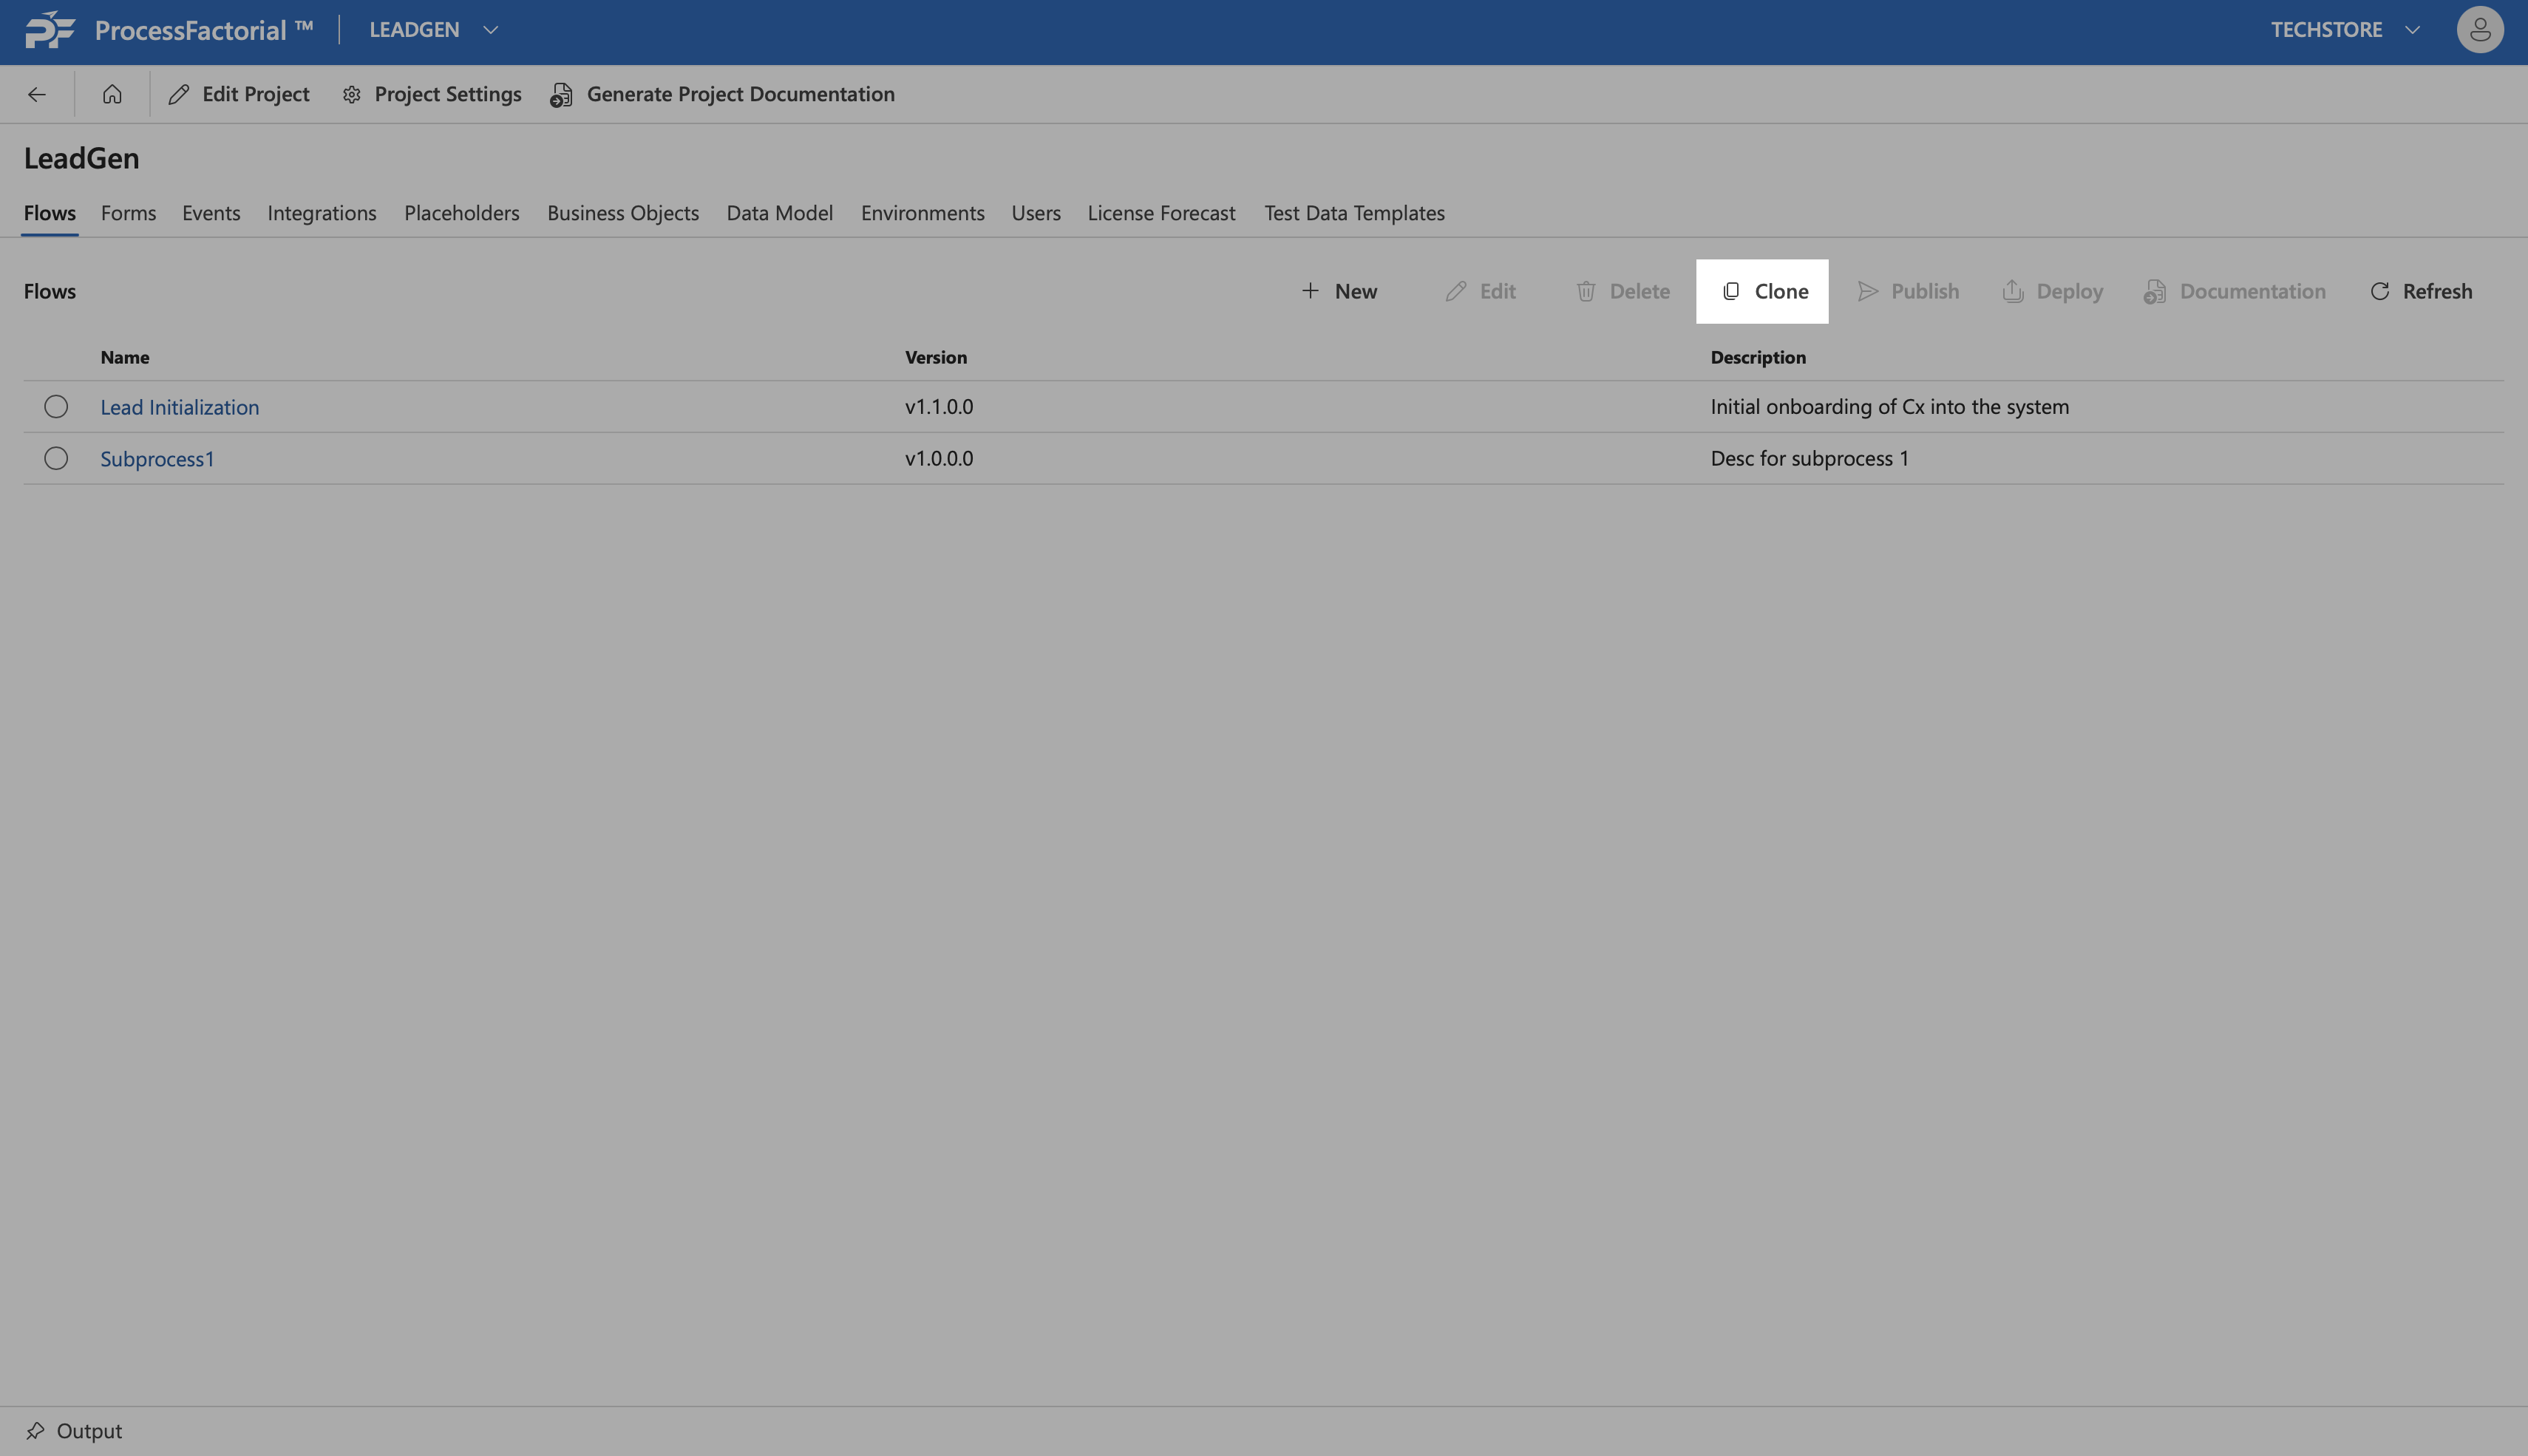
-
Choose the flow from the dropdown in the confirmation dialog box and click on
Clonebutton to clone the flow, or, click onCloseto discard and exit the dialog box.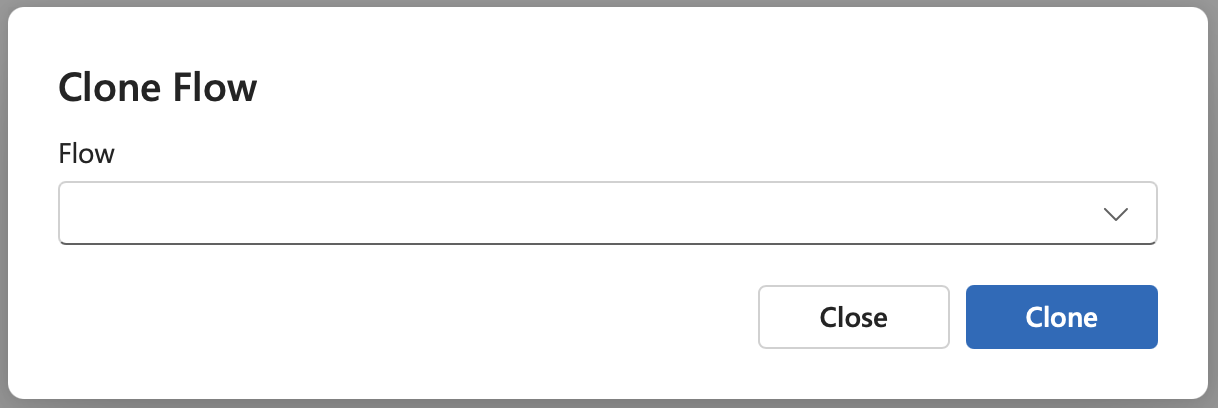
Publish a Flow
Publishing a flow is the precursor to its deployment and subsequent execution. Once the user is content with the definition of the flow, it can be published by following the steps below.
- Select the flow by clicking on the radio button next to it.
-
Click on the
Publishbutton in the panel above.
-
The drawer panel that slides out displays the
Flow Nameand the correspondingVersion. Optionally, fill in the comment box with any appropriate comments.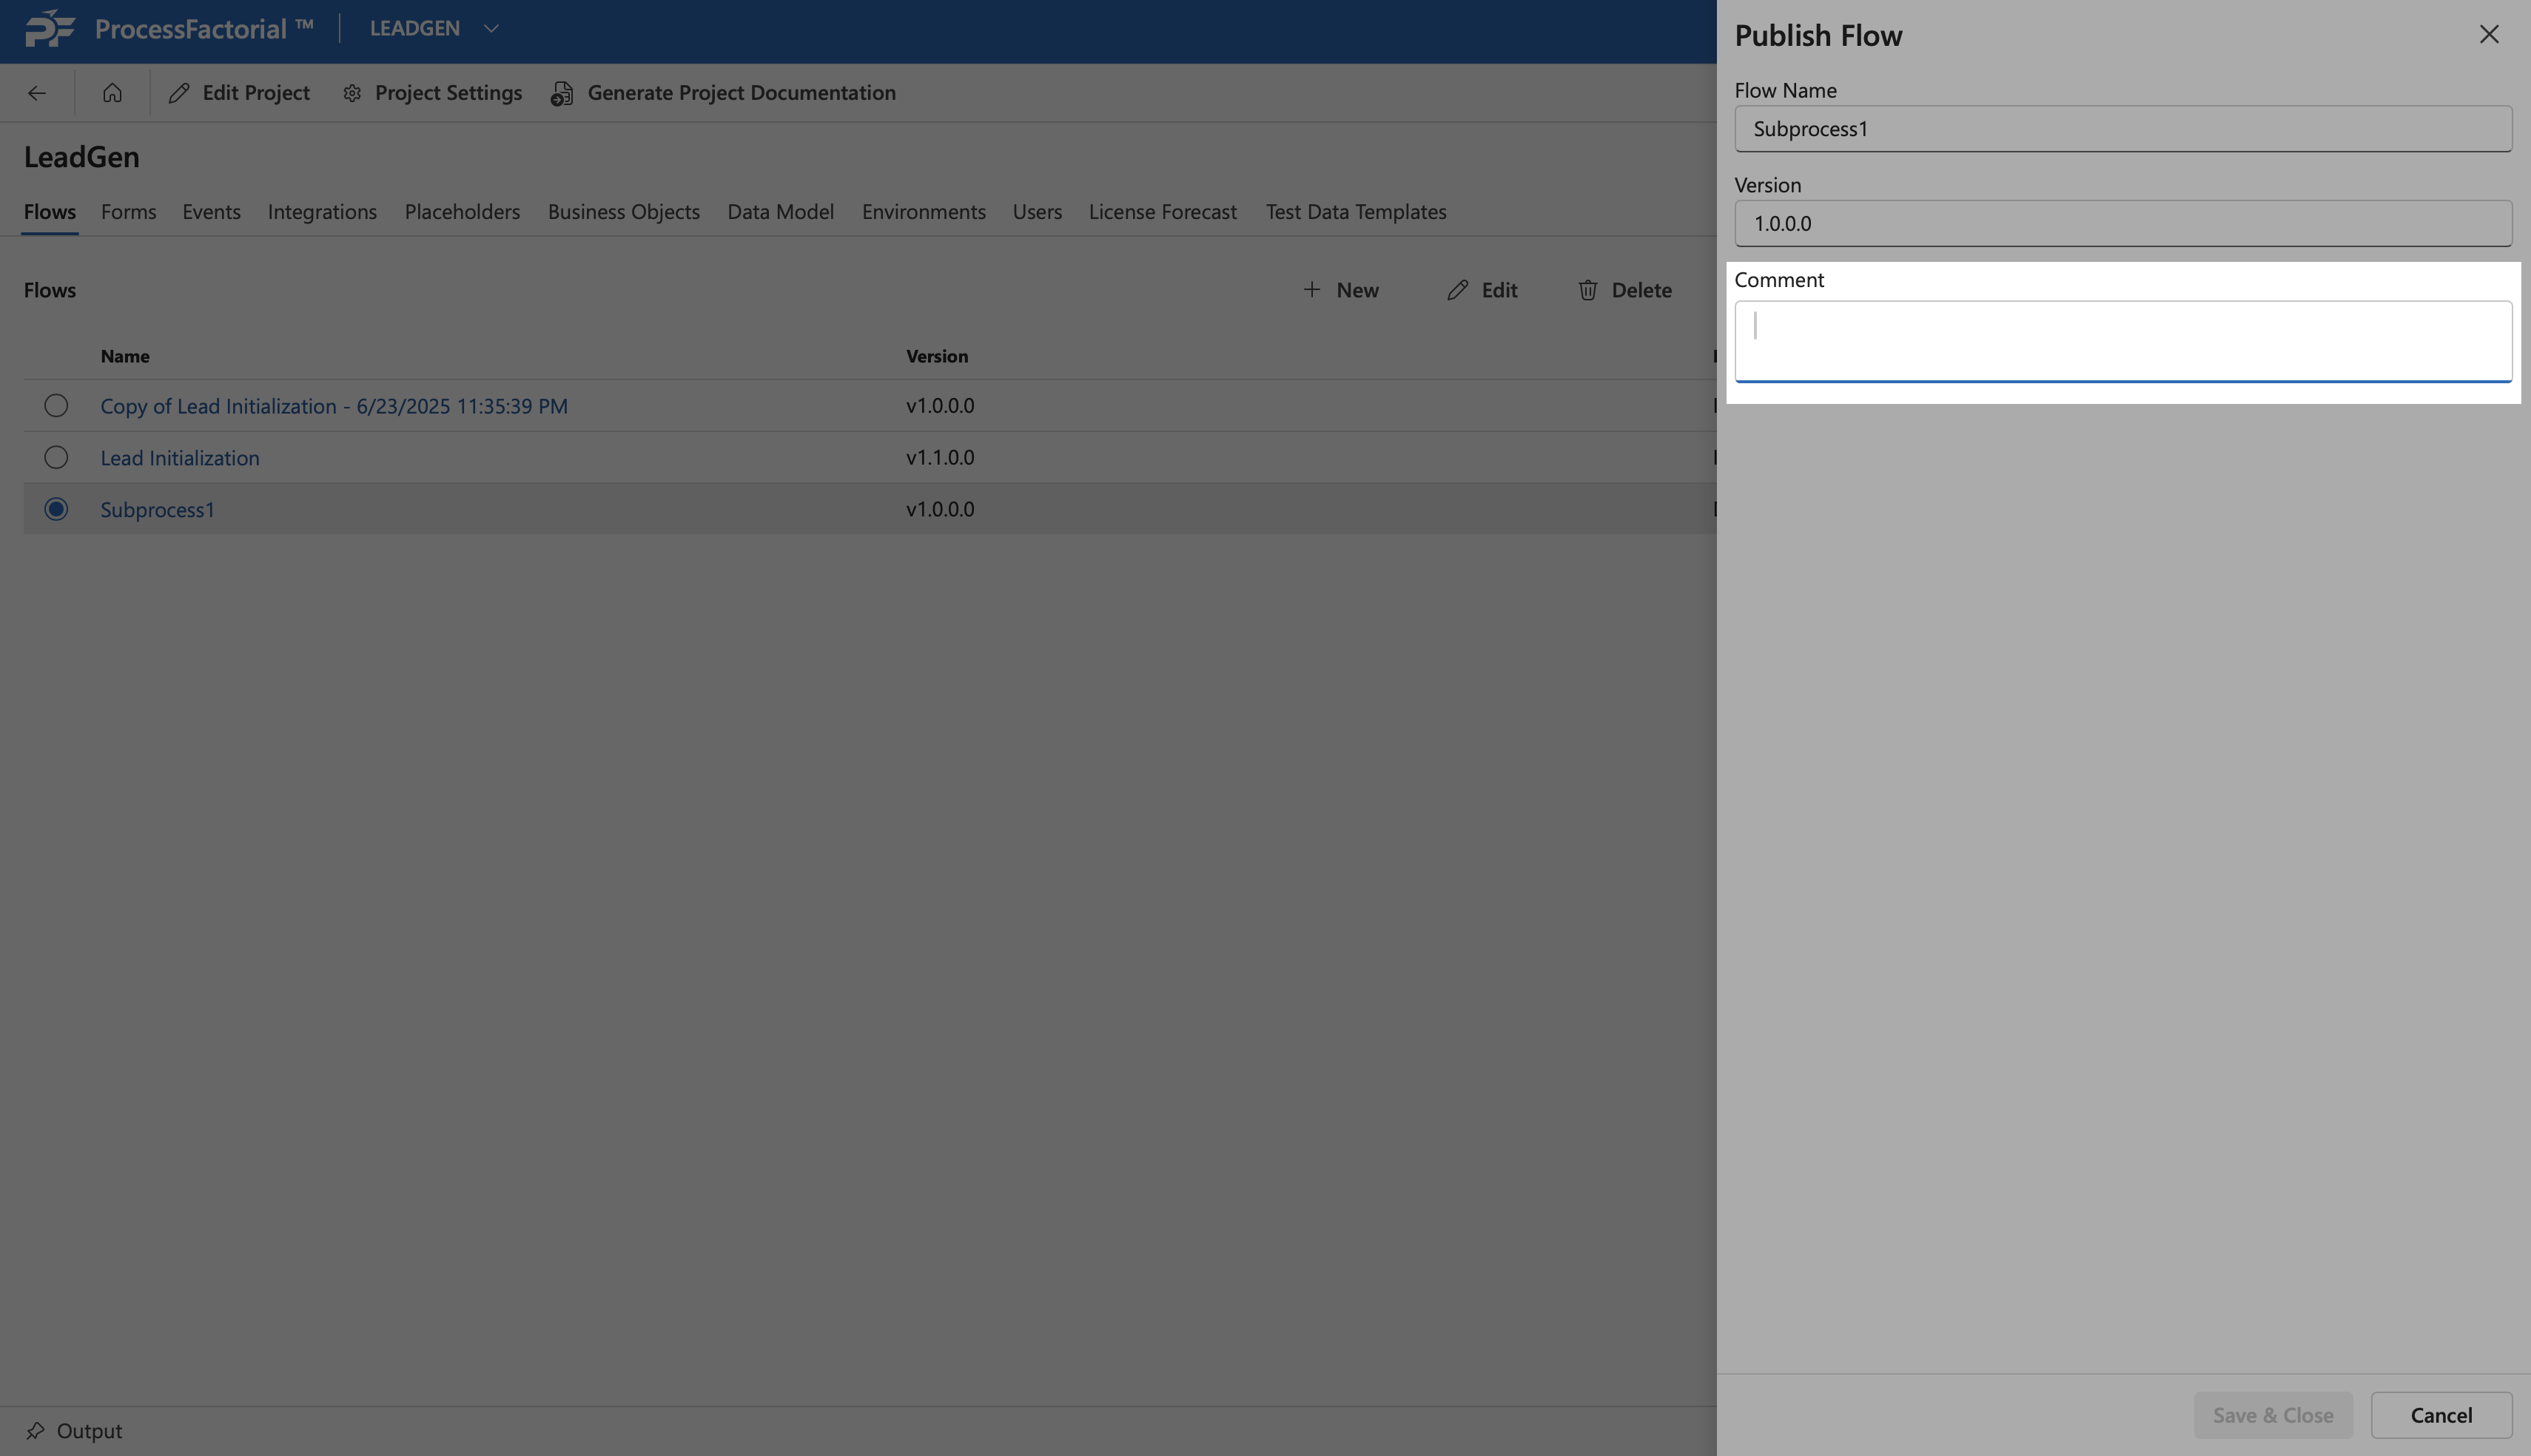
-
Click on the
Save & Closebutton to publish the flow, or, clickCancelto discard and exit the panel.
Deploy a Flow
Note
A flow must be published with an acquired version number before it can be deployed. Refer Publish a Flow
After a flow has been published, deploying it makes it available for execution in the respective environment. Follow the below steps to deploy a flow.
- Select the flow by clicking on the radio button next to it.
-
Click on the
Deploybutton in the panel above.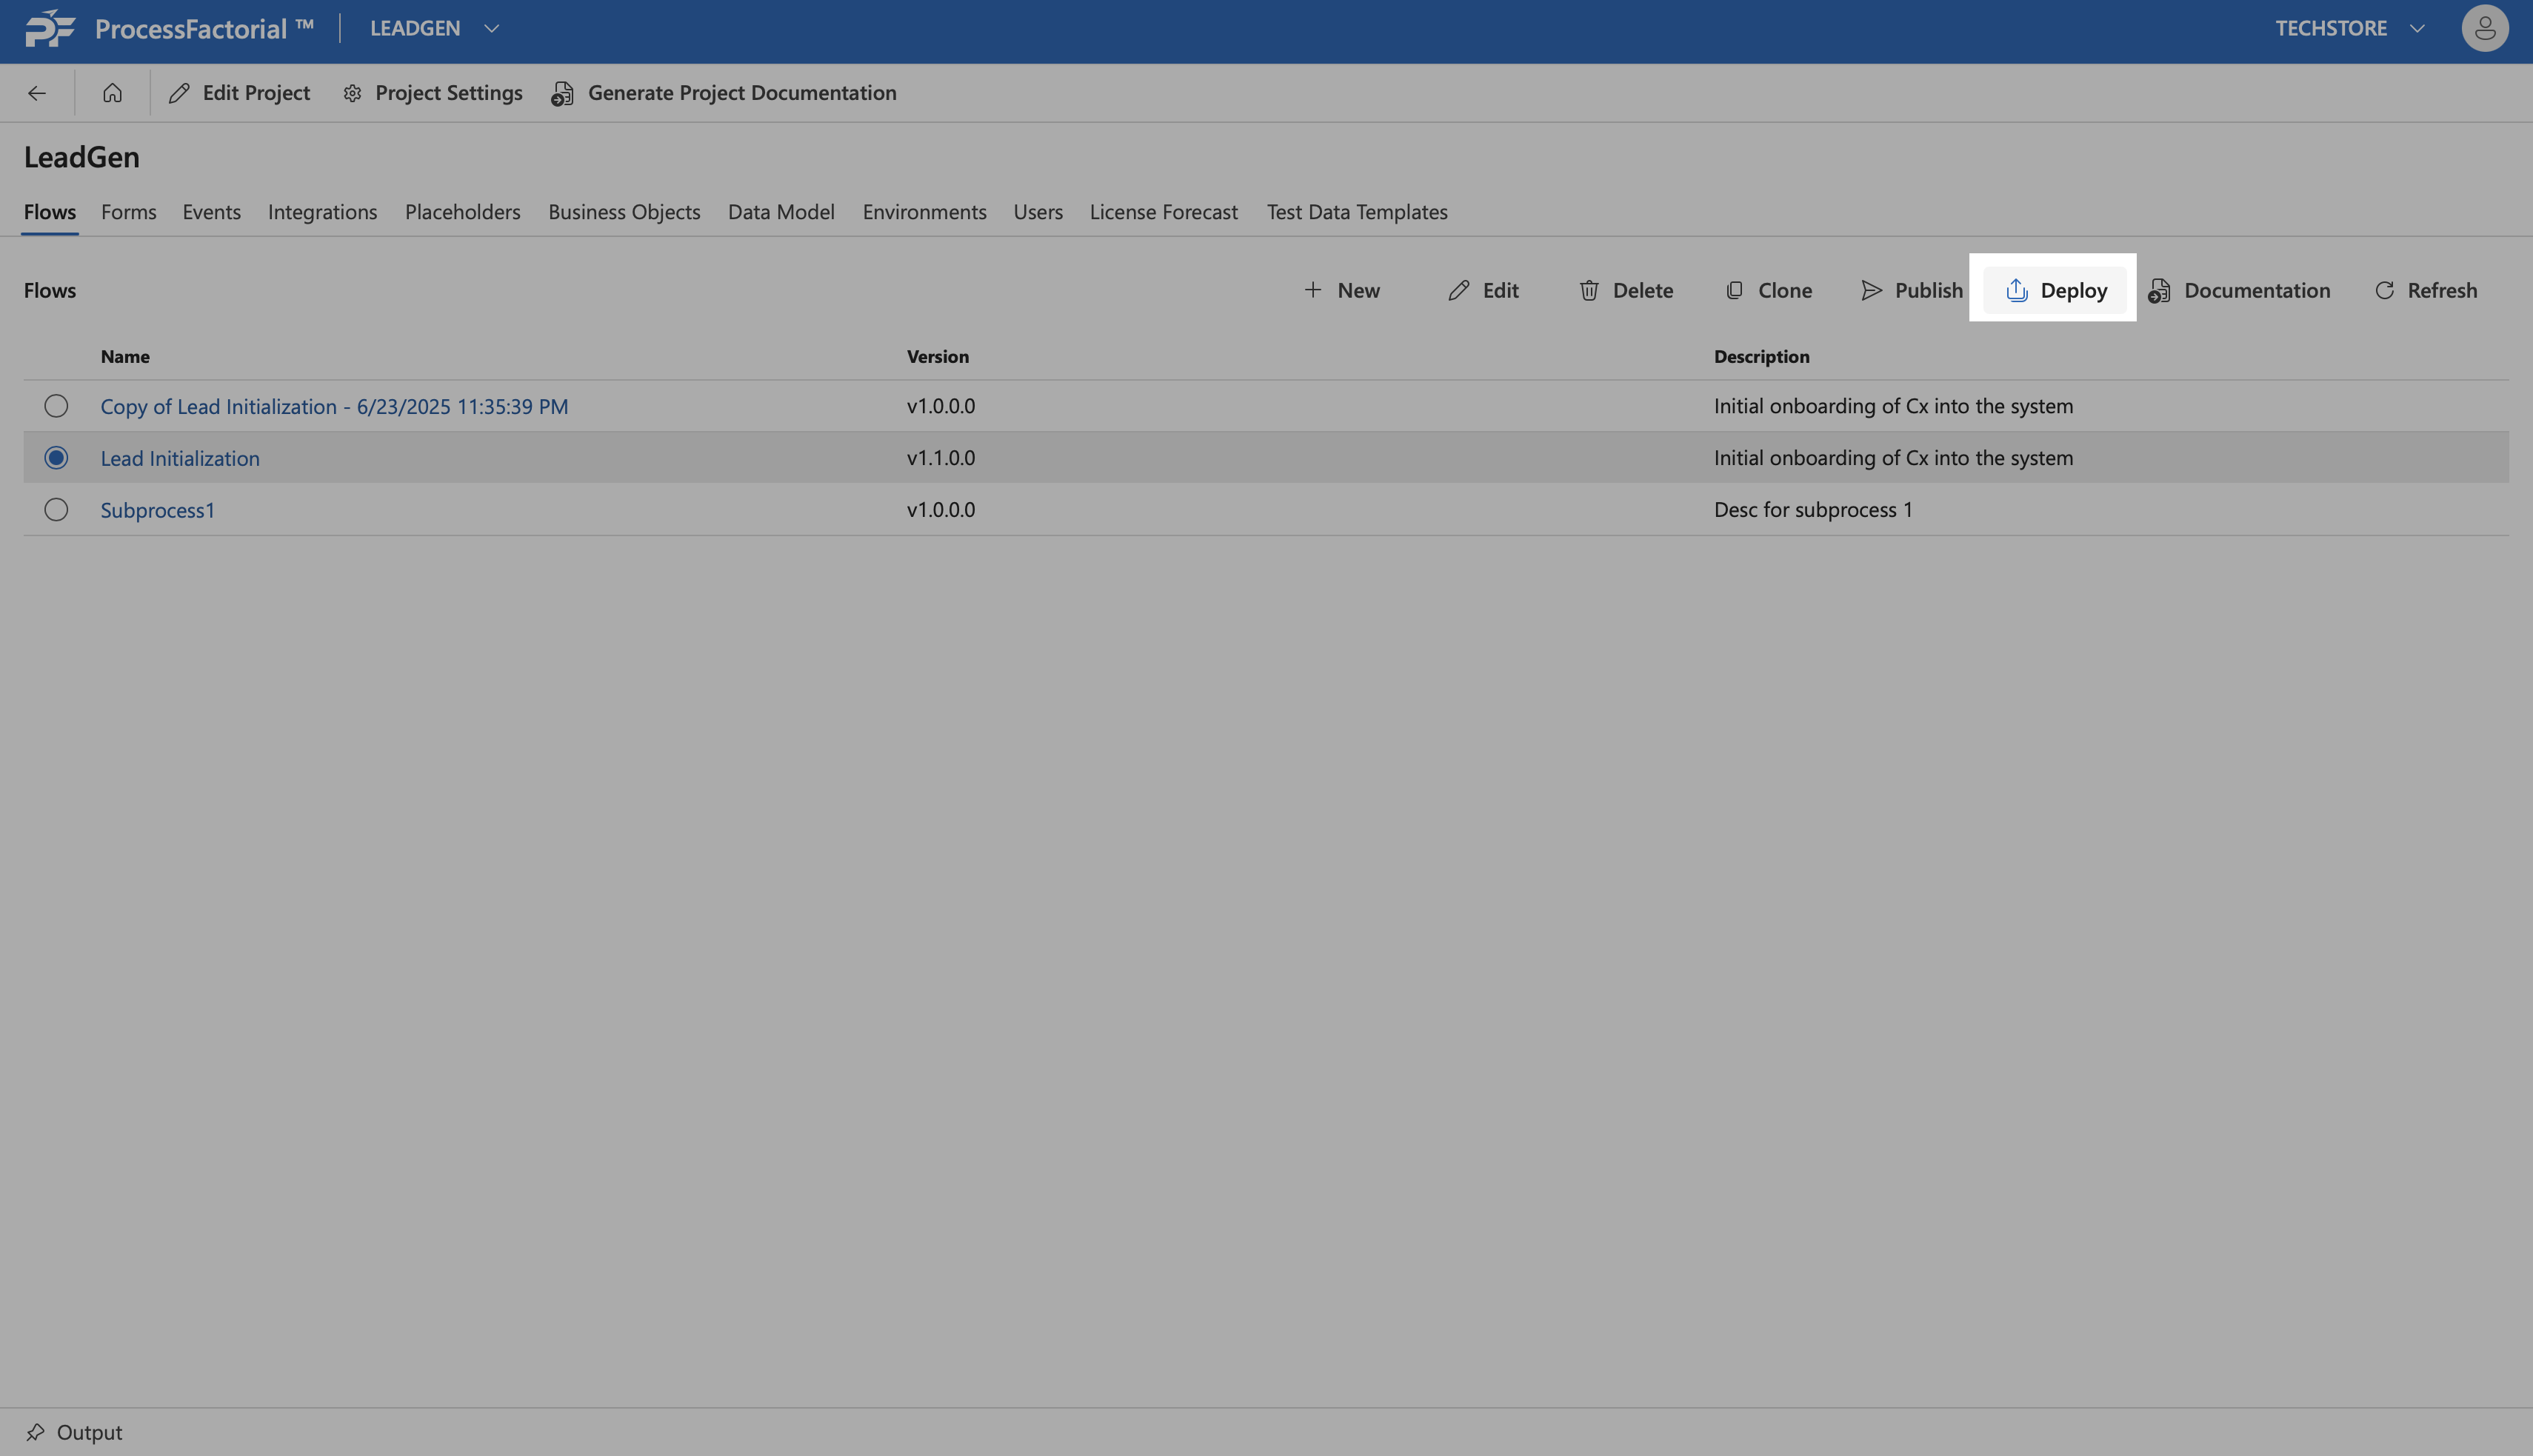
-
In the drawer panel that opens up, fill in the following fields.
Field Description Flow (auto-filled) The name of the selected flow Version (Required) The version number of the chosen flow that needs to be published Environment (Required) The environment to which the flow needs to be published Deployment comment (Optional) Any suitable comment for the deployment 
-
Click
Save & Closeto complete deployment. Alternatively, clickCancelto discard and exit the panel.
Generate Documentation
Follow the below steps to create on-the-fly documentation for a flow.
- Select the flow by clicking on the radio button next to it.
-
Click on the
Documentationbutton in the panel above.
-
In the dialog box that appears, select the appropriate flow version and click
Okto generate documentation. Alternatively, click onCloseto exit the dialog box without generating documentation.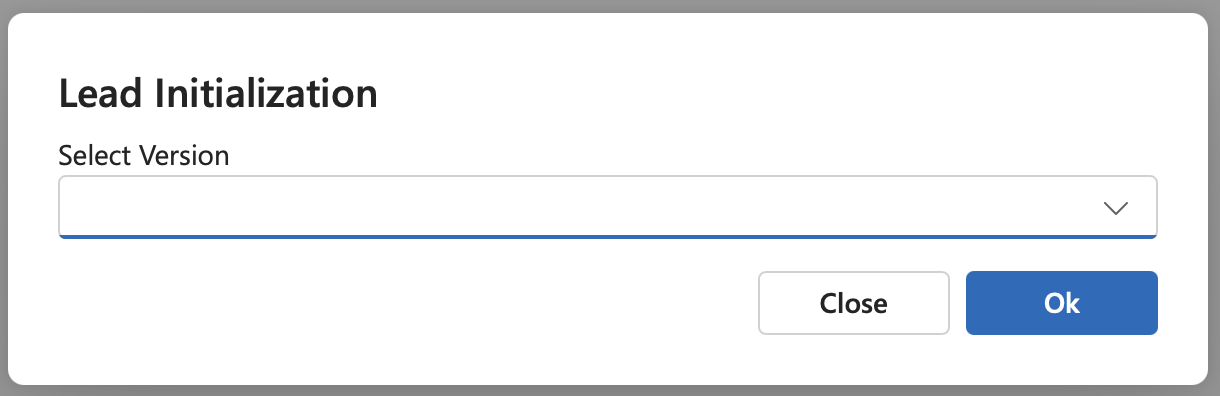
Flow Overview
Details of a specific flow can be viewed from overview page for the particular flow, which can be accessed by clicking on the respective flow in the flow management page. In addition to the functionalities listed in the Flow Management Page, the Flow Overview page additionally provides access to the following.
Compare Versions
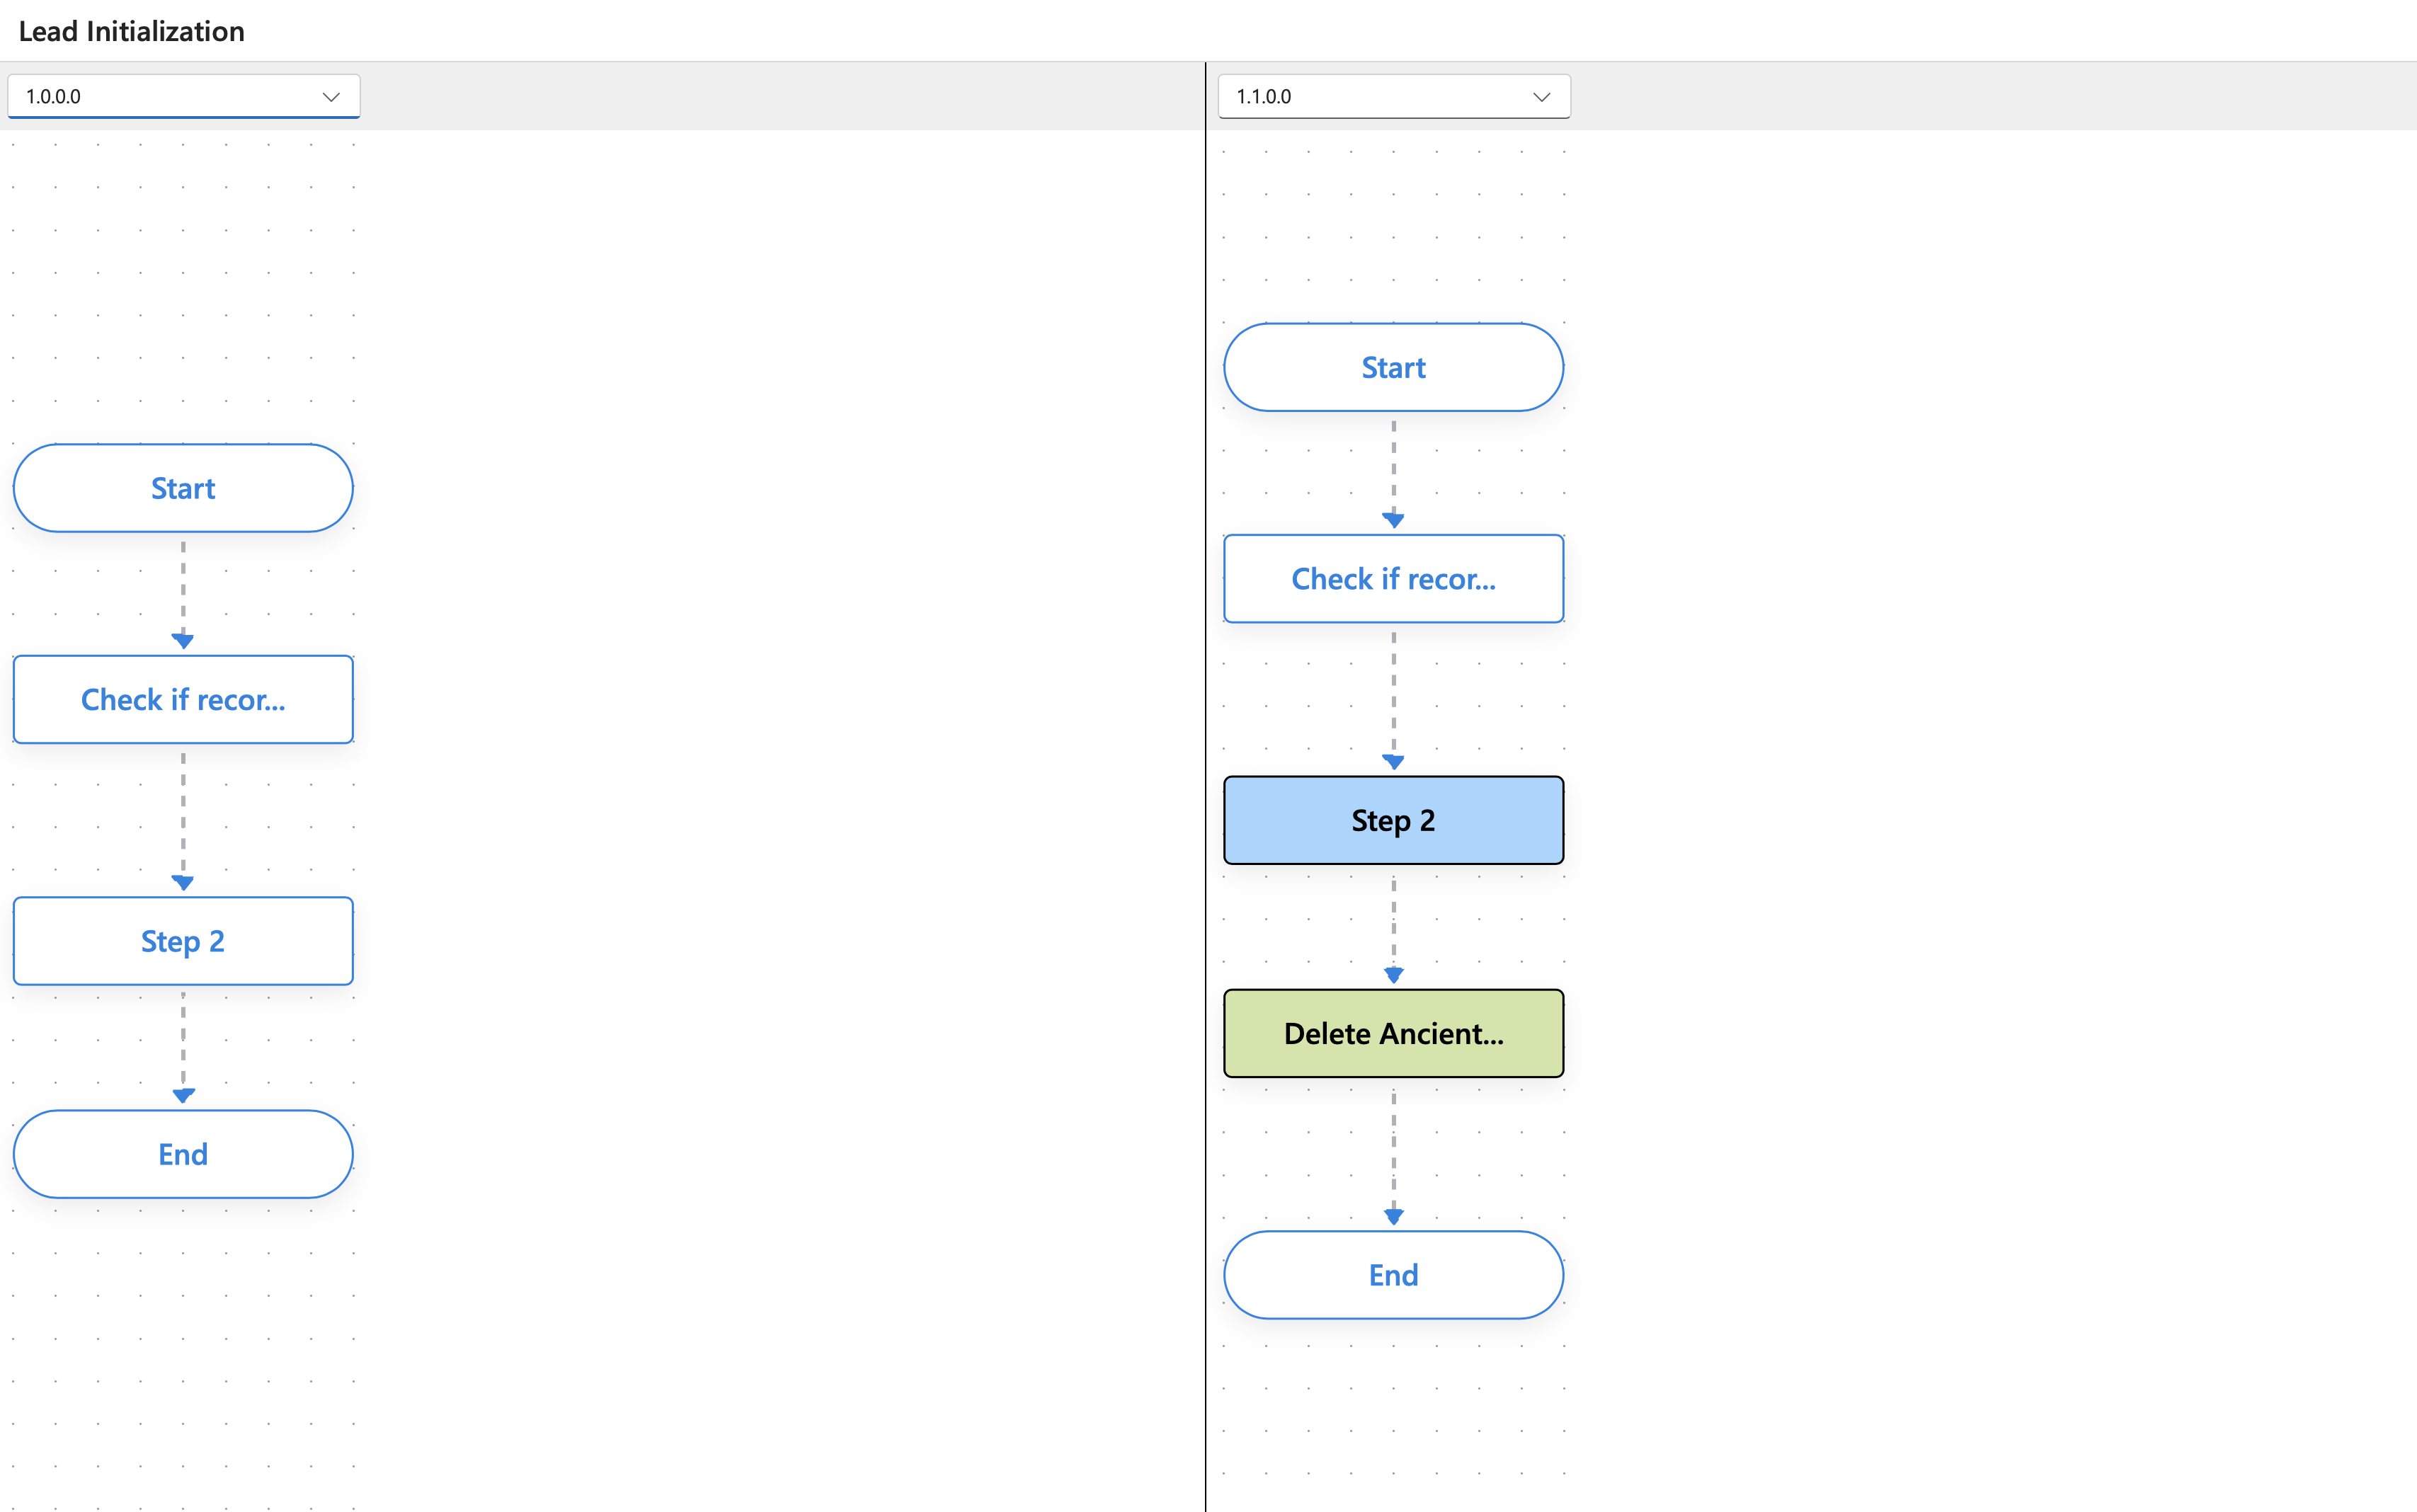
Different versions of the flow can be compared for changes visually by following the steps outlined below. Comparison can be made between published versions and also between the current unpublished version and any published versions.
- Click on a flow to open its own respective
Detailspage. -
Click on the
Compare Versionsbutton in the top-most panel of buttons.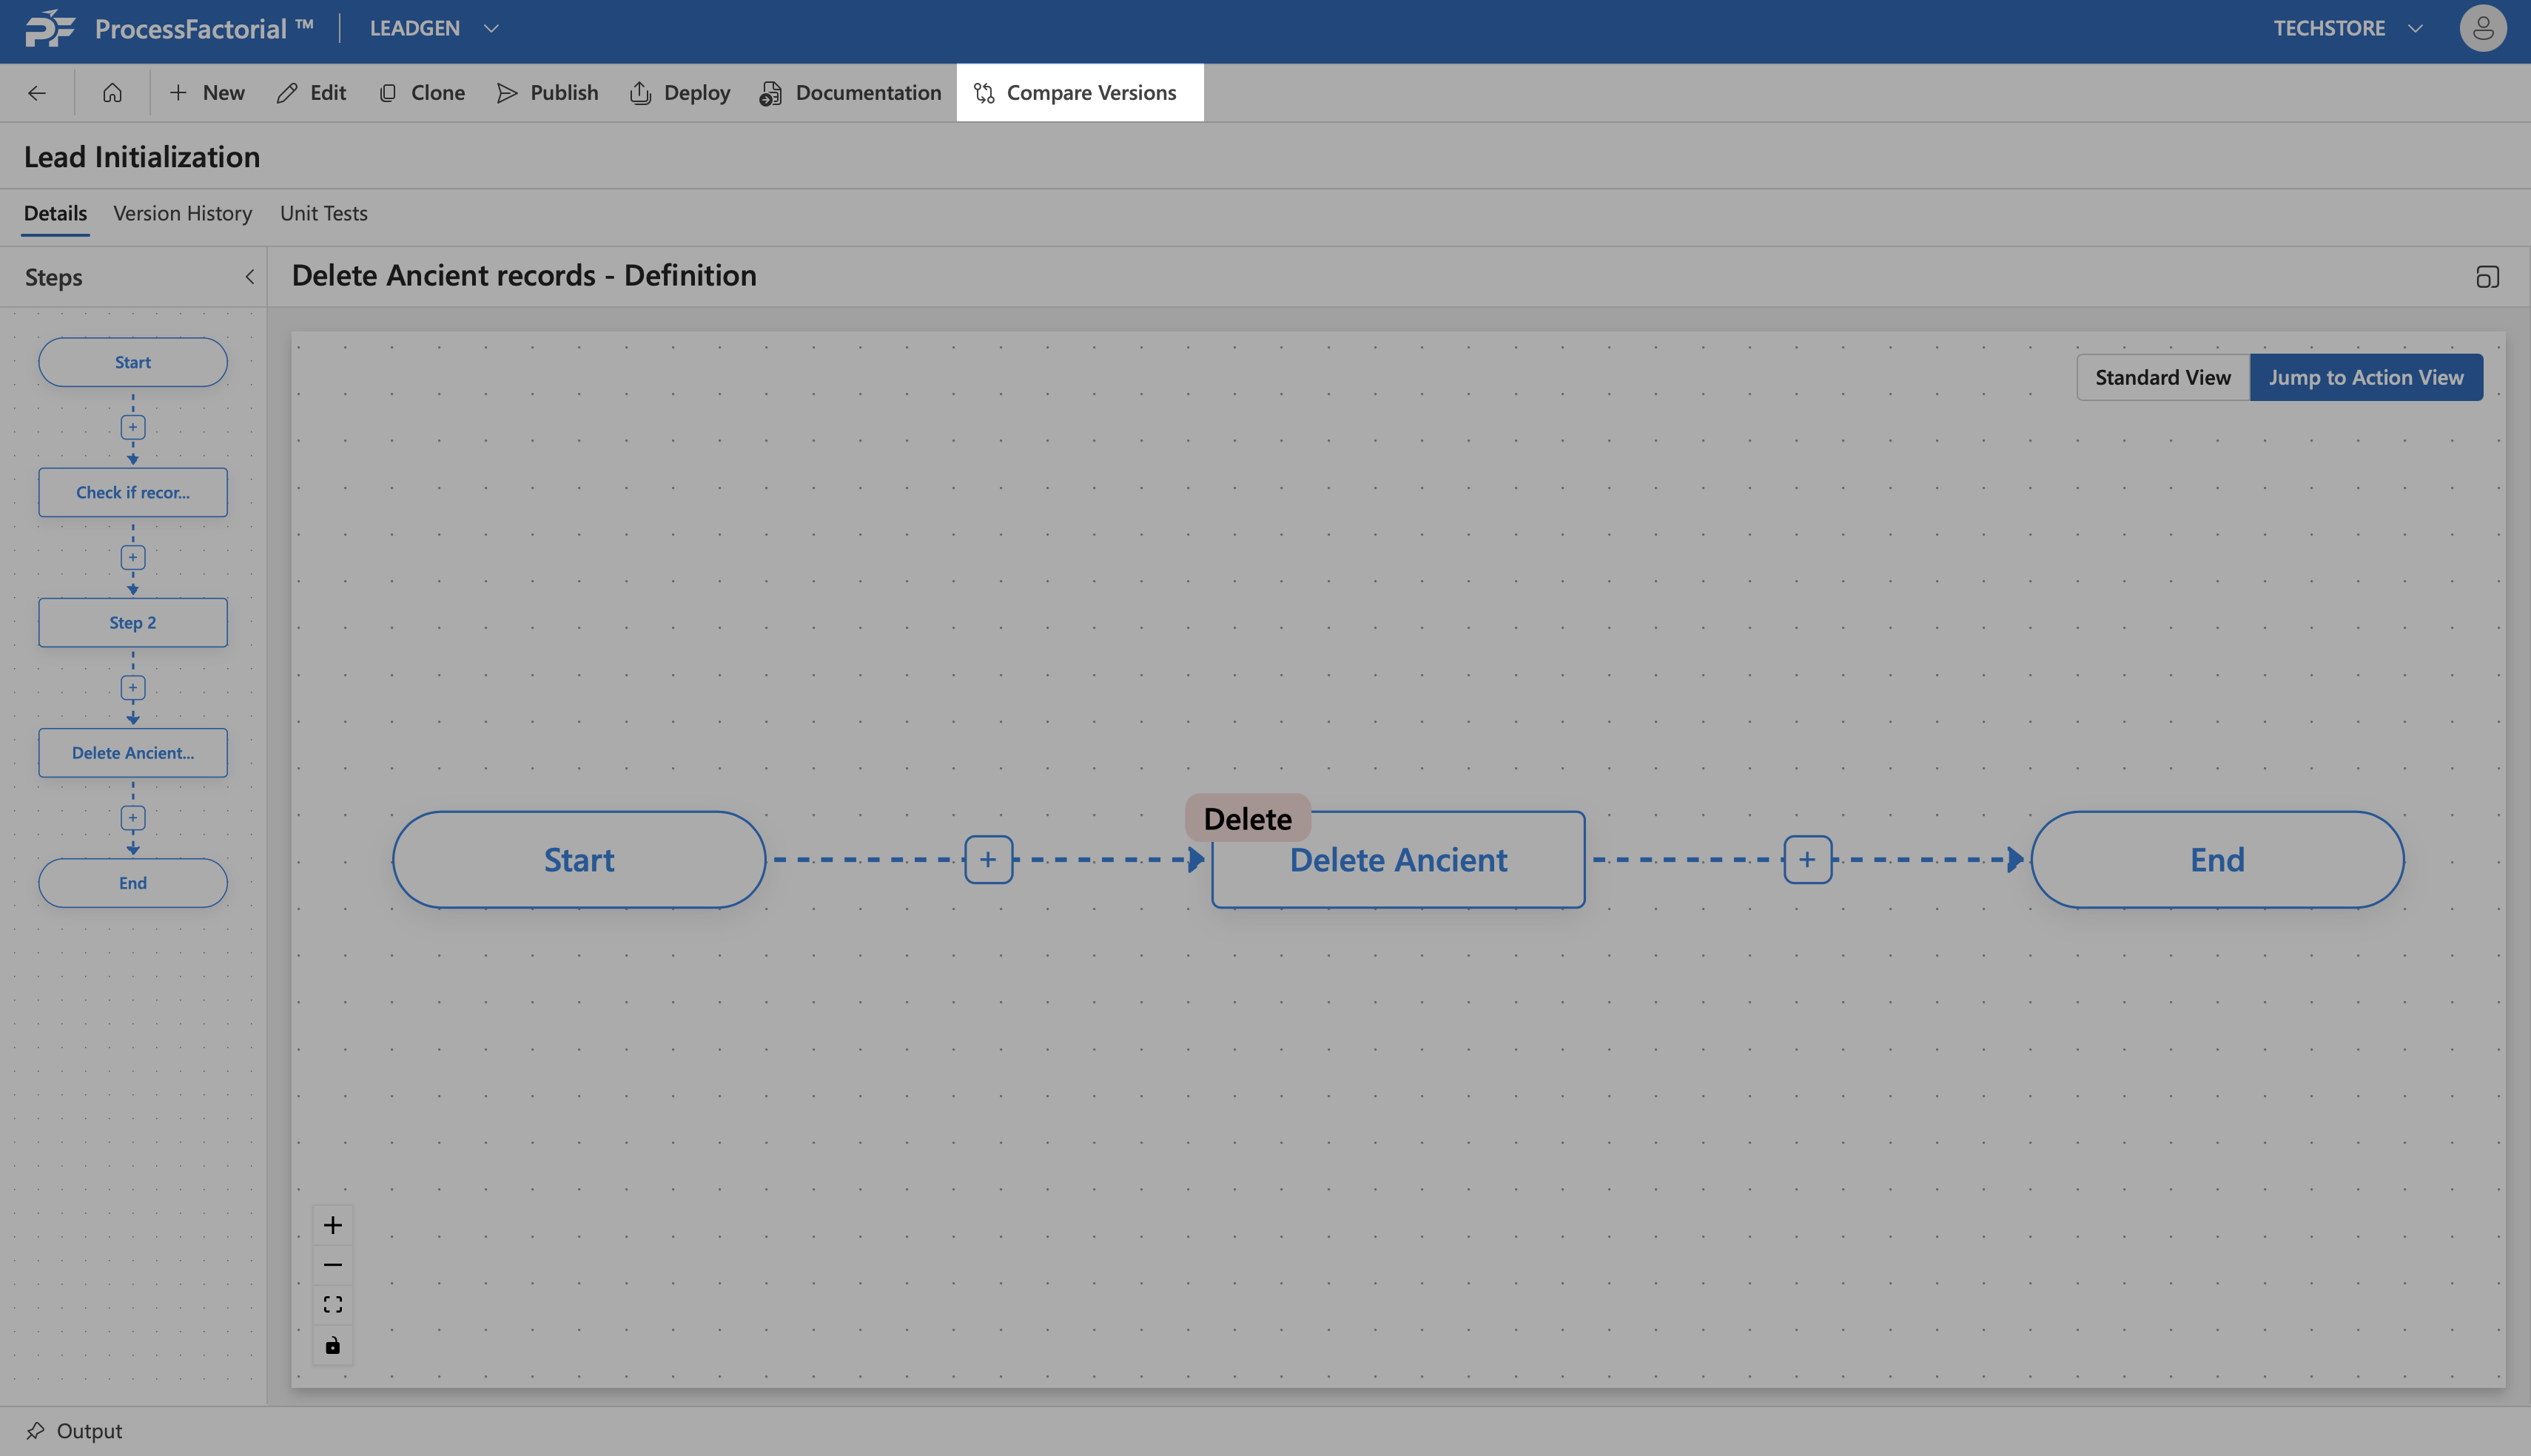
-
In the comparison window that opens up, choose the different versions that need to be compared from either of the versions drop-downs at the top, for side-by-side comparison.
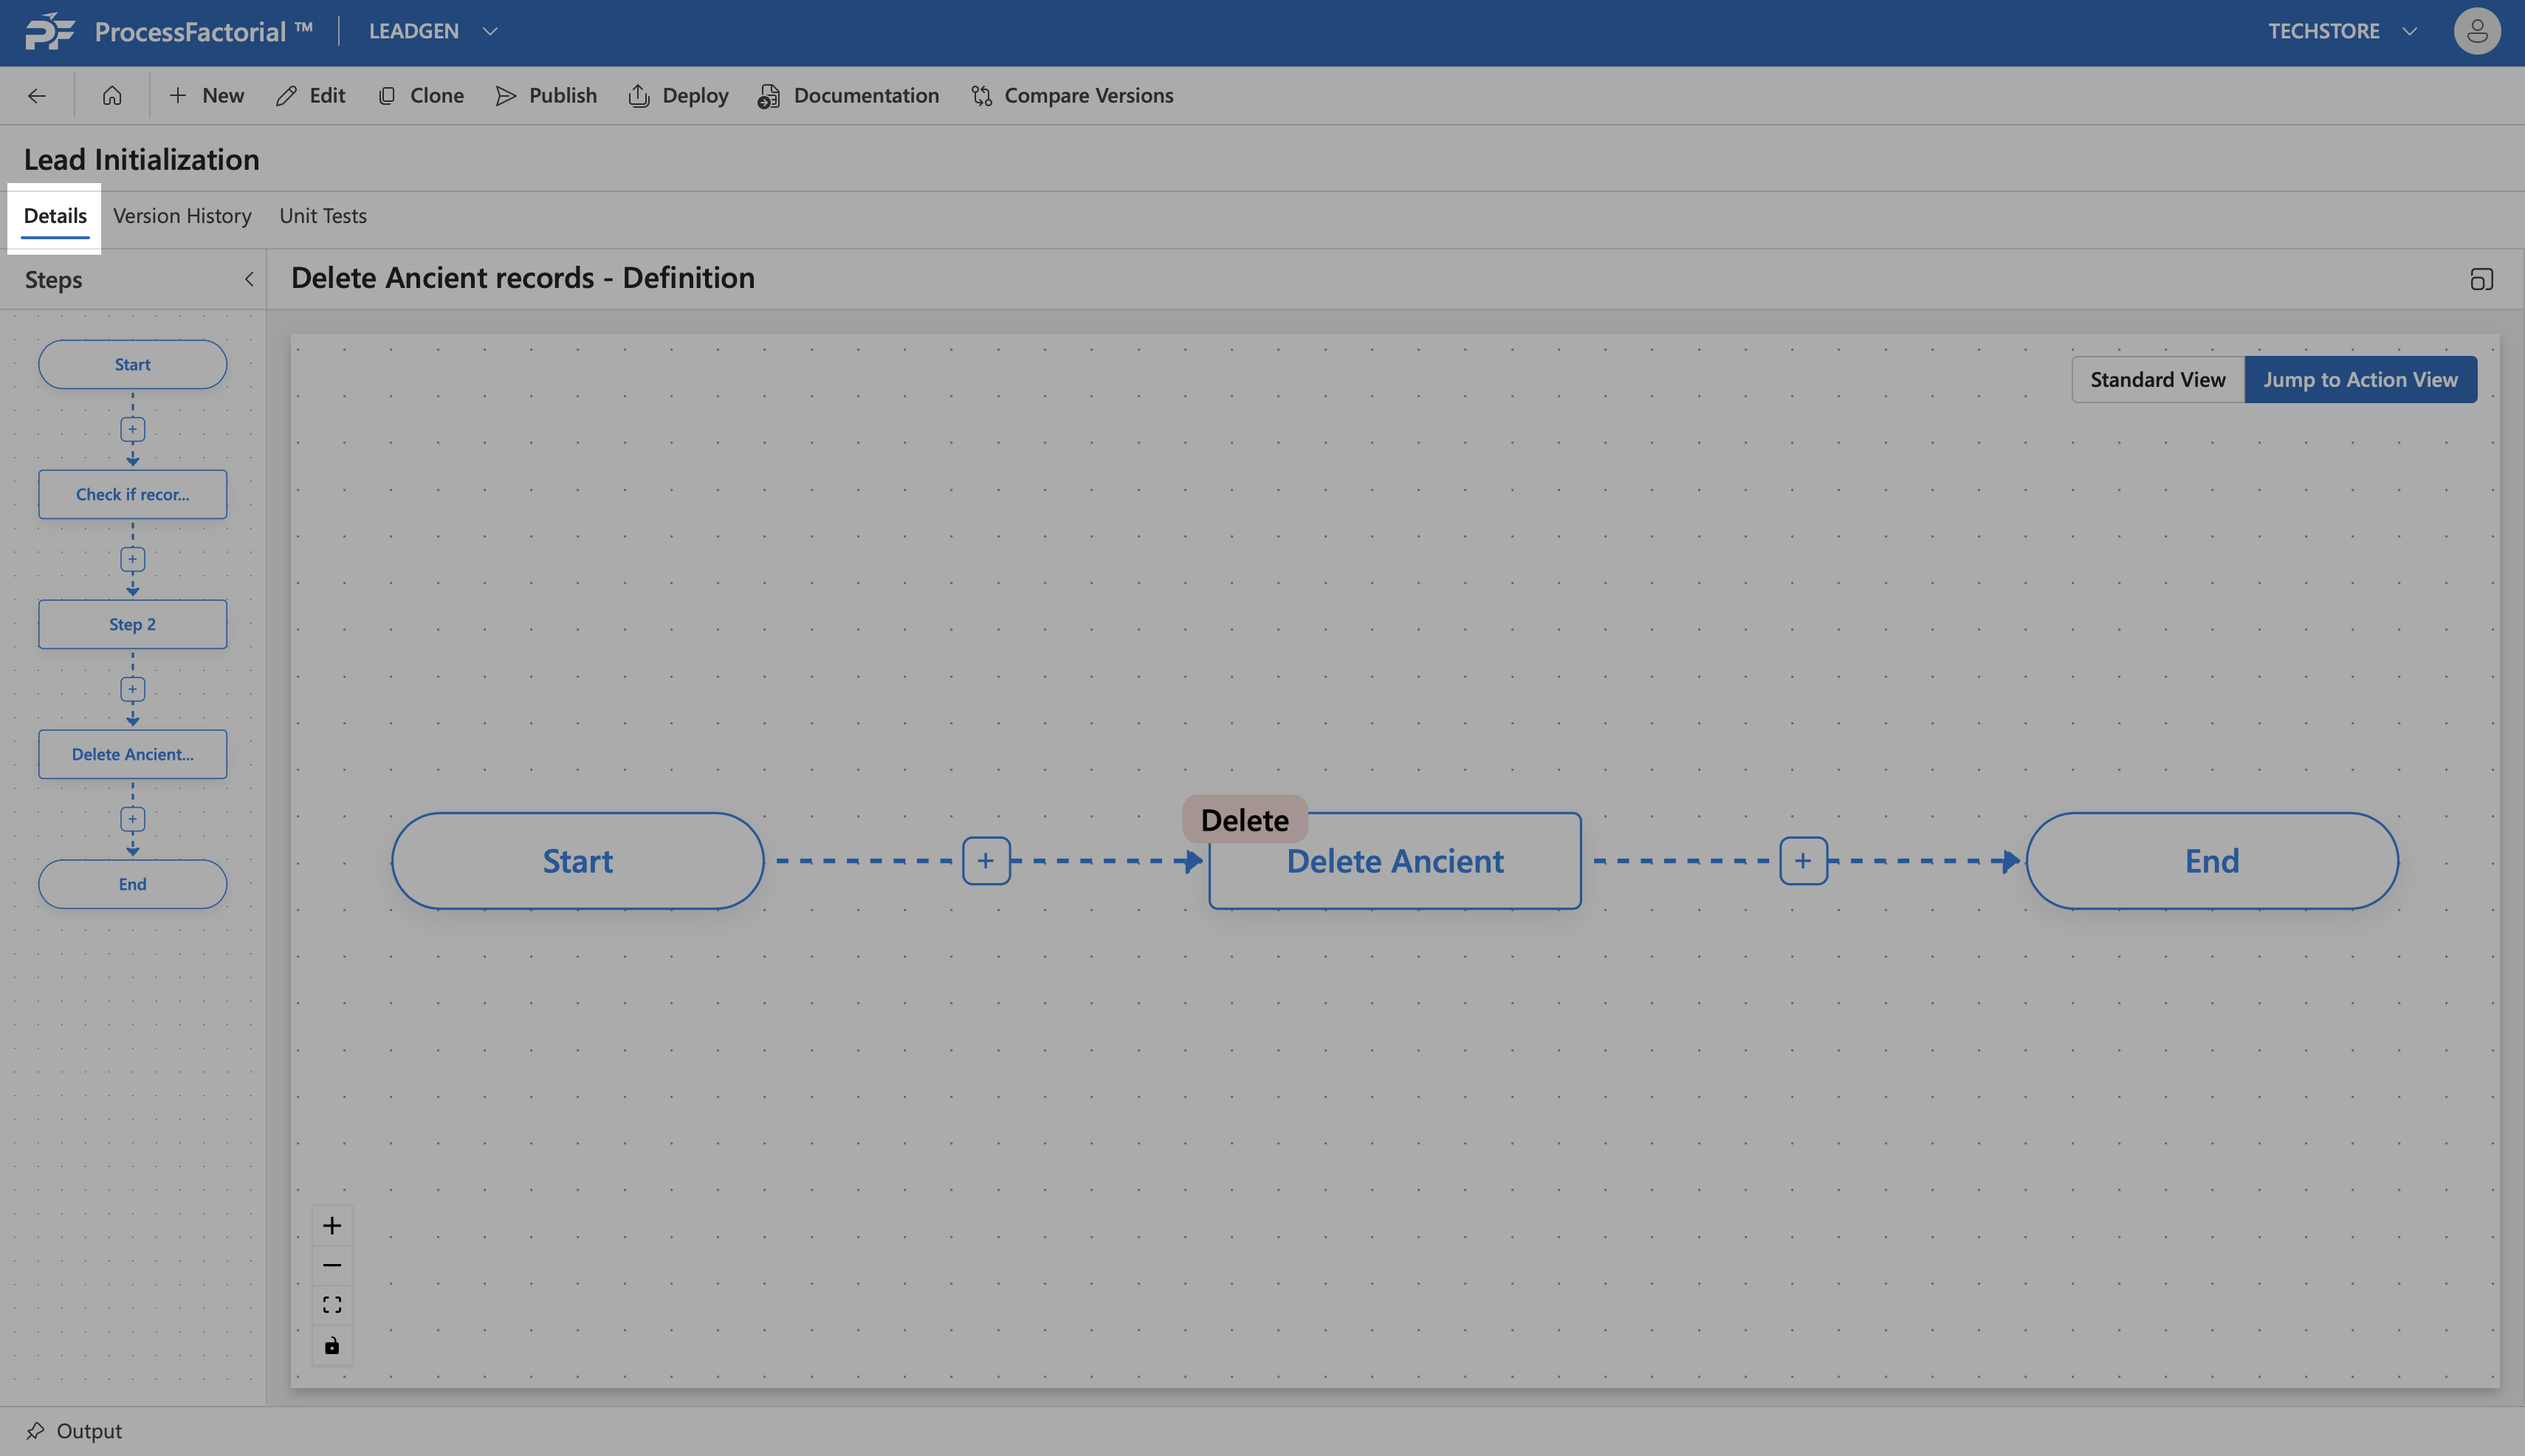
View Details
The Details tab provides an overview of the constituent Flow Steps and Flow Actions that have been used to define the Flow in the Canvas Refer to Manage Step and Manage Actions for further details.
Version History
The Version History tab lists all existing versions of the flow.
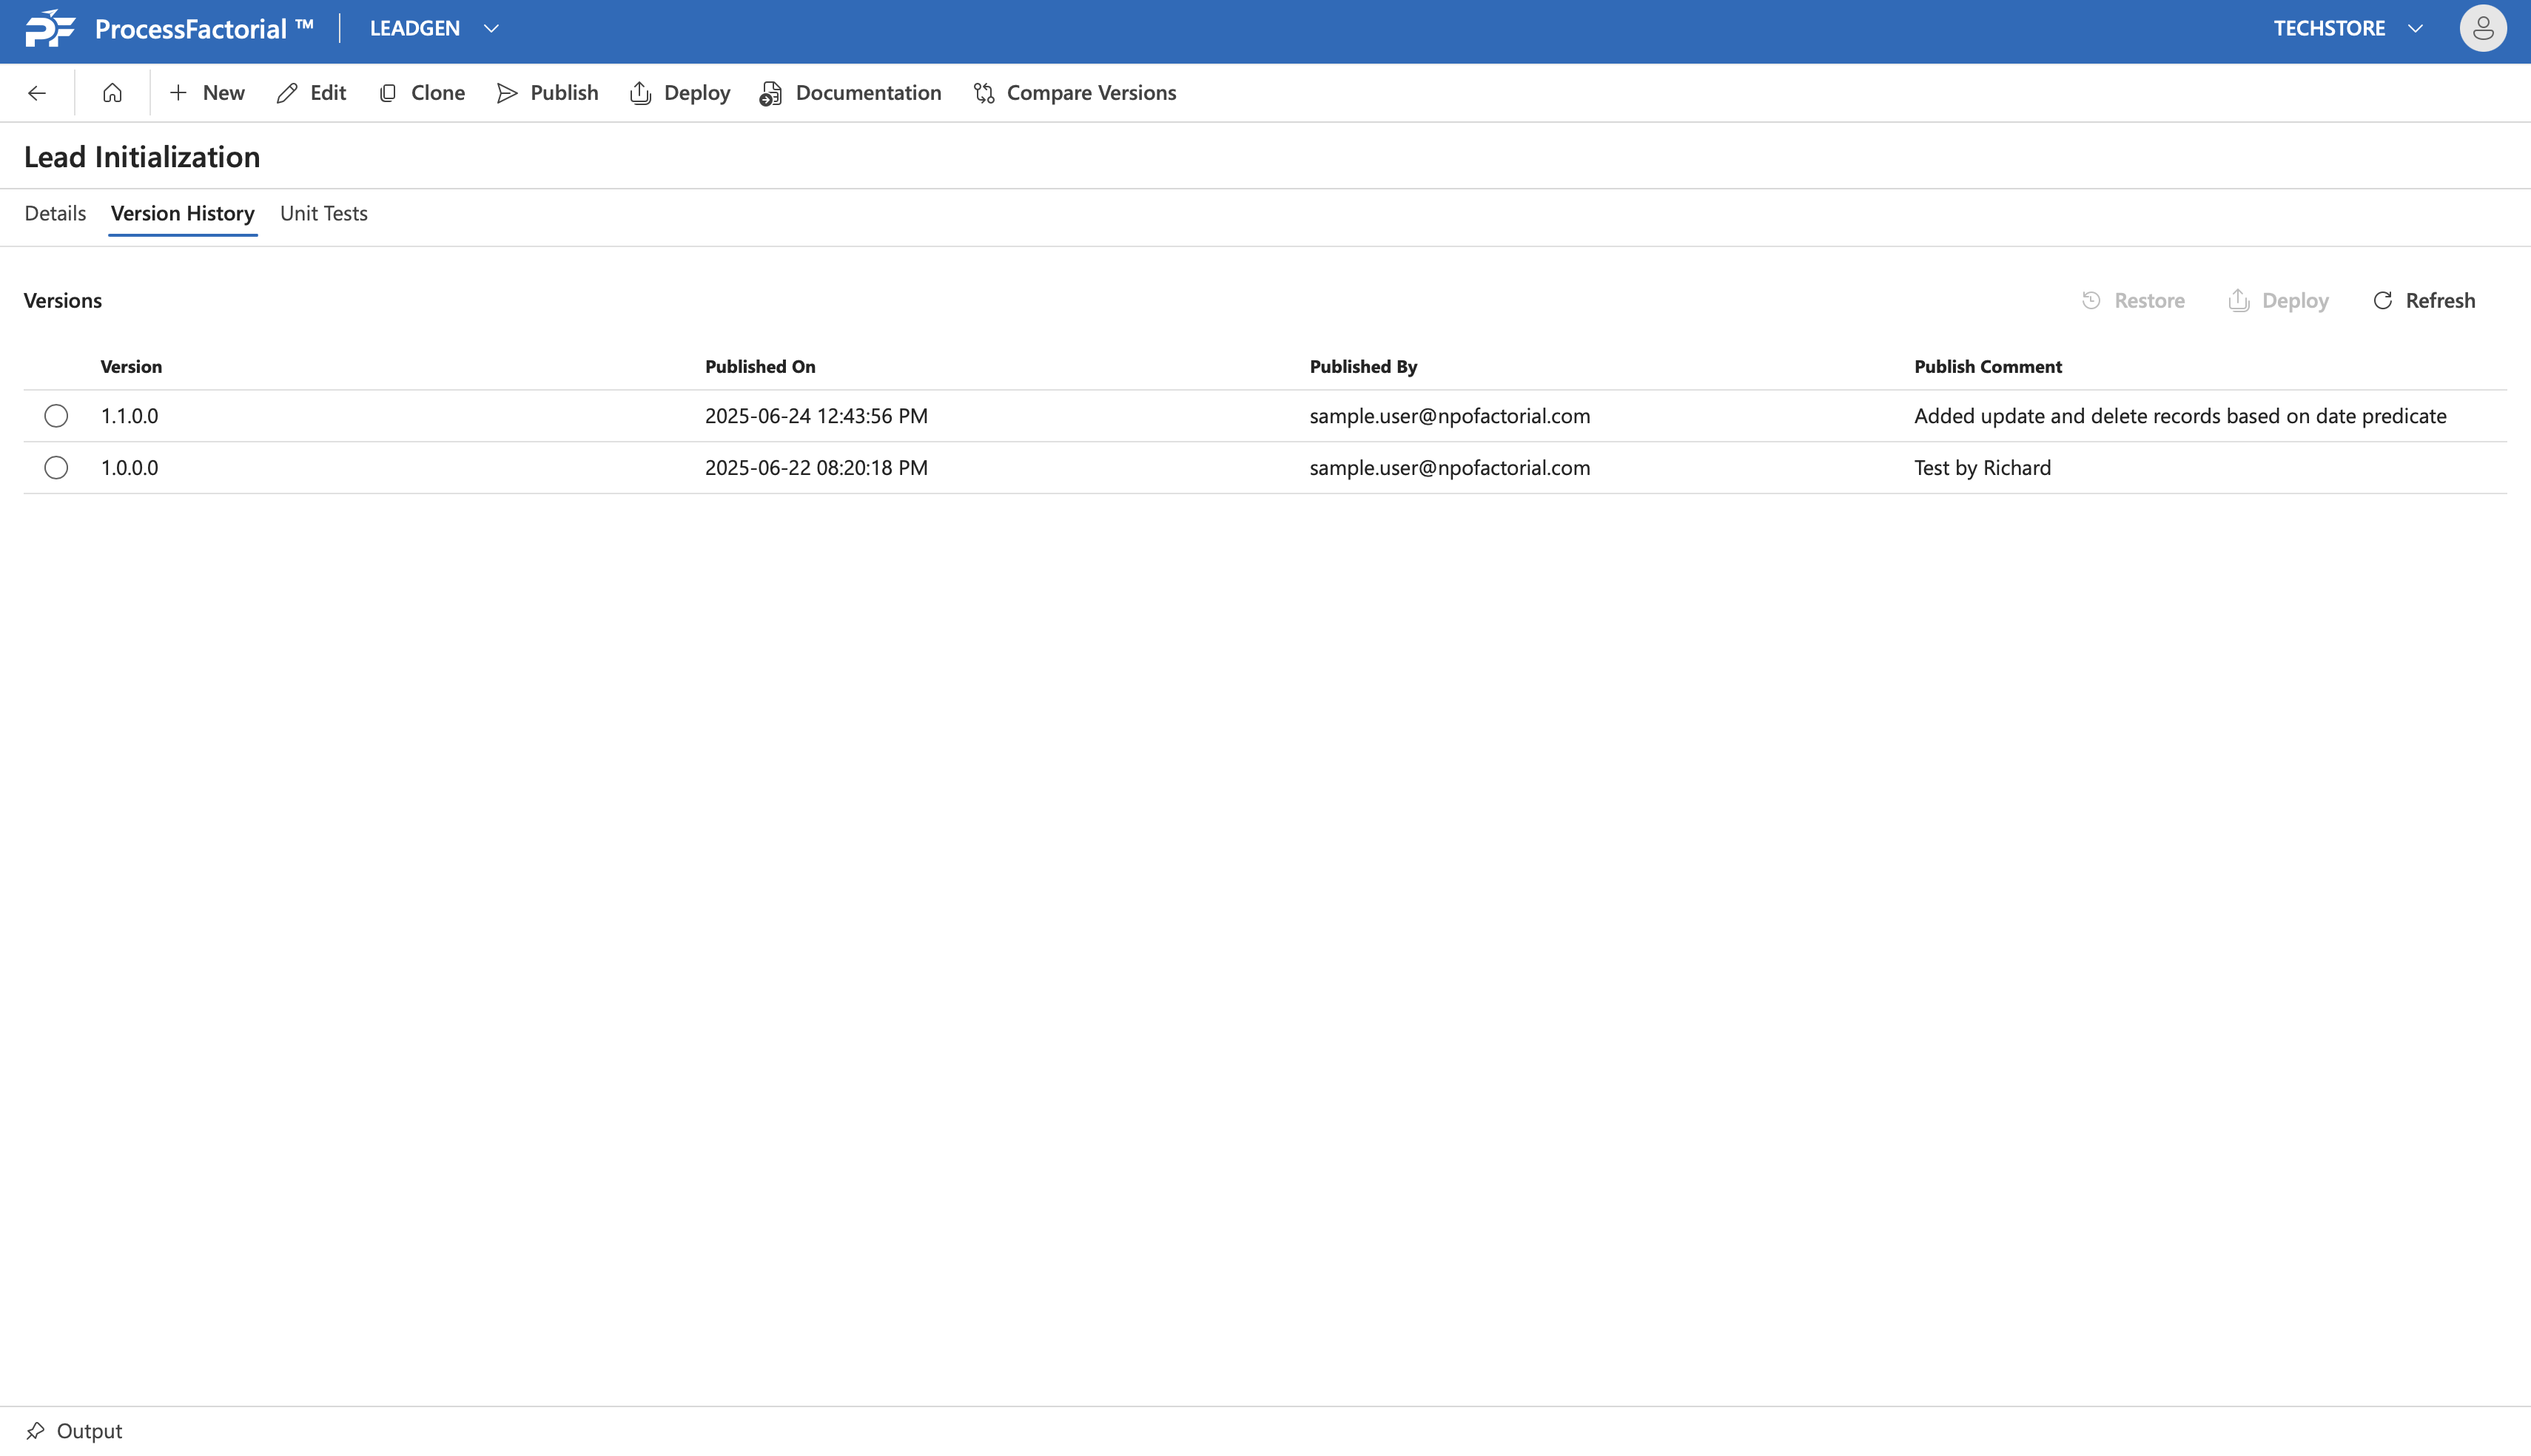
Here, the current unpublished version of the flow can be restored to any of the published versions and published versions can be deployed as indicated below.

1. Restore to a previous version
Warning
The unpublished flow overwritten by a version restore cannot be recovered later
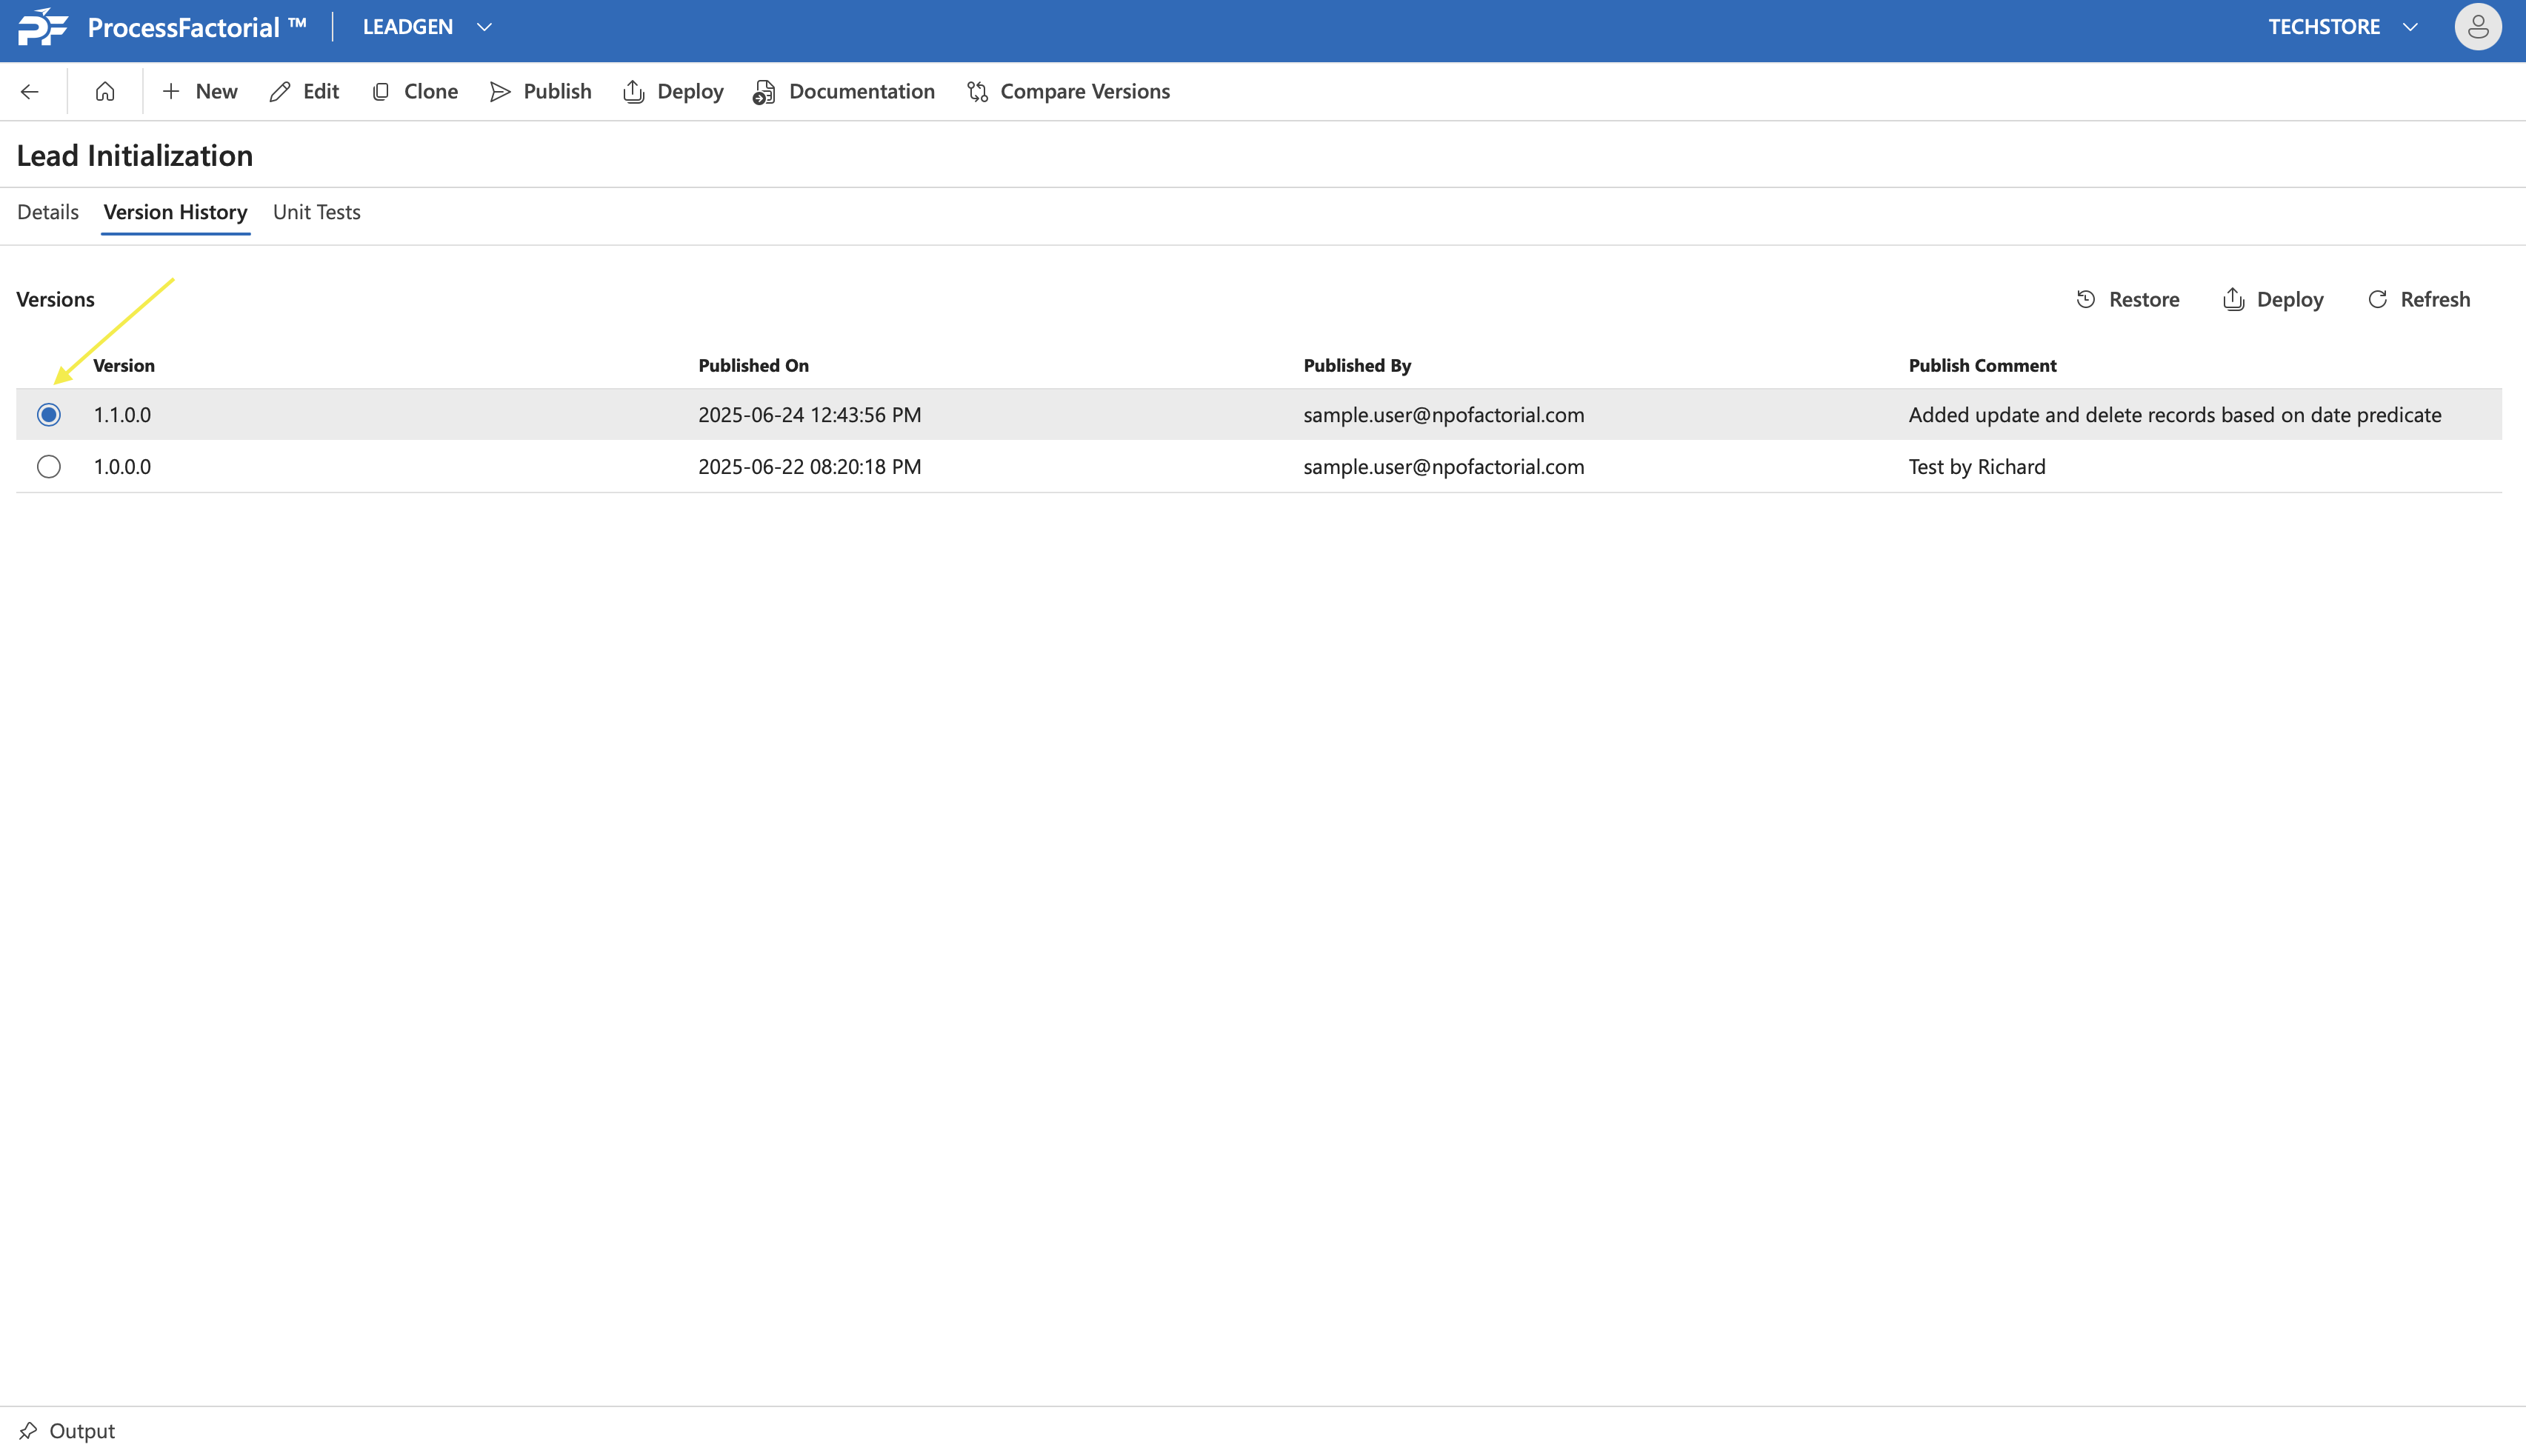
- Select any version by clicking on the radio button adjacent to it. This will activate the
RestoreandDeploybuttons on the top-right.
- Click on the Restore button. This opens up a dialog box seeking confirmation on the restore. Select the Flow for which its current unpublished version needs to be replaced by the selected version of the Flow from the dropdown.
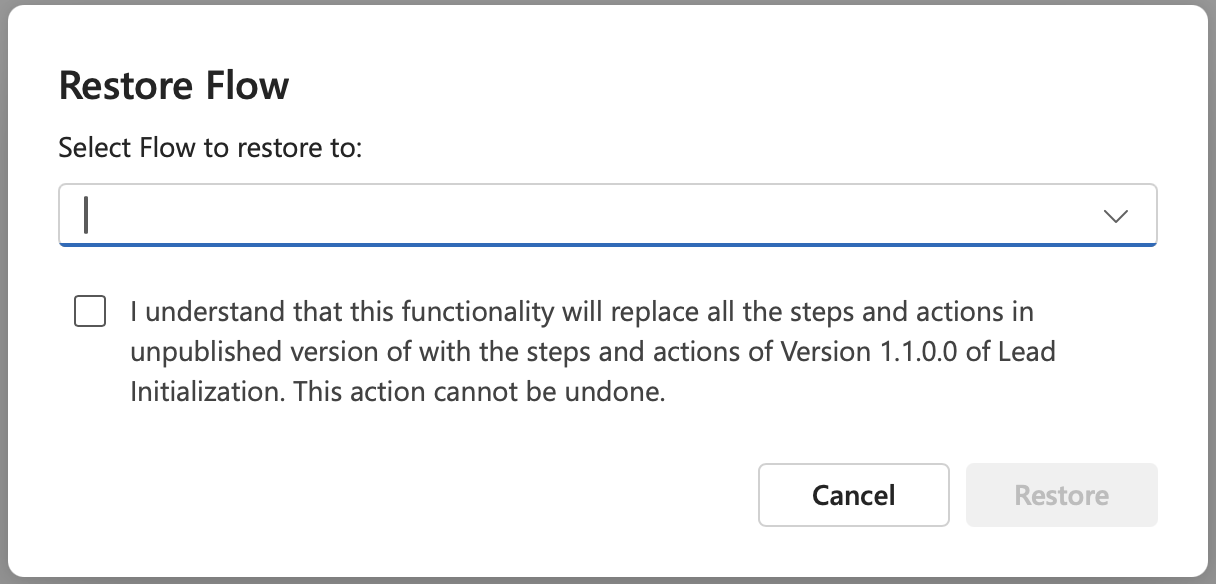
- Click on the check-box below the dropdown and click on
Restoreto complete the restore. Alternatively, clickCancelto discard and exit the dialog box.
2. Deploy a version
Click on the radio button adjacent to any flow to select it and click on the Deploy button to deploy the specific version of the flow to any environment. Proceed with the subsequent steps outlined in Deploy a flow)to complete deployment.
Unit Test
The Unit Test tab allows a user to unit test the any Flow Step or Flow Action within the Flow. Further details on the same can be found in Unit Test
Previous: Manage Business Event | Next: Manage Step