Manage Project
This page outlines how to create a new NPO Project on the ProcessFactorial Portal
Note
When creating a new project, the current logged on user will automatically become the administrator of this new project.
Create a new Project
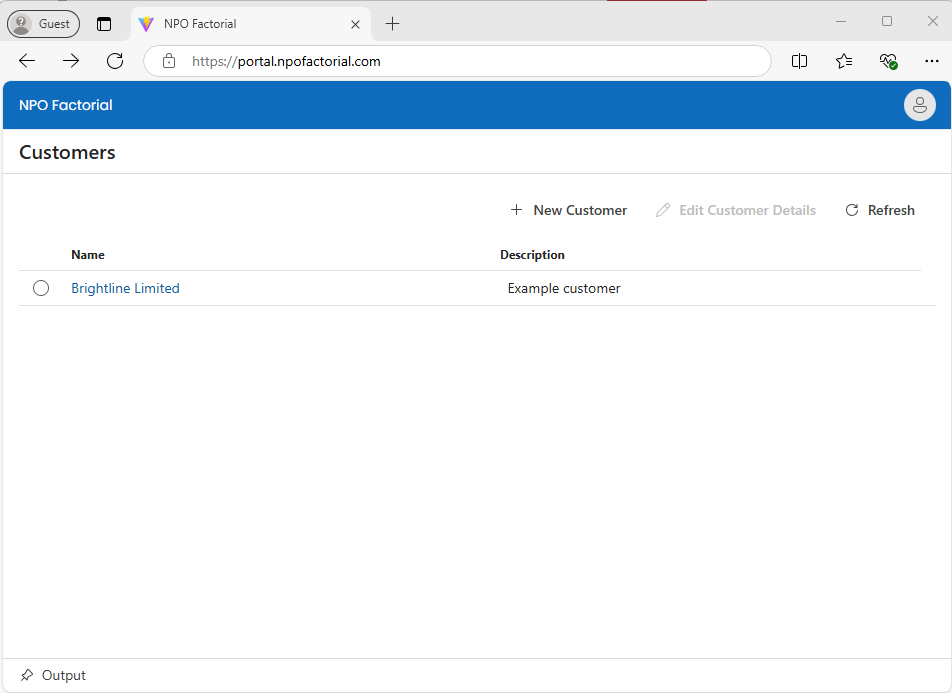
- Log on to the ProcessFactorial Portal
- Open up the customer by clicking on the hyperlink of the customer name
-
Click the New Project button and fill in the details about your project
This table outlines the options available
Field Purpose Name The name of your project Description A description to help identify the purpose of the project Select Data Platform This is the type of Data Store you are currently using to store your transactional data such as customers, contacts, sales, etc.
Supported types: Microsoft DataVerse, SalesForce, Microsoft SQL Server, PostgresqlStart Process with Out of the Box Model If you do not have tables set up in your database yet, you can start with some default tables. You can then sync these tables to your target Data Store at a later point.
Default: NoOut of the Box Model The standard tables described above Maintain Metadata in NPO NPO Factorial will store your configuration and execution data in a secure location. However, if you wish, you may bring your own storage by making this field No. We support Azure Data Table and Azure Cosmos Mongo DB as data stores
Default: YesStorage Account Details to Store Project Metadata The connection string to the storage account from above. The connection string is securely encrypted and stored 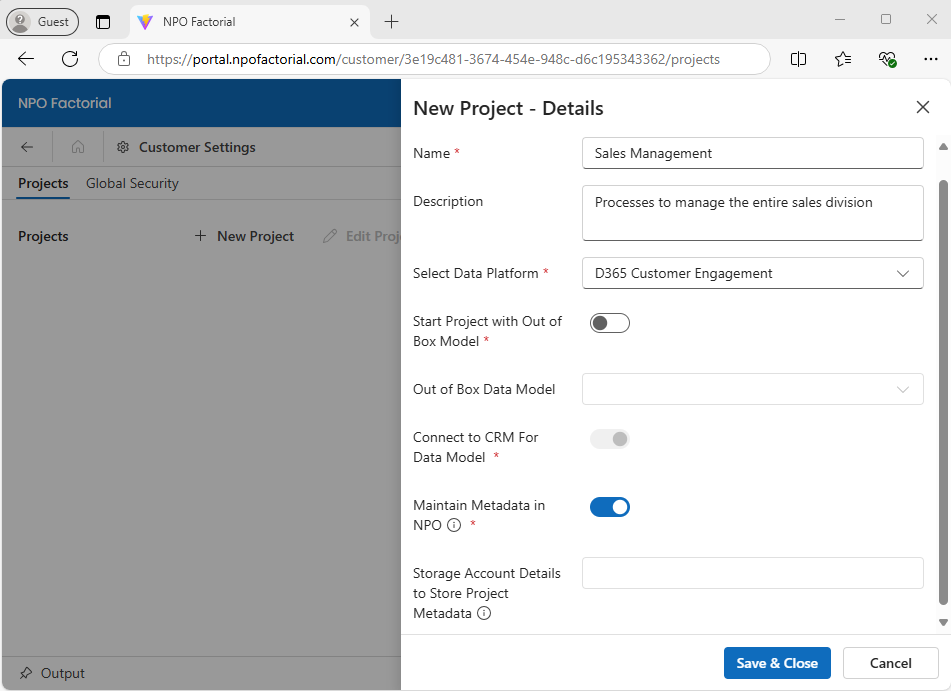
-
Click Save & Close
Edit exisiting Project
-
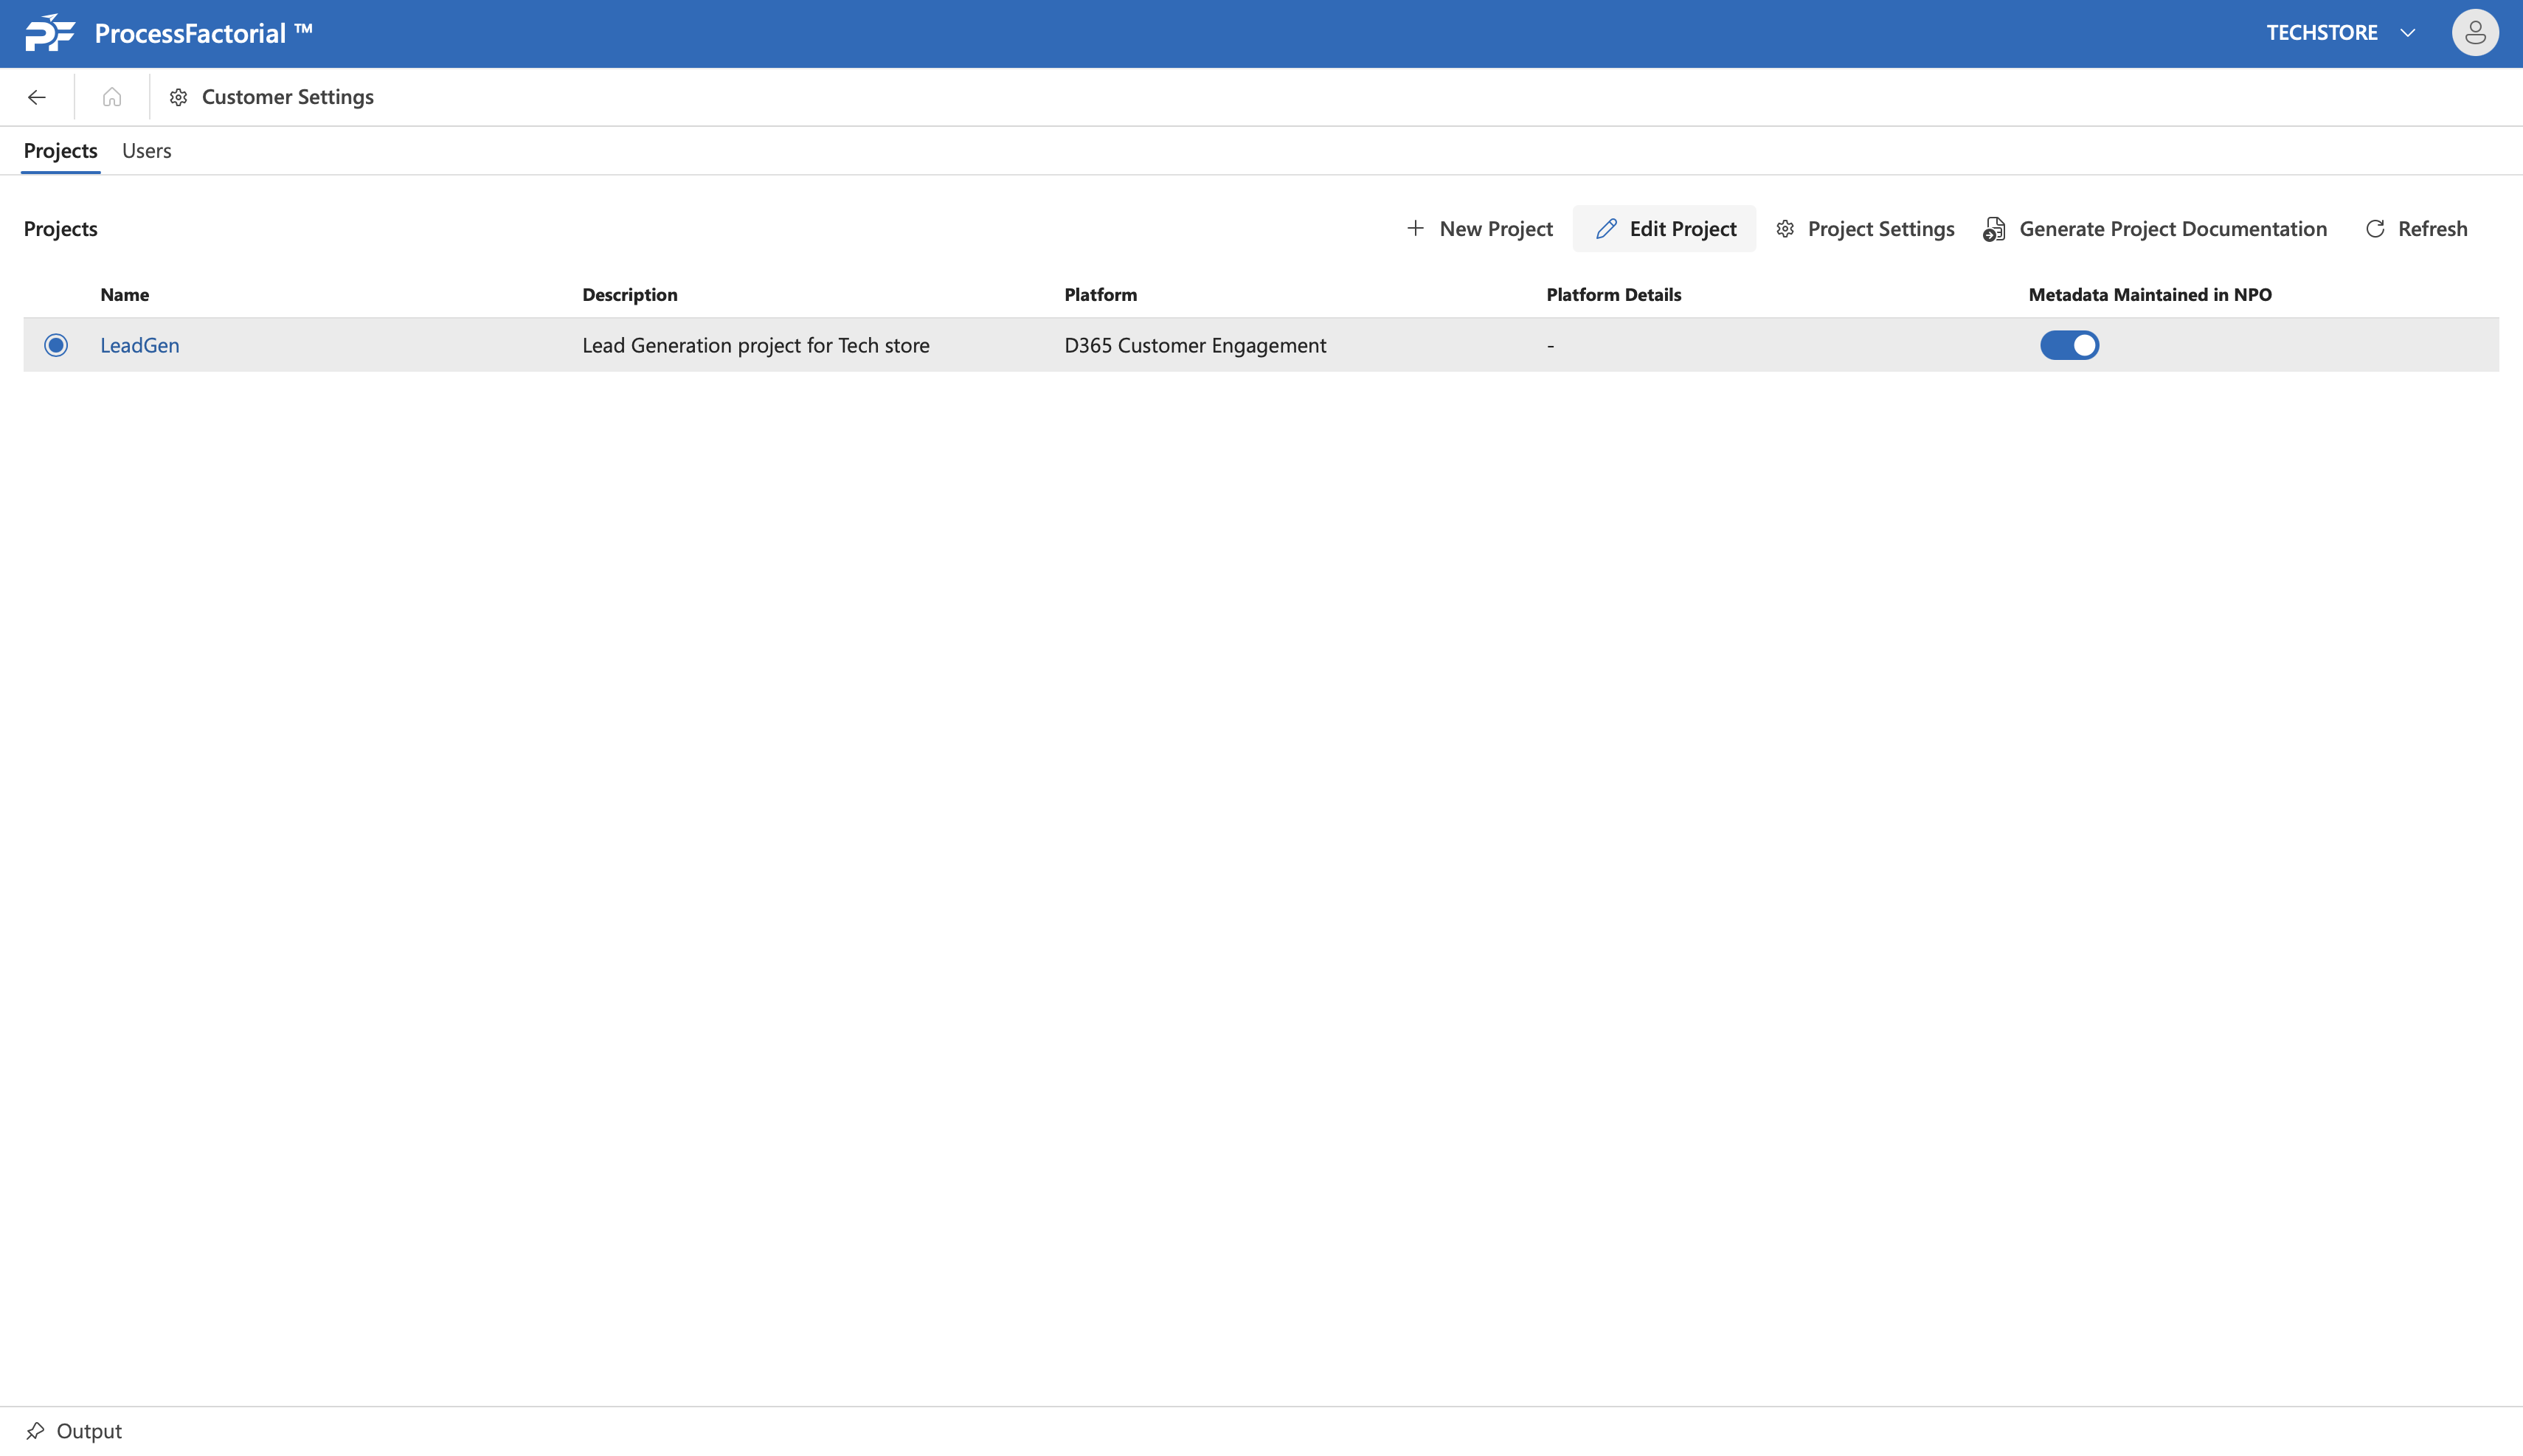
Navigate to the Projects page and select the project to be edited by clicking on the radio button next to it.
-
Click on the
Edit Projectbutton at the top-right to open the drawer panel to make the changes.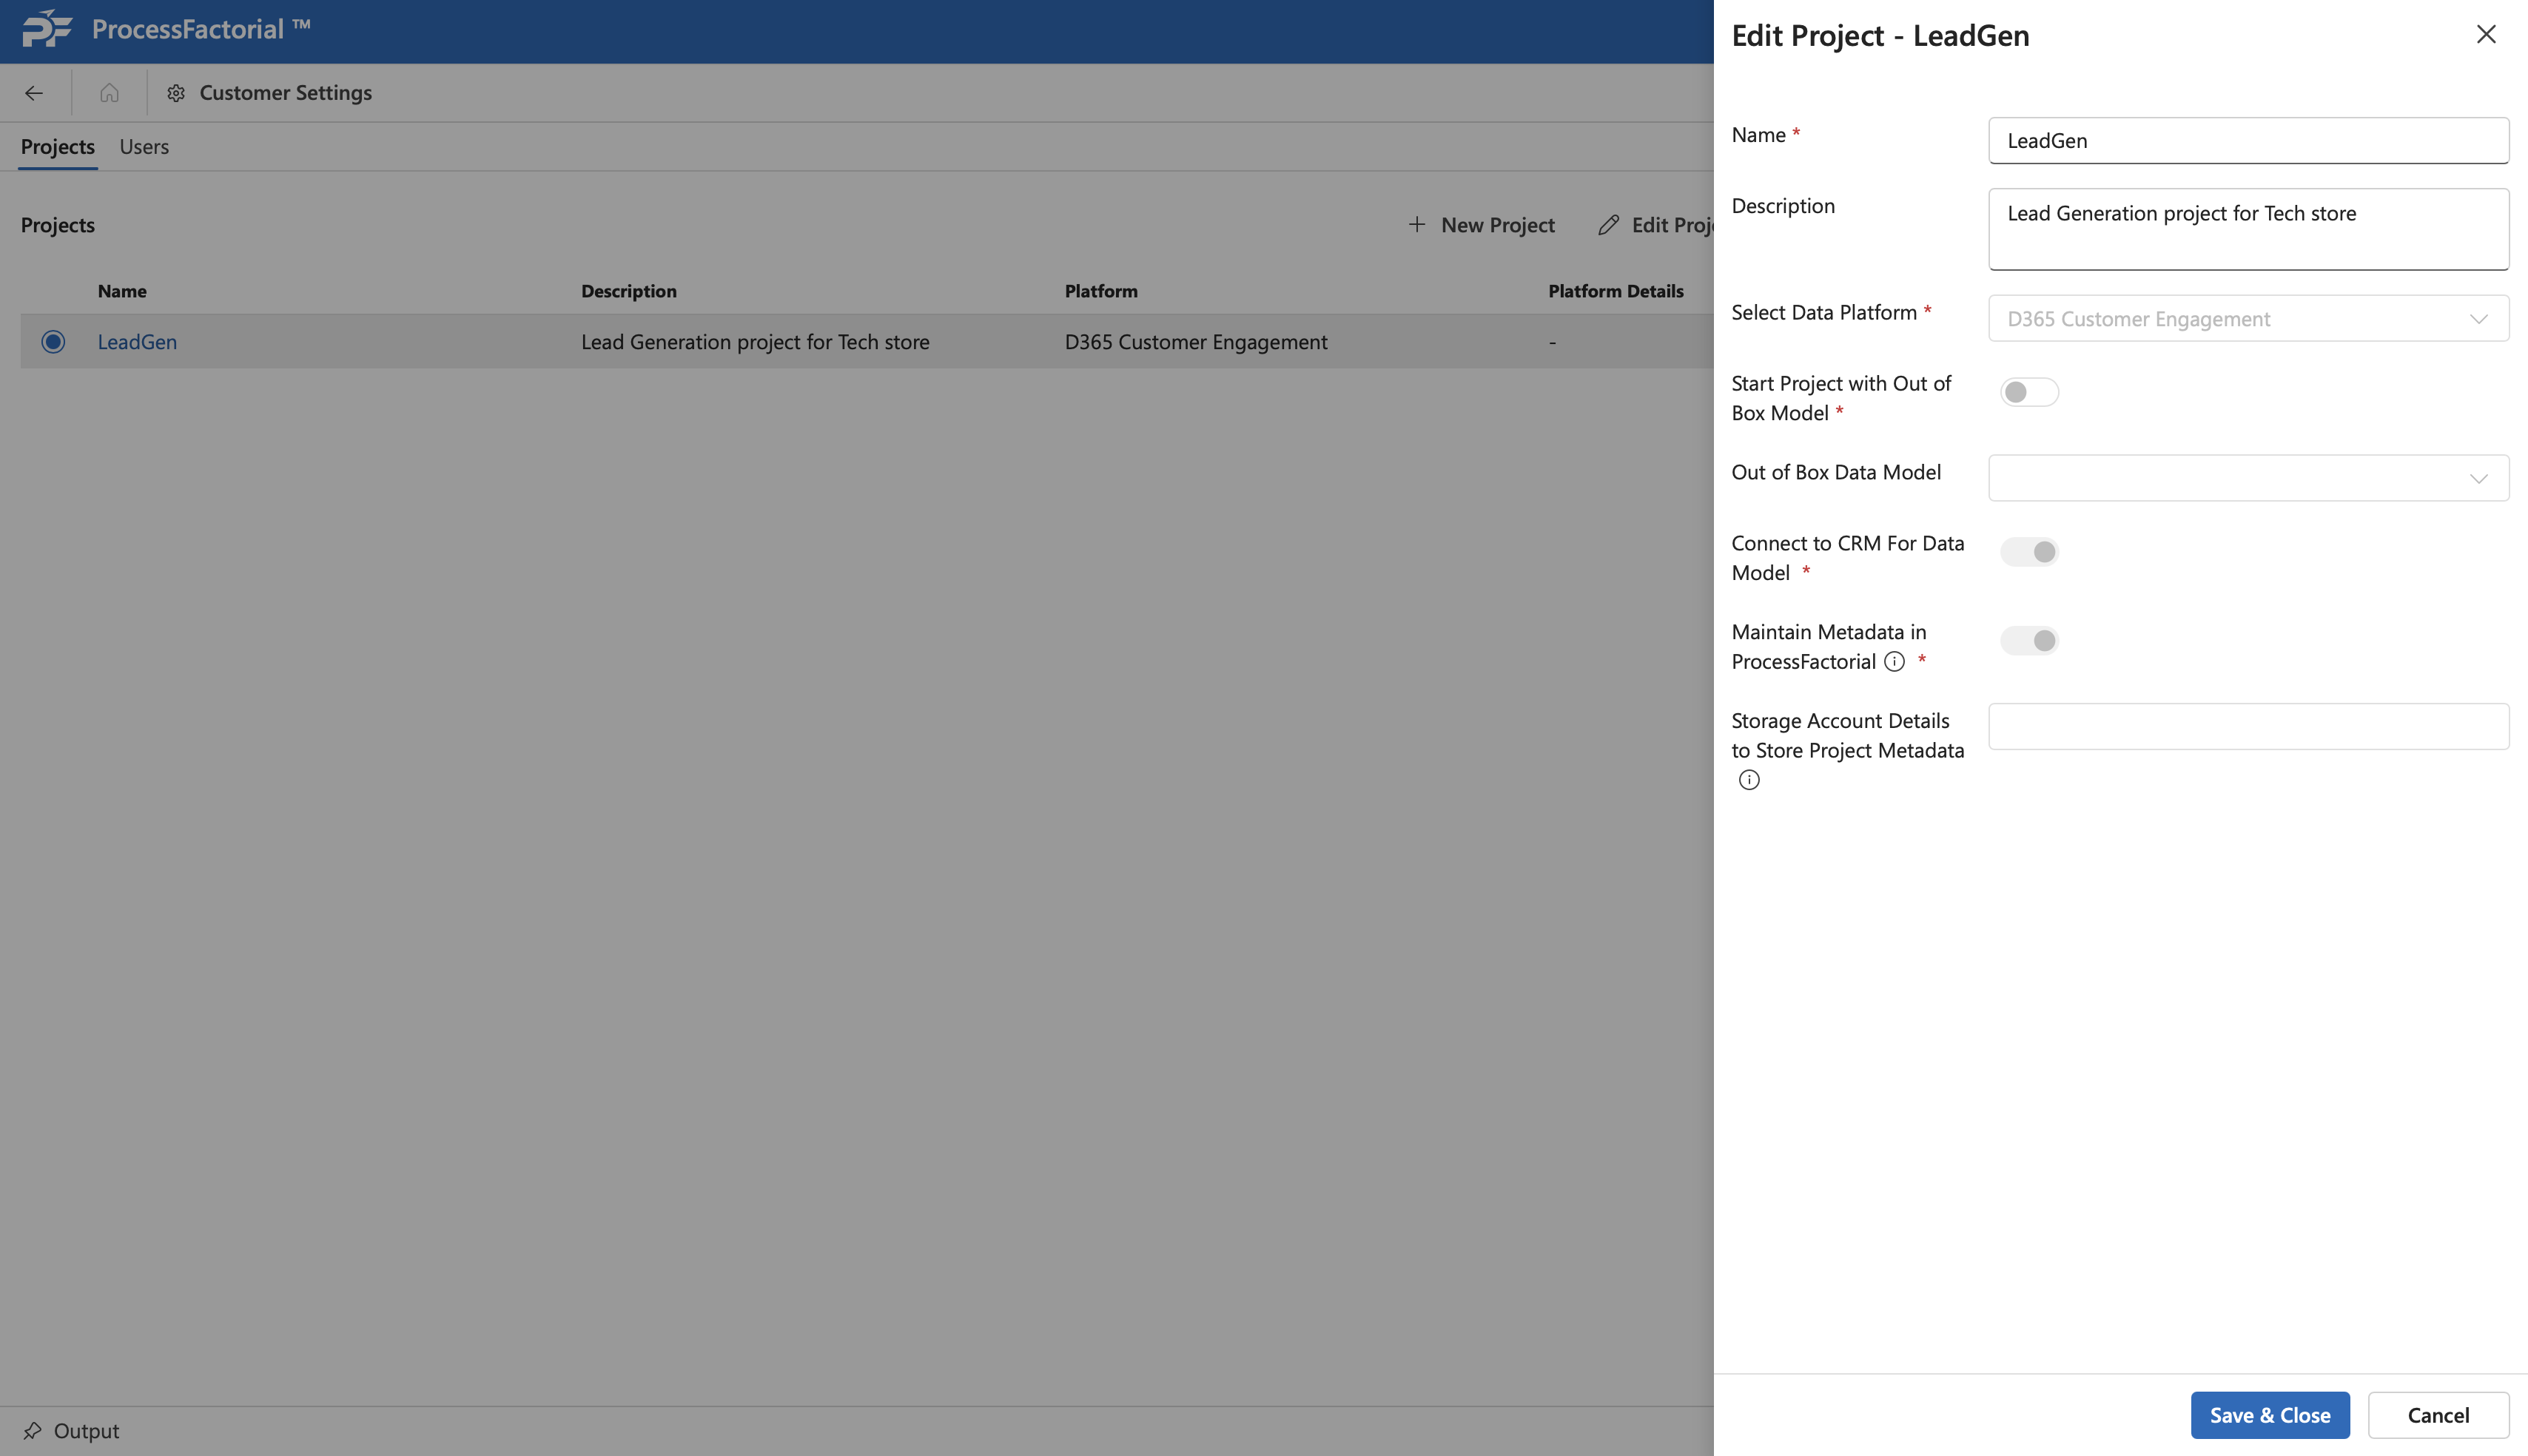
-
Edit the necessary details for the respective attributes in the drawer panel.
- Once done, click on
Save & Closefor changes to take effect.
Project Settings
Project Settings allows configuration of aspects such as logging and metadata sync as outlined below. To configure them follow the below steps:
- In the Projects page, select the project to be edited by clicking on the radio button next to it.
-
Click on the
Project Settingsbutton to open the drawer panel to configure the settings.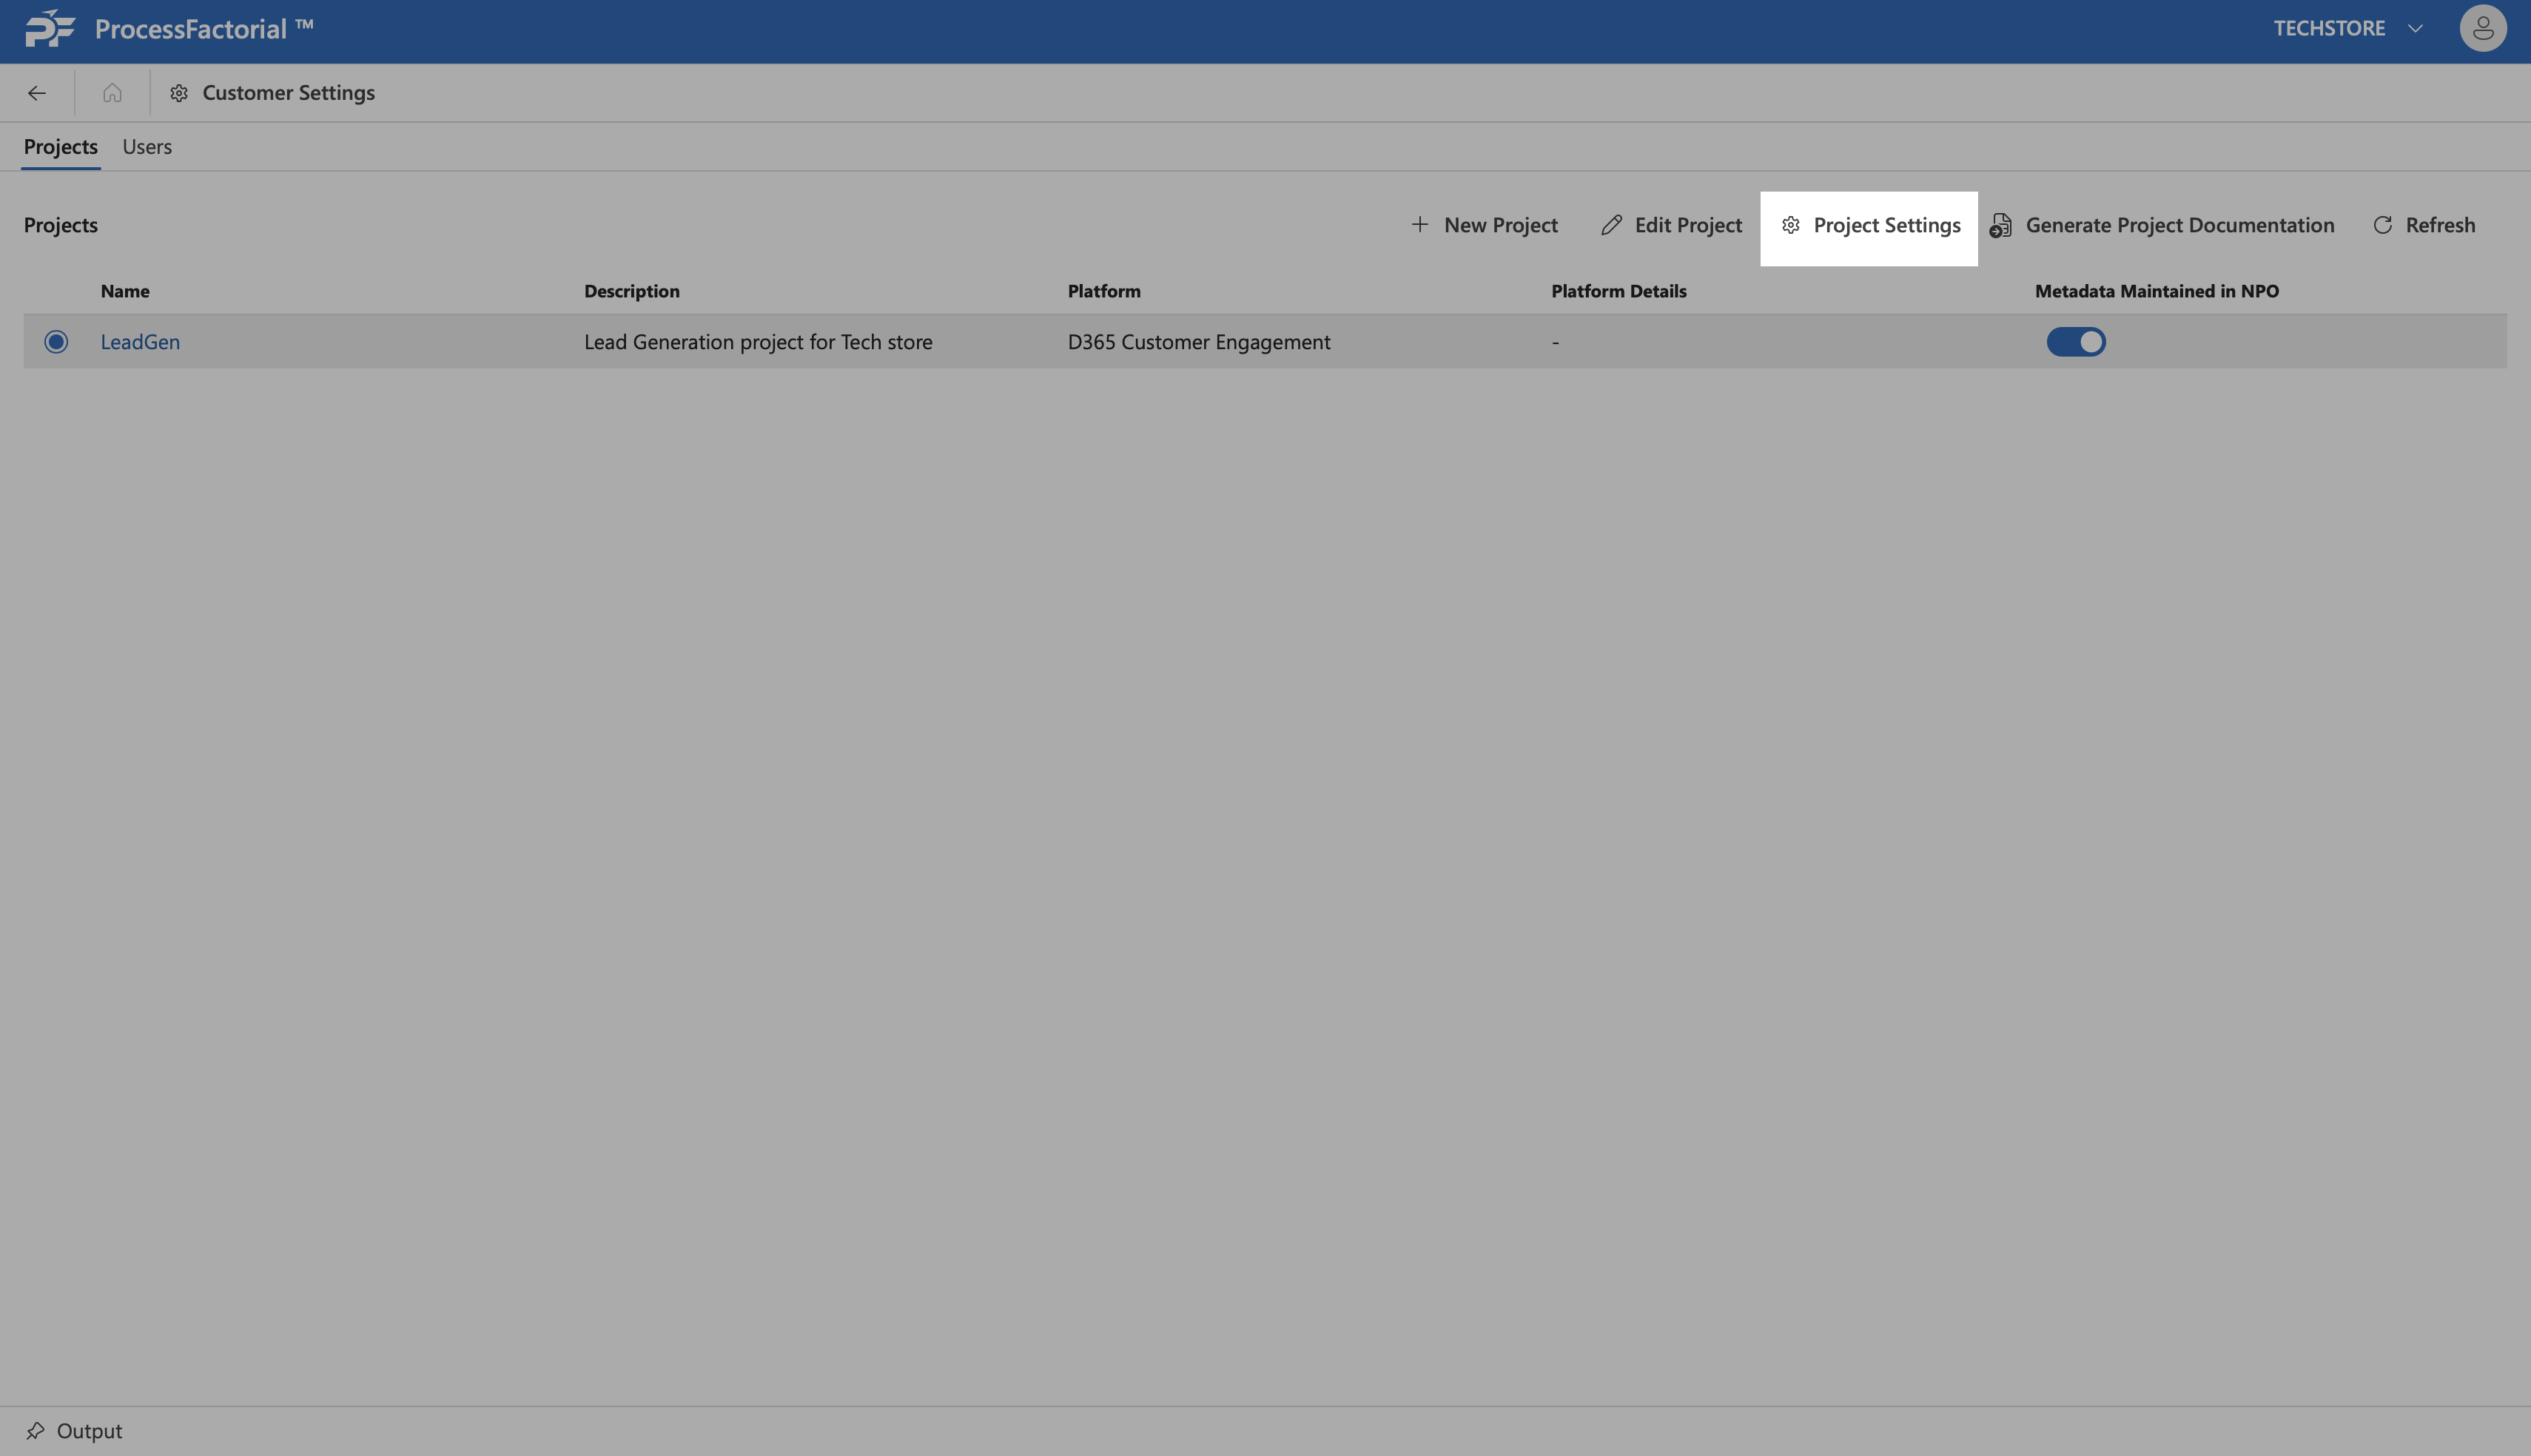
-
In the drawer panel, configure the following settings
FIeld Description Log Level The appropriate event level for which logs need to be recorded at project level Entities excluded while syncing all Business Objects Any entities that need to be excluded from metadata sync. See Sync Metadata for context. Entities included while syncing all Business Objects Any entities that need to be included in metadata sync. See Sync Metadata for context. Default Attribute Prefix A suitable prefix applied to all attributes created in the project Default Table Prefix A suitable prefix applied to all tables created in the project -
Click on
Save & Closebutton to save the settings and exit the panel.
Generate Documentation
Process Factorial provides the capability to generate on-the-fly documentation across several contexts, including the Project context. Below steps outline how to do the same.
-
In the Projects page, click on the
Generate Project Documentationbutton at the top-right.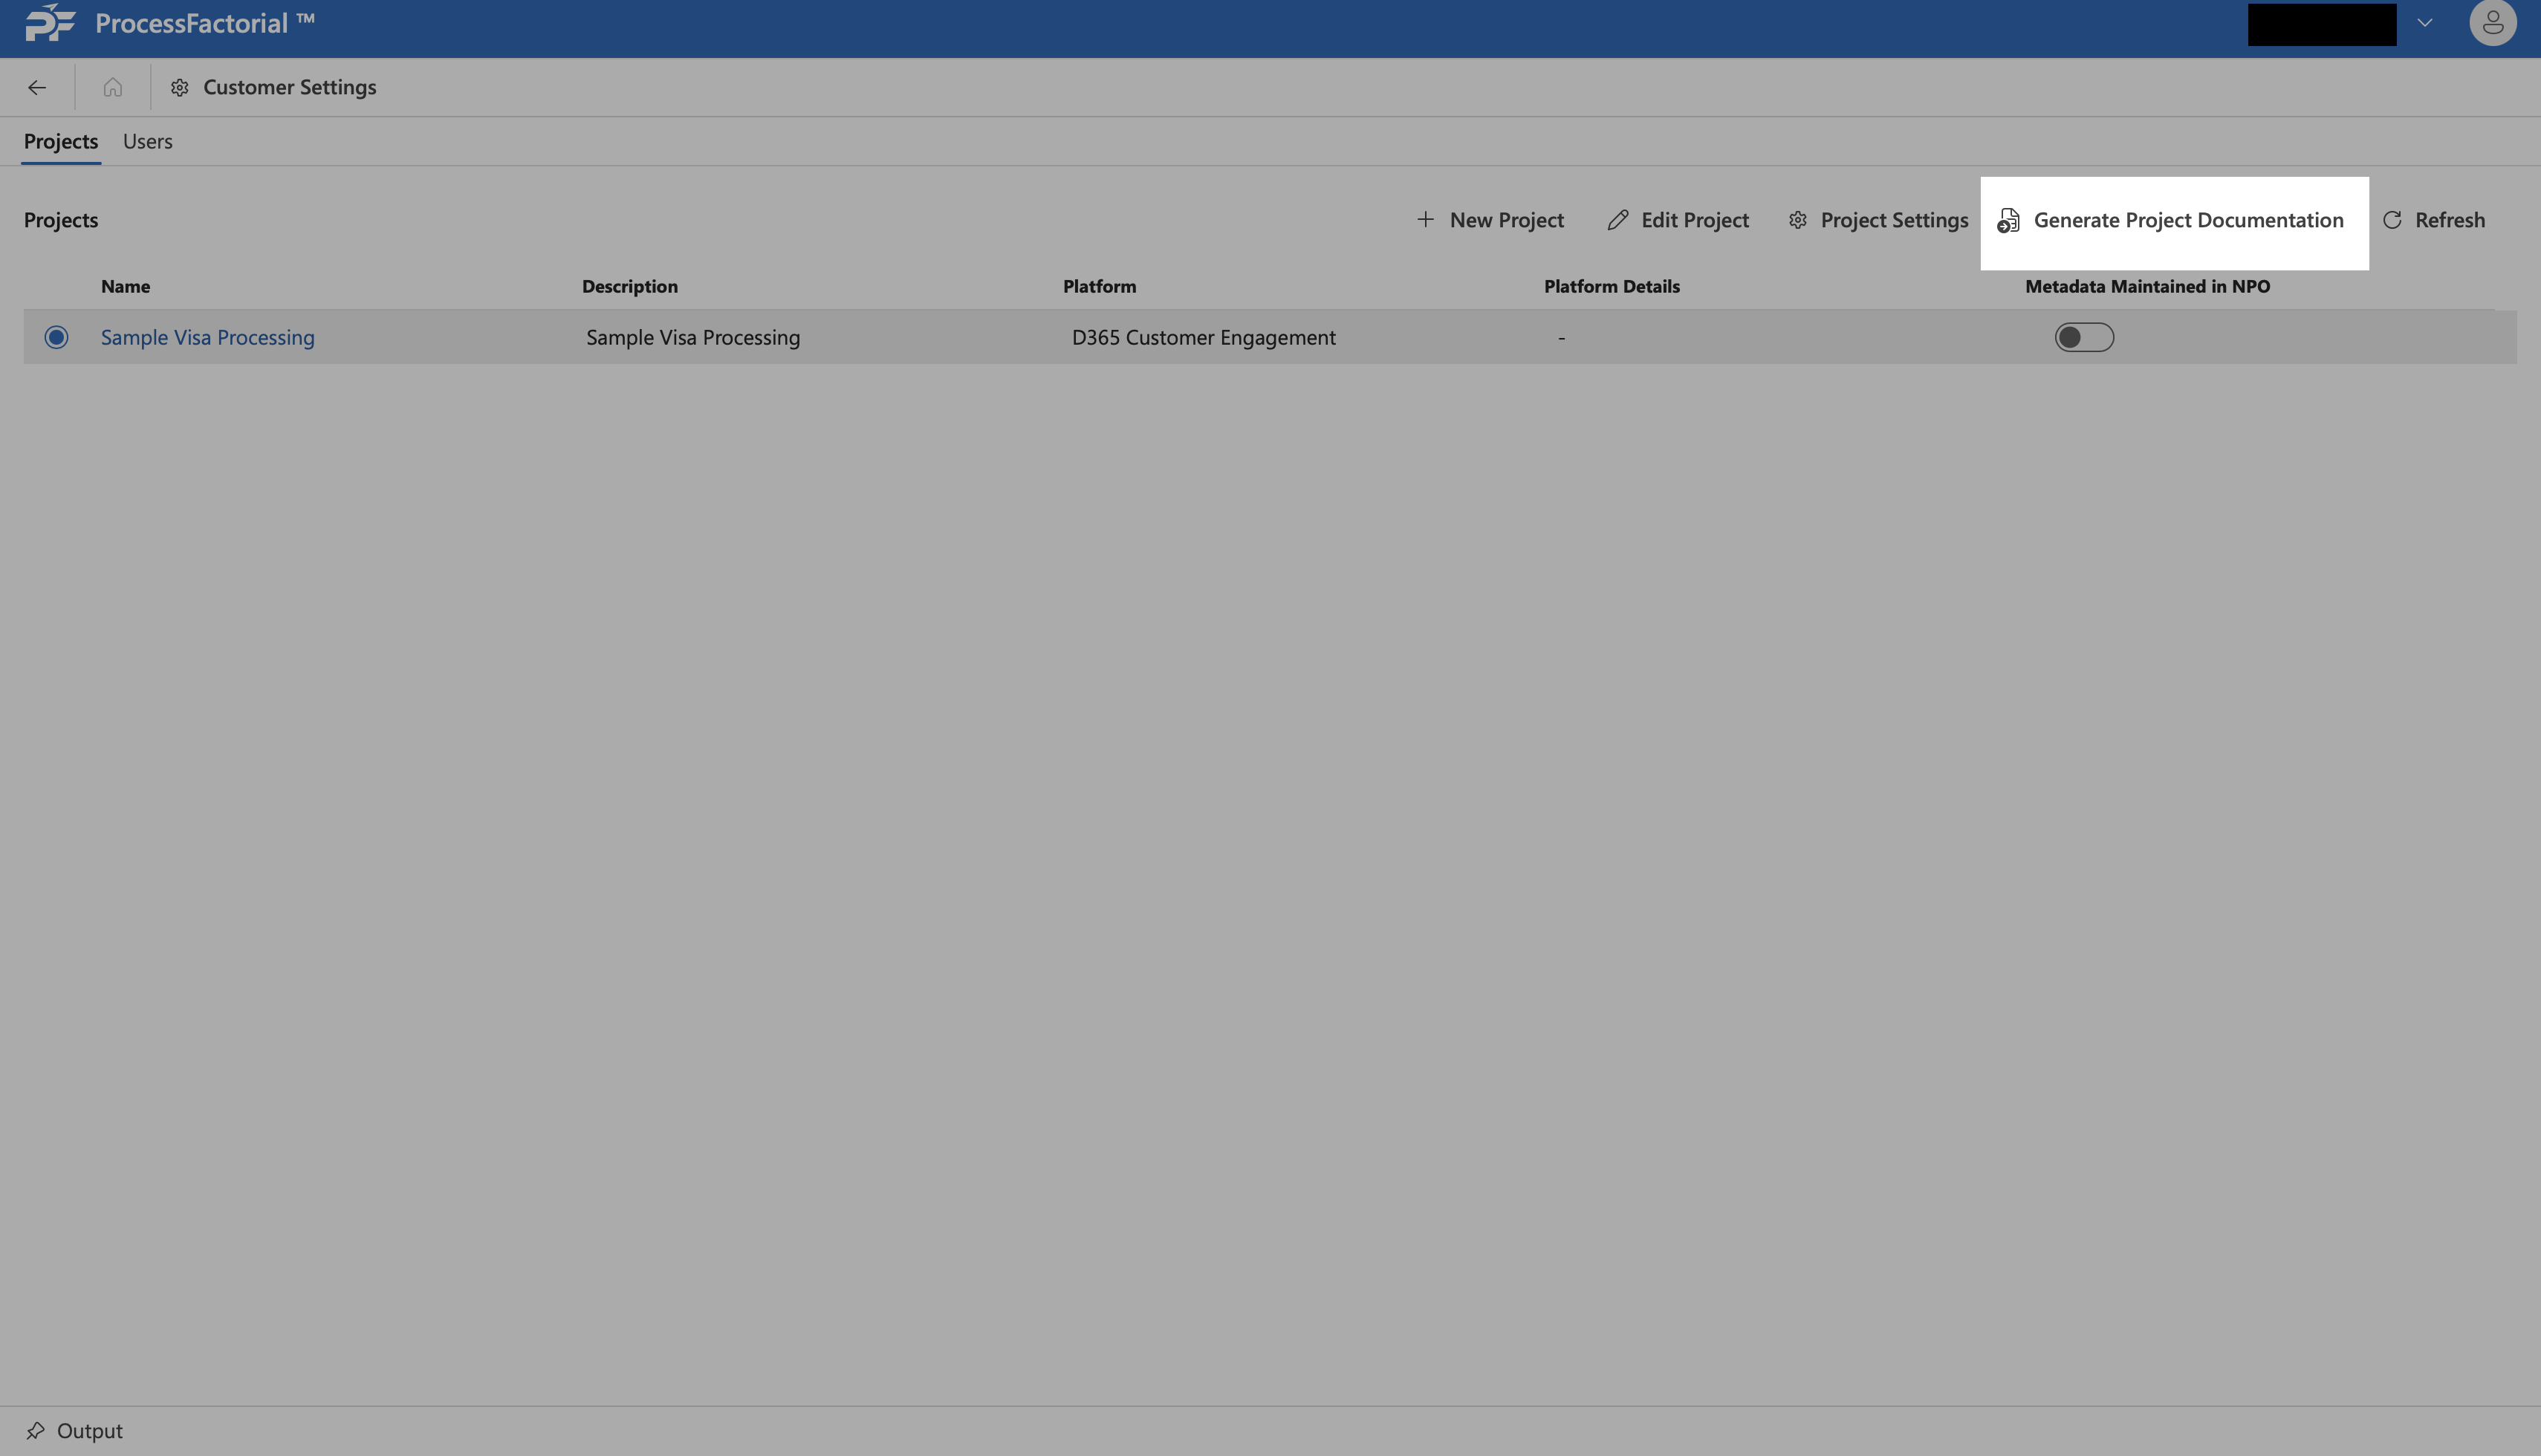
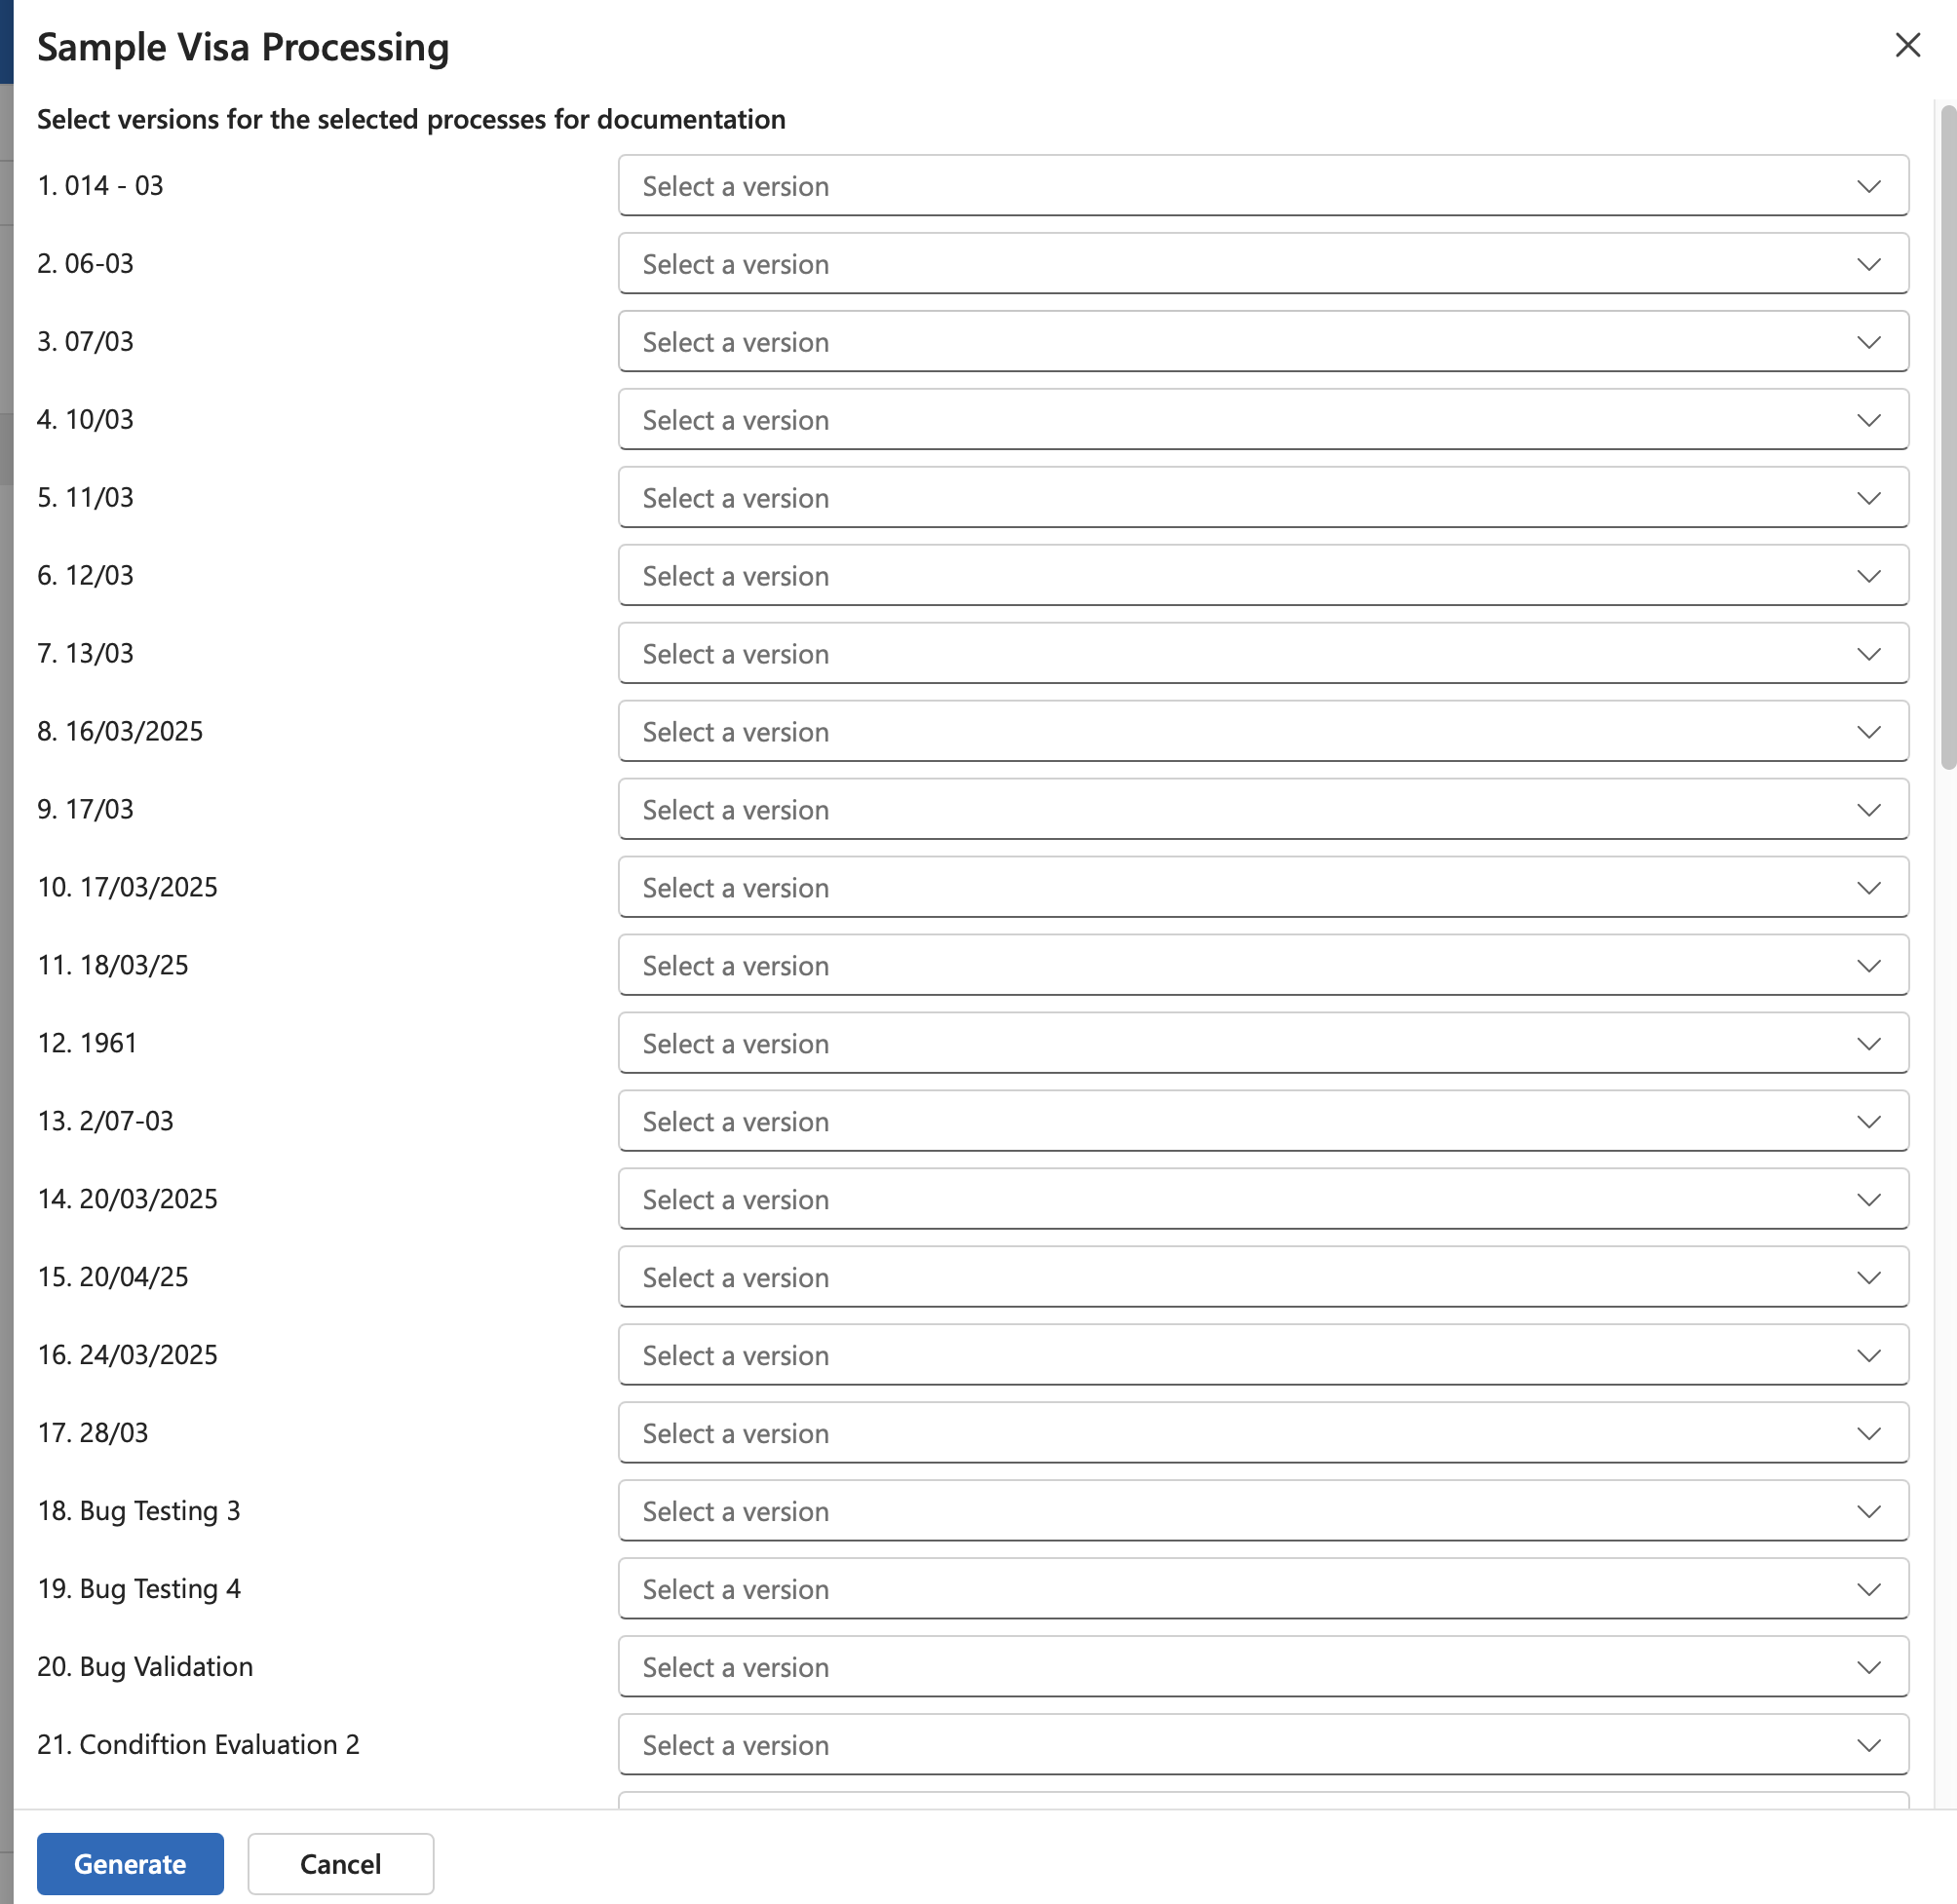
-
In the drawer panel that opens up, first the respective versions of the flows in the project from the corresponding drop-downs
-
Next, select the Factorial Forms that need to included in the documentation.
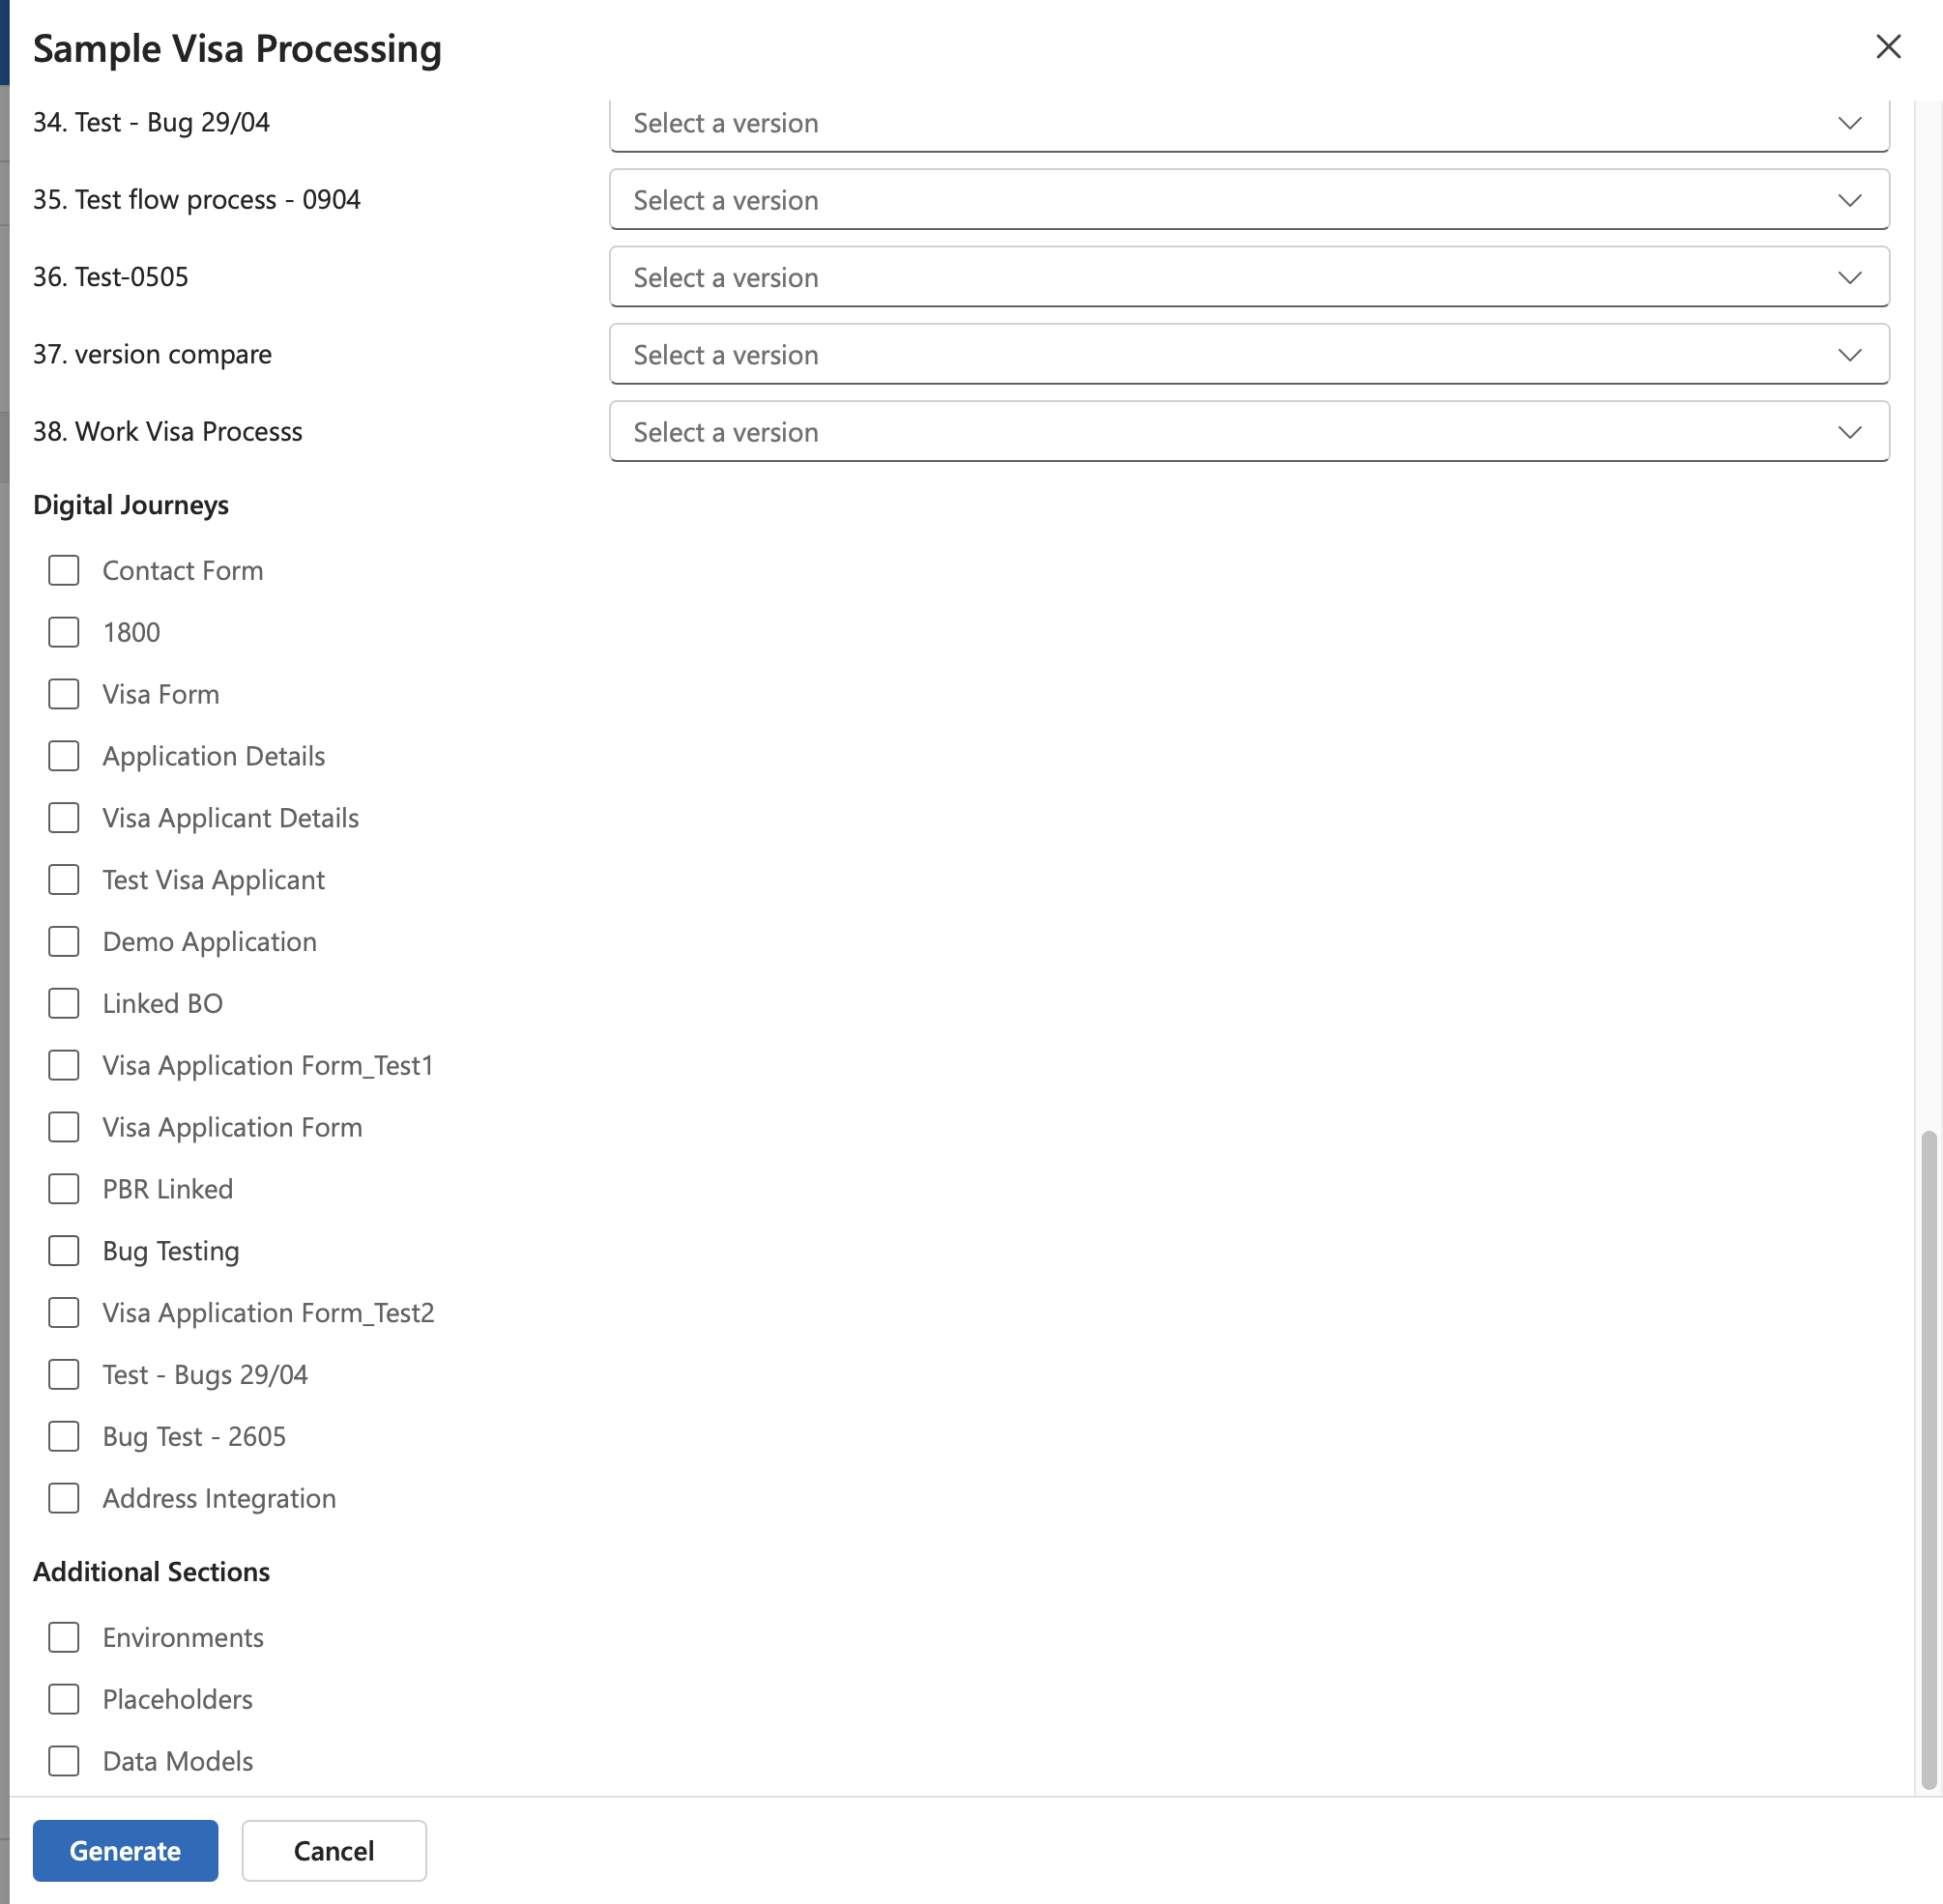
-
Finally, choose additional sections that need to be provided in the documentation, pertaining to Environments, Placeholders Data Models.
- Click on the
Generatebutton to generate the documentation.
Previous: Manage Customer | Next: Link to Environment